简介
Follow this guide to remove or replace the feet on the bottom of a Microsoft Surface Laptop 3 (13.5").
Microsoft offers replacement feet for the Surface Laptop 3. Please see this support article for more details on how to order them.
Some photos in this guide are from a different model and may contain slight visual discrepancies, but they won't affect the guide procedure.
你所需要的
-
-
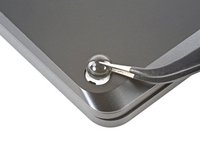
Flip the laptop over and place it on your work surface, feet facing up.
-
-
-
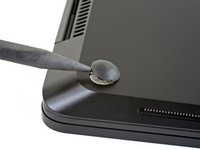
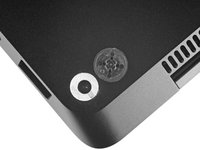
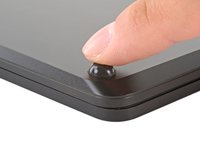
Each foot has a hidden indent that will simplify removal.
-
To make sure the spudger is in the indent, insert it at the nearest long edge, pushing parallel to the short edges of the laptop, as shown.
-
-
-
-
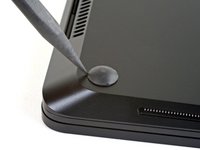
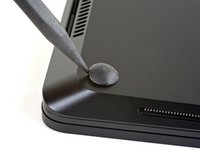
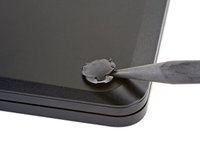
Insert the pointed end of a spudger underneath one of the two rear feet, at its rear edge.
-
Push the spudger underneath the foot and pry up to release it.
-
Repeat to remove the second rear foot.
-
-
-
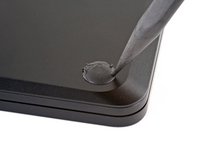
Insert the pointed end of a spudger underneath one of the two front feet, at its front edge.
-
Push the spudger underneath the foot and pry up to release it.
-
Repeat to remove the second front foot.
-
-
-
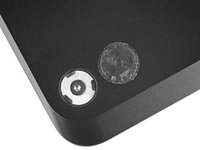
Note that the front and rear feet are different.
-
Note that the front feet are directional and only clip in one way.
-
-
-
Peel a pad away from its backing, align it over a foot cavity, and press to secure.
-


Compare your new replacement part to the original part—you may need to transfer remaining components or remove adhesive backings from the new part before installing.
To reassemble your device, follow the above steps in reverse order.
Take your e-waste to an R2 or e-Stewards certified recycler.
Repair didn’t go as planned? Try some basic troubleshooting or search our Answers community for help.
另外一个人完成了本指南。

