Remove the two plastic screw covers on the back of your Minimove by inserting the flat end of your plastic opening tool between the screw cover and the back panel and prying it out.
It may be helpful to pull the plastic covers out with your fingers once the top of the cover has been revealed by using the plastic opening tool.
To remove the back panel, use the plastic opening tool and gently work around the outline of the panel. The outline wraps around the sides and can be spotted at the top back of the device.
Be careful not to use too much force to remove the panel. The antenna wire is connected to the inside of the panel and may be damaged or ripped off if the panel is not gently removed.
After loosening the panel with the plastic opening tool, use moderate force to pry open the panel with your hands.
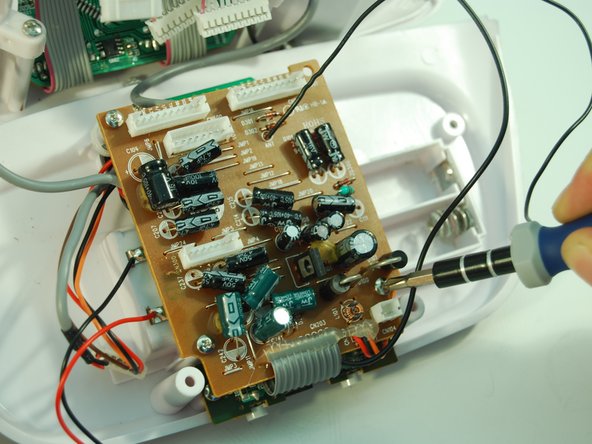
Be careful when removing the bottom panel. The plastic tab that runs alongside the right speaker between the upper brown radio motherboard and the lower green audio daughterboard may damage the device if the bottom panel is improperly removed.
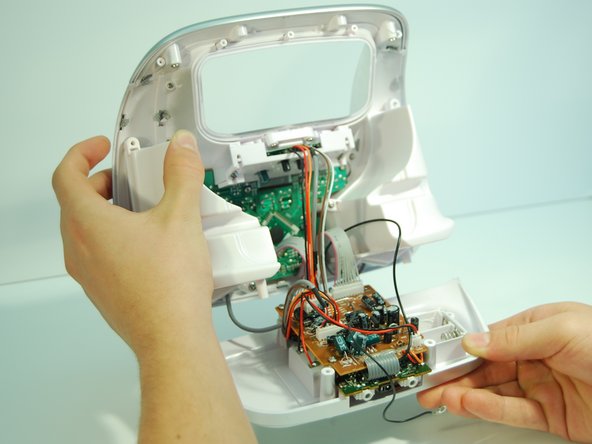
Remove the bottom panel of the boombox by carefully pulling the panel straight backwards from the boombox until the motherboard and daughterboard are free.
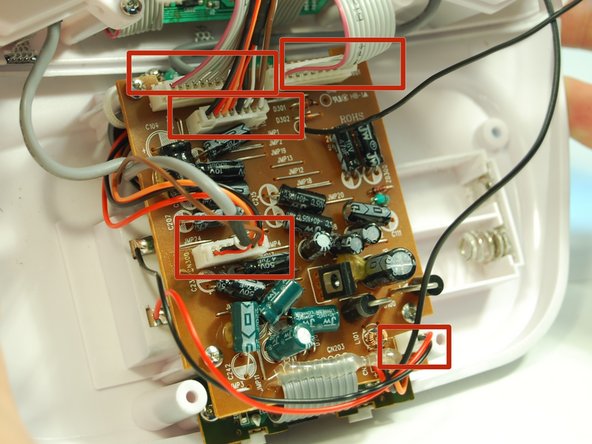
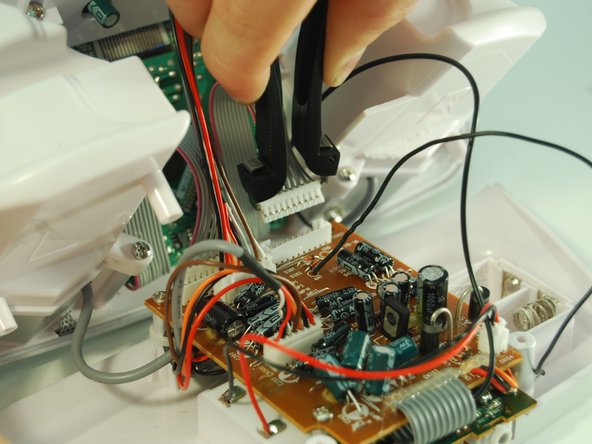
Pull out the 5 white pinhead connectors using an IC (Integrated Circuit) extractor. Pinch the IC extractor just under the top lip of the wire housing.
There are two 10 pin connectors, one 8 pin connector, one 7 pin connector, and one 2 pin connector.
When reassembling, there is only one way to reinsert the pinhead connectors. Make sure the orientation matches that of the receiving connector on the motherboard.