跳转到主内容

当前版本的文档还未经巡查,您可以查看最新的已查核版本

你所需要的

  1. 这个步骤还没有翻译 帮忙翻译一下

    : 步骤 1 中的图像 1,1
    • Before disassembling on the lamp, it MUST be unplugged!

  2. 这个步骤还没有翻译 帮忙翻译一下

    : 步骤 2 中的图像 1,3 : 步骤 2 中的图像 2,3 : 步骤 2 中的图像 3,3
    • If the bulb is worth keeping, this can be reused.

    • If the lamp has a lightbulb installed, remove it from the lamp.

  3. 这个步骤还没有翻译 帮忙翻译一下

    : 步骤 3 中的图像 1,3 : 步骤 3 中的图像 2,3 : 步骤 3 中的图像 3,3
    • MOST LAMPS WILL BE SIMILAR, but designs can vary.

    • Remove the switch handle. Note: While this can be optional, it was required on this lamp. If it looks tied into something, it probably has to be removed.

    • Remove the socket cover. Once removed, remove the bulb socket.

  4. 这个步骤还没有翻译 帮忙翻译一下

    : 步骤 4 中的图像 1,2 : 步骤 4 中的图像 2,2
    • Sockets that hold the cord in with a press-fit design are hard to reuse by design. Unless you can depress the cord, cut the cord at the socket and discard the bulb socket.

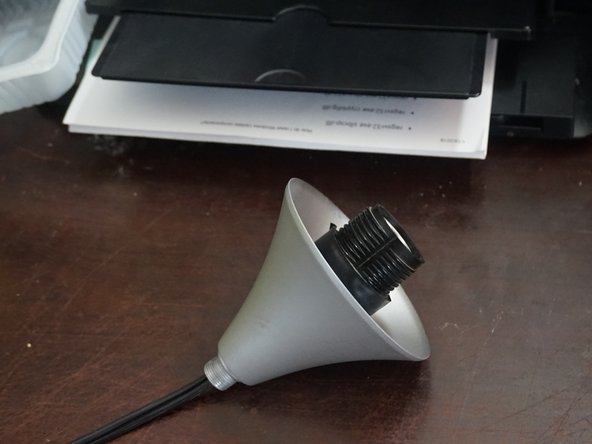
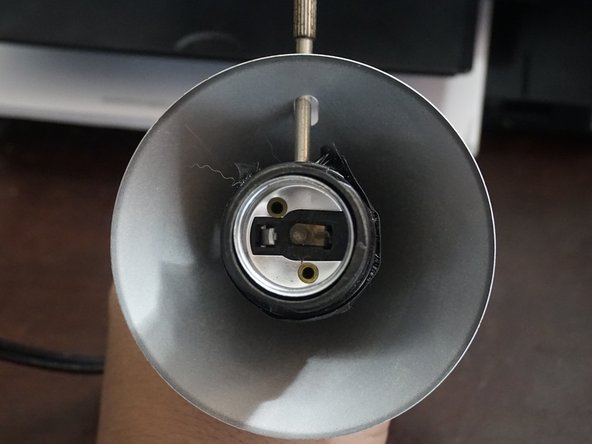
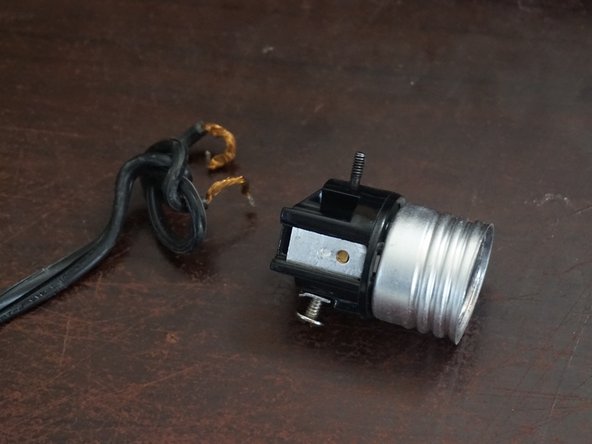
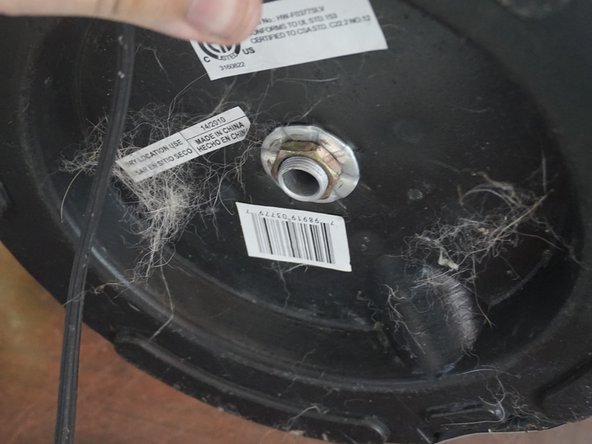
    • After removing the plastic cover and switch, remove the bulb socket with a Phillips #2 screwdriver. If your socket is press fit, these are generally not reusable. Cut the cord unless you can pull the cord and not compromise the socket.

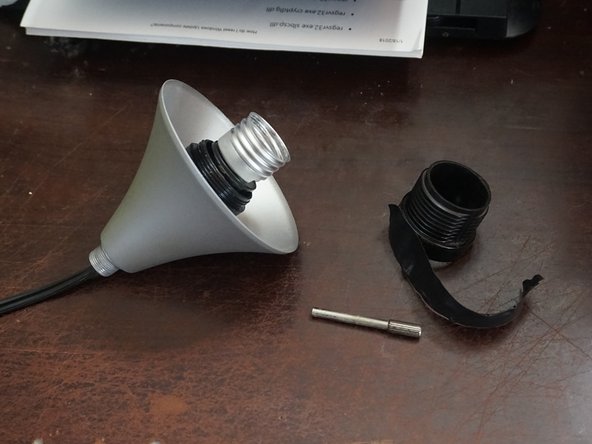
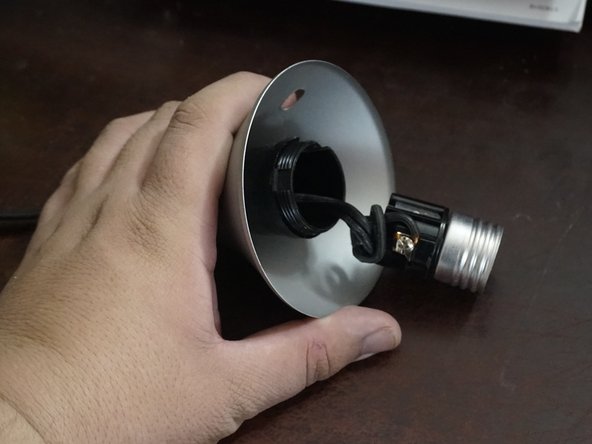
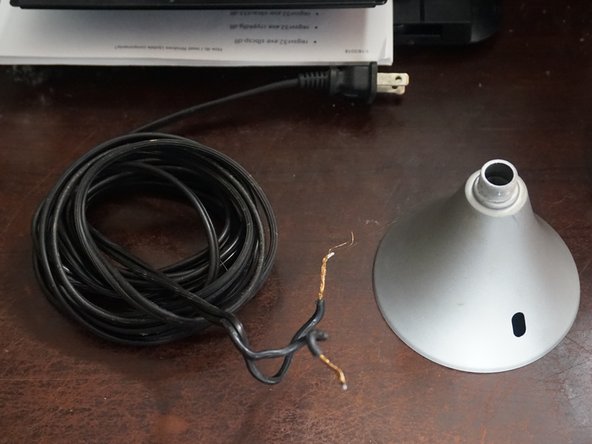
    • Discard any broken or unwanted components.

  5. 这个步骤还没有翻译 帮忙翻译一下

    : 步骤 5 中的图像 1,3 : 步骤 5 中的图像 2,3 : 步骤 5 中的图像 3,3
    • Keep the cord if it is in good shape. These are excellent to keep around to repair other lamps (or anything in need of a similar cord).

    • After removing the bulb socket, remove the power cord.

  6. 这个步骤还没有翻译 帮忙翻译一下

    : 步骤 6 中的图像 1,1
    • After gutting the lamp, find a good spot to clamp a workshop light on like the one shown. Additional changes like height reduction can also be done at this stage.

终点

Nick

于11/10/09注册

88,875 声望

创作了49篇指南

团队

Master Techs Master Techs 的会员

Community

322 名成员

创作了2,536篇指南

0条评论

添加评论

浏览统计数据:

过去 24 小时: 1

过去 7 天: 1

过去 30 天: 7

总计 448