简介
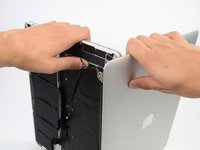
The MacBook Pro 15" Retina Display Early 2013 packs the battery, keyboard, trackpad, and upper case into one assembly. If any of these components fail, the entire assembly must be replaced. Use this guide to replace your upper case assembly.
你所需要的
-
-
Remove the following P5 pentalobe screws securing the lower case to the MacBook Pro:
-
Eight 3.0 mm
-
Two 2.3 mm
-
-
在这个步骤中使用的工具:Tweezers$4.99
-
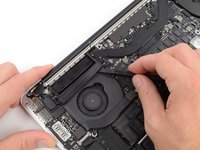
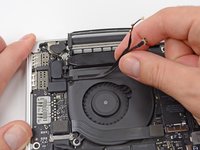
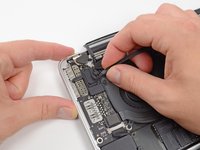
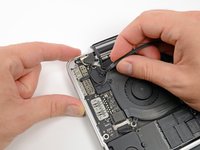
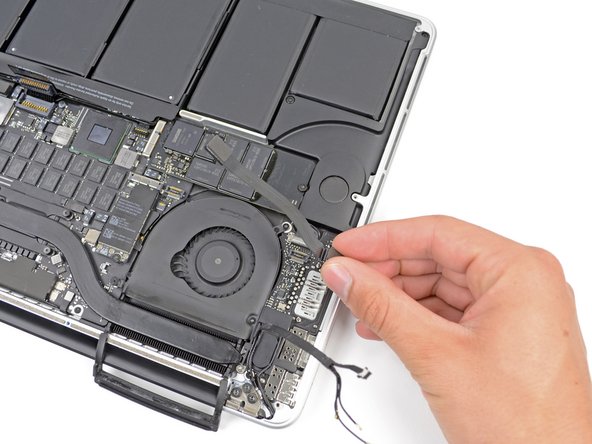
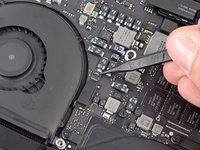
Use a spudger or tweezers to pry the three AirPort antenna cables straight up off of their sockets on the AirPort board.
-
-
-
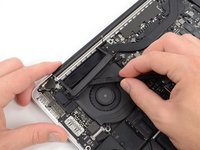
Use the flat end of a spudger to pry the rubber hinge covers up off the left and right hinges.
-
-
-
Remove the two 3.1 mm T5 Torx screws securing the aluminum hinge covers to the upper case.
-
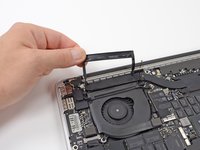
Remove the two aluminum hinge brackets from the MacBook Pro.
-
-
-
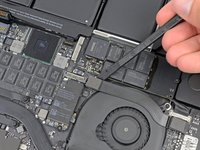
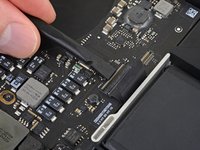
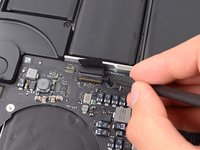
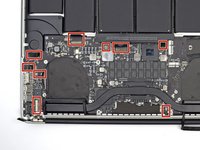
Using the flat end of a spudger, pry the I/O Board connector straight up out of its socket on the logic board.
-
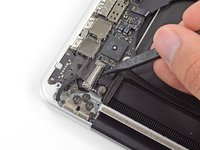
In a similar fashion, remove the I/O Board cable connector from its socket on the I/O Board.
-
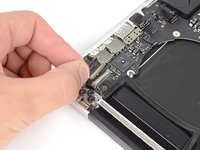
Remove the I/O Board cable from the MacBook Pro.
-
-
-
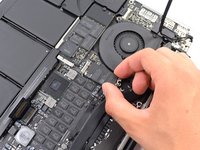
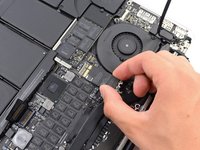
Remove the single 2.9 mm T5 Torx screw securing the AirPort card to the logic board.
-
-
-
-
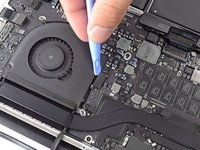
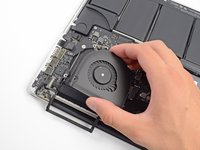
Use the flat end of a spudger to lift the rubber heat sink cover up off the left fan.
-
-
-
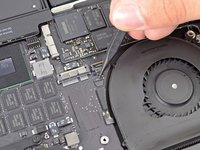
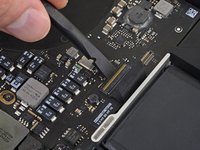
Use the tip of a spudger to flip up the I/O board data cable lock and rotate it toward the battery side of the computer.
-
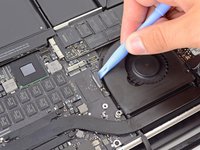
Use the flat end of a spudger to slide the I/O board data cable straight out of its socket on the logic board.
-
-
-
Use the flat end of a spudger to pry the headphone jack connector up from its socket on the logic board.
-
-
-
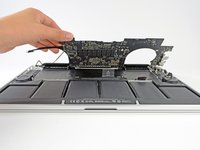
Lifting from the side nearest the battery, rotate the logic board toward the top of the MacBook Pro.
-
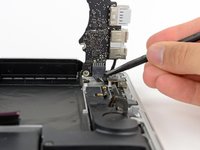
Using the flat end of a spudger, carefully push the MagSafe 2 connector out of its socket on the bottom of the logic board.
-
Clockwise from top: keyboard, trackpad, battery, right speaker, keyboard backlight, display, microphone, headphone jack, left speaker.
-
-
-
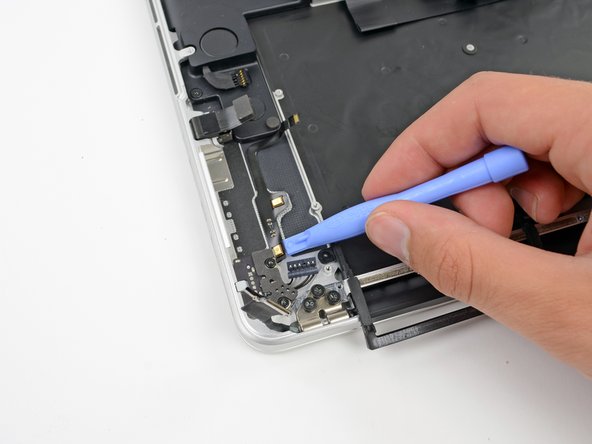
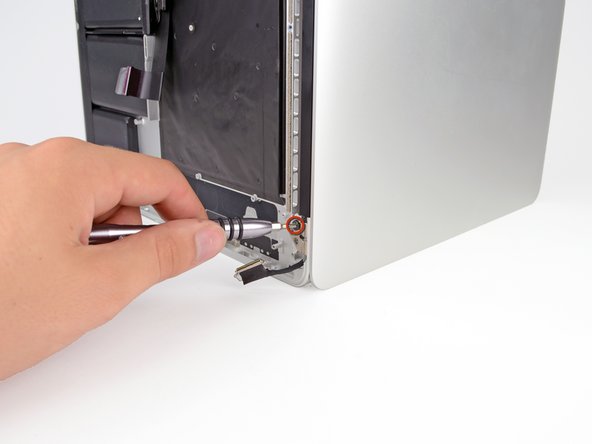
Remove the single 2.6 mm T5 Torx screw securing the left rubber hinge cover in place.
-
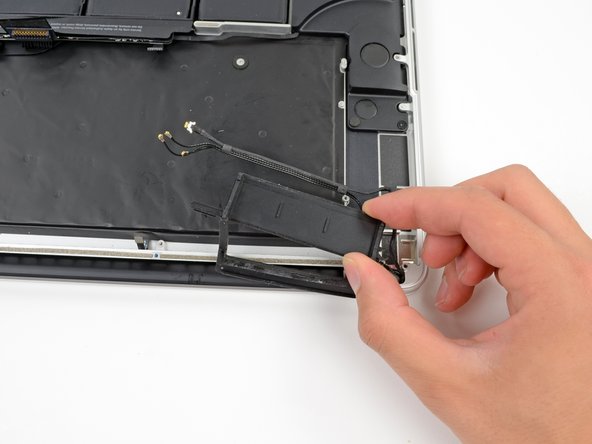
Slide the hinge cover out of its bezel, then lift it up and out of the device.
-
Slide the right cover out of its bezel, then lift it out of the device.
-
-
-
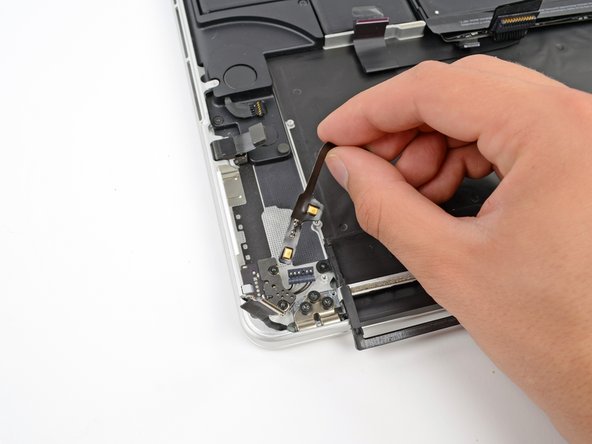
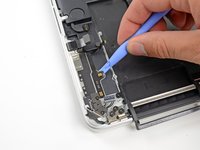
Insert the edge of a plastic opening tool underneath the upper microphone.
-
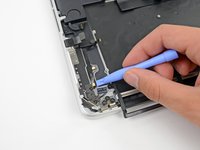
Slide the blade of a plastic opening tool along the bottom of the upper microphone, releasing the adhesive.
-
In a similar manner, release the adhesive underneath the lower microphone.
-
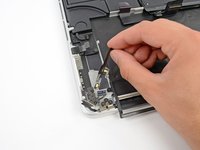
Lift the cable out of the device.
-
To reassemble your device, follow these instructions in reverse order.
To reassemble your device, follow these instructions in reverse order.
24等其他人完成本指南。
一条评论
Thanks for this guide, I now have working keyboard for this first time in years! Been bluetoothing a keyboard and finally had had enough. At first, i bought just the keyboard but after some research, realized I wan’t comfortable drilling out the 100+ rivets Apple put in there. Just transferred my trackpad (also an ifixit replacement from earlier), battery and all the internals with this step by step guide and it fired right back up. Extremely happy with this fix, almost like getting a new computer….. Almost. ;)


