跳转到主内容
加入维修社区 - 创建账户
Mac Pro Late 2013 Logic Board Replacement

你所需要的

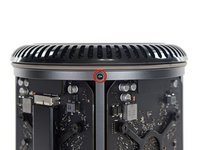
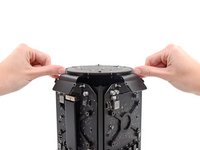
  1. Mac Pro Late 2013 Logic Board Replacement, Outer Case: 步骤 1 中的图像 1,2 Mac Pro Late 2013 Logic Board Replacement, Outer Case: 步骤 1 中的图像 2,2
    • Slide the lock switch to the right, to the unlocked position.

    询问修复机器人

    添加评论

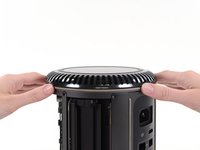
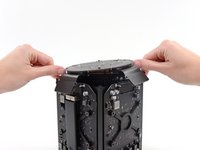
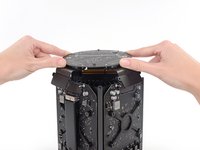
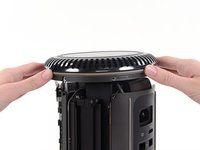
  2. Mac Pro Late 2013 Logic Board Replacement: 步骤 2 中的图像 1,3 Mac Pro Late 2013 Logic Board Replacement: 步骤 2 中的图像 2,3 Mac Pro Late 2013 Logic Board Replacement: 步骤 2 中的图像 3,3
    • Lift the outer case straight up off the Mac Pro.

    • It may help to push down on the center of the fan while lifting the case up.

    询问修复机器人

    添加评论

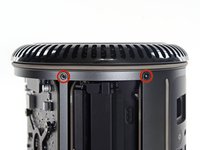
  3. Mac Pro Late 2013 Logic Board Replacement, Fan Assembly: 步骤 3 中的图像 1,3 Mac Pro Late 2013 Logic Board Replacement, Fan Assembly: 步骤 3 中的图像 2,3 Mac Pro Late 2013 Logic Board Replacement, Fan Assembly: 步骤 3 中的图像 3,3
    • Remove five 5.1 mm T10 Torx screws from around the outer perimeter of the fan assembly.

    添加评论

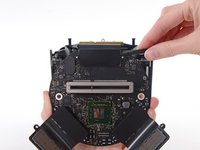
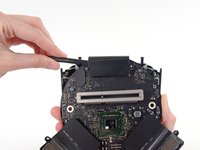
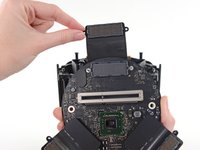
  4. Mac Pro Late 2013 Logic Board Replacement: 步骤 4 中的图像 1,2 Mac Pro Late 2013 Logic Board Replacement: 步骤 4 中的图像 2,2
    • The fan assembly is attached to the rest of the computer by two cables on the IO board side.

    • Tilt the assembly up away from the IO board.

    • Do not try to remove the fan assembly yet, as it is still attached by two cables.

    询问修复机器人

    添加评论

  5. Mac Pro Late 2013 Logic Board Replacement: 步骤 5 中的图像 1,1
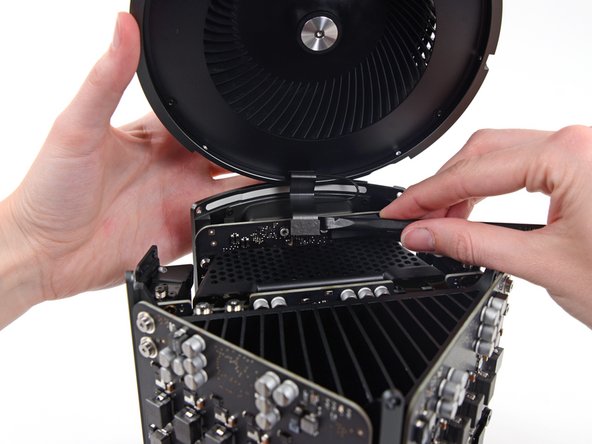
    • While supporting the fan assembly with one hand, loosen the two T8 captive screws in the fan cable bracket.

    • These screws are captive in the Mac Pro. Do not try to remove these screws from your Mac Pro.

    添加评论

  6. Mac Pro Late 2013 Logic Board Replacement: 步骤 6 中的图像 1,1
    在这个步骤中使用的工具:
    Tweezers
    $4.99
    • Use a pair of tweezers to pull the fan cable bracket away from the fan assembly.

    询问修复机器人

    添加评论

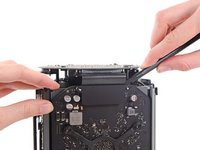
  7. Mac Pro Late 2013 Logic Board Replacement: 步骤 7 中的图像 1,2 Mac Pro Late 2013 Logic Board Replacement: 步骤 7 中的图像 2,2
    • Use the flat end of a spudger to disconnect the fan assembly ribbon cable from the IO board.

    询问修复机器人

    添加评论

  8. Mac Pro Late 2013 Logic Board Replacement: 步骤 8 中的图像 1,1
    • Disconnect the fan assembly antenna cable from the IO board.

    • Remove the fan assembly from the Mac Pro.

    添加评论

  9. Mac Pro Late 2013 Logic Board Replacement, Lower Case: 步骤 9 中的图像 1,3 Mac Pro Late 2013 Logic Board Replacement, Lower Case: 步骤 9 中的图像 2,3 Mac Pro Late 2013 Logic Board Replacement, Lower Case: 步骤 9 中的图像 3,3
    • Flip the Mac Pro upside down, 180 degrees.

    • Remove five 5.1 mm T10 Torx screws from the outer perimeter of the lower case.

    询问修复机器人

    添加评论

  10. Mac Pro Late 2013 Logic Board Replacement: 步骤 10 中的图像 1,2 Mac Pro Late 2013 Logic Board Replacement: 步骤 10 中的图像 2,2
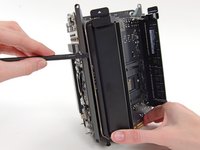
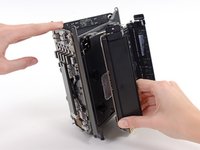
    • Carefully lift the lower case up and remove it from the Mac Pro.

    询问修复机器人

    添加评论

  11. Mac Pro Late 2013 Logic Board Replacement, Interconnect Board: 步骤 11 中的图像 1,2 Mac Pro Late 2013 Logic Board Replacement, Interconnect Board: 步骤 11 中的图像 2,2
    • Use the flat end of a spudger and a twisting motion to gently separate one side of the graphics card data connection.

    询问修复机器人

    添加评论

  12. Mac Pro Late 2013 Logic Board Replacement: 步骤 12 中的图像 1,3 Mac Pro Late 2013 Logic Board Replacement: 步骤 12 中的图像 2,3 Mac Pro Late 2013 Logic Board Replacement: 步骤 12 中的图像 3,3
    • Gently separate the other side as well.

    • Flip the connector up and out of the way of the graphics card.

    • Repeat this procedure on the other graphics card.

    询问修复机器人

    添加评论

  13. Mac Pro Late 2013 Logic Board Replacement: 步骤 13 中的图像 1,1
    • Remove the two 6.0 mm T8 Torx screws securing the interconnect board to the heat sink.

    添加评论

  14. Mac Pro Late 2013 Logic Board Replacement: 步骤 14 中的图像 1,3 Mac Pro Late 2013 Logic Board Replacement: 步骤 14 中的图像 2,3 Mac Pro Late 2013 Logic Board Replacement: 步骤 14 中的图像 3,3
    • Gently walk the interconnect board straight up off the logic board's slot connection.

    • It is recommended to lift one side and then the other.

    • Do not try to remove the interconnect board from the Mac Pro yet, as it is still connected to the IO board.

    询问修复机器人

    添加评论

  15. Mac Pro Late 2013 Logic Board Replacement: 步骤 15 中的图像 1,2 Mac Pro Late 2013 Logic Board Replacement: 步骤 15 中的图像 2,2
    • Flip the interconnect board up and over, exposing the IO board data cable.

    • Use the same sort of twisting and spreading motion with the flat end of a spudger to separate one side of the IO board data cable.

    询问修复机器人

    添加评论

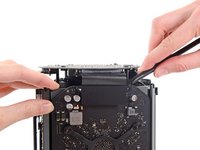
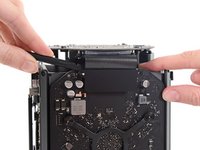
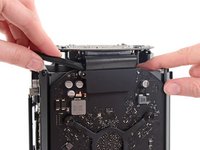
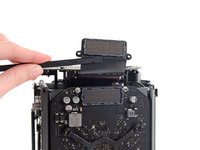
  16. Mac Pro Late 2013 Logic Board Replacement: 步骤 16 中的图像 1,2 Mac Pro Late 2013 Logic Board Replacement: 步骤 16 中的图像 2,2
    • Use the flat end of a spudger to separate the other side of the IO board data cable.

    • Bend the cable out of the way and remove the interconnect board from the Mac Pro.

    询问修复机器人

    添加评论

  17. Mac Pro Late 2013 Logic Board Replacement, Power Supply Assembly: 步骤 17 中的图像 1,1
    • Flip the Mac Pro back over and set it gently on a flat surface.

    • We recommend laying the Mac Pro on the corner of the heat sink and the two standoff screw posts that attach to the interconnect board.

    询问修复机器人

    添加评论

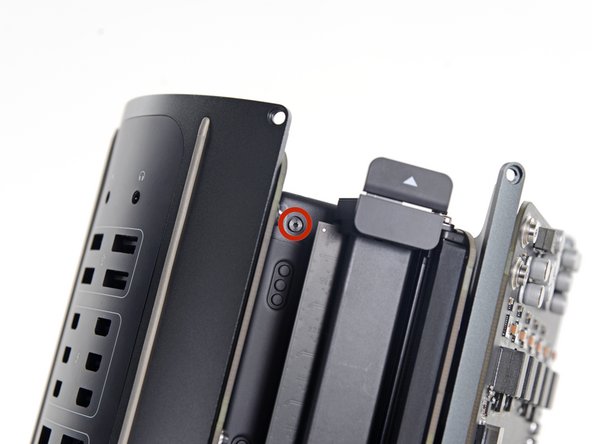
  18. Mac Pro Late 2013 Logic Board Replacement: 步骤 18 中的图像 1,2 Mac Pro Late 2013 Logic Board Replacement: 步骤 18 中的图像 2,2
    • Remove the two 3.6 mm T5 Torx screws from the sides of the power supply cage (one on each side).

    添加评论

  19. Mac Pro Late 2013 Logic Board Replacement: 步骤 19 中的图像 1,1
    • Remove the power supply cage from the top of the power supply.

    • By removing this cage, you are exposing internal components of the power supply. Be very careful not to touch any of the power supply components or circuitry.

    • Be careful not to drop any screws or tools into the power supply, as this may damage the power supply.

    询问修复机器人

    添加评论

  20. Mac Pro Late 2013 Logic Board Replacement: 步骤 20 中的图像 1,1
    • Remove the four 5.5 mm T8 Torx screws securing the power supply assembly to the Mac Pro.

    添加评论

  21. Mac Pro Late 2013 Logic Board Replacement: 步骤 21 中的图像 1,1
    • Remove the power supply assembly from the Mac Pro.

    询问修复机器人

    添加评论

  22. Mac Pro Late 2013 Logic Board Replacement, Logic Board: 步骤 22 中的图像 1,1
    • Remove two 5.5 mm T8 Torx screws.

    添加评论

  23. Mac Pro Late 2013 Logic Board Replacement: 步骤 23 中的图像 1,1
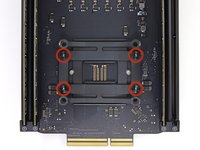
    • Remove four 12.8 mm T10 Torx screws from the CPU heat sink bracket.

    • Remove only the outer four of the eight screws.

    添加评论

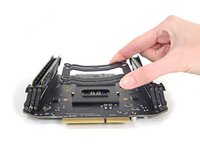
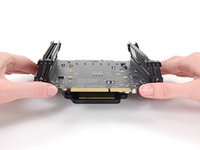
  24. Mac Pro Late 2013 Logic Board Replacement: 步骤 24 中的图像 1,2 Mac Pro Late 2013 Logic Board Replacement: 步骤 24 中的图像 2,2
    • At this point, the logic board is held onto the heat sink by thermal compound.

    • You may need to gently pry with a spudger to separate the logic board from the heat sink.

    • Be very careful not to bend and break the logic board.

    • Remove the logic board from the heat sink.

    询问修复机器人

    添加评论

  25. Mac Pro Late 2013 Logic Board Replacement: 步骤 25 中的图像 1,2 Mac Pro Late 2013 Logic Board Replacement: 步骤 25 中的图像 2,2
    • Remove the inner four 12.8 mm T10 Torx screws from the CPU heat sink bracket.

    • Remove the CPU heat sink bracket.

    添加评论

  26. Mac Pro Late 2013 Logic Board Replacement: 步骤 26 中的图像 1,1
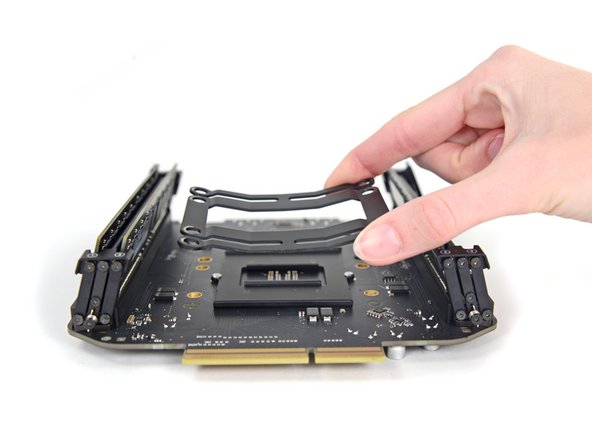
    • Remove the second heat sink bracket.

    询问修复机器人

    添加评论

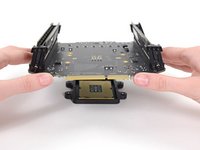
  27. Mac Pro Late 2013 Logic Board Replacement: 步骤 27 中的图像 1,2 Mac Pro Late 2013 Logic Board Replacement: 步骤 27 中的图像 2,2
    • Lift and remove the logic board from the CPU and bracket.

    • During reassembly, be sure to clean off and replace the thermal compound on the CPU.

    • We have a thermal paste guide that makes replacing the thermal compound easy.

    添加评论

结论

To reassemble your device, follow these instructions in reverse order.

取消:我没有完成这个指南。

15等其他人完成本指南。

团队

iFixit iFixit 的会员

Staff

123 名成员

创作了27,589篇指南

1指南评论

The RAM/CPU board is only attached to the thermal core around the processor area. This means seating RAM modules can flex the board (which has no support under the RAM sockets) so take extra care seating RAM modules.

john gilchrist - 回复 分享

添加评论

浏览统计数据:

过去 24 小时: 1

过去 7 天: 13

过去 30 天: 95

总计 18,481