Locate the hidden screw hole behind the Logitech sticker.
Puncture the sticker to access the screw.
Sometimes the screw head will not be removable because the sticker may get in the way. This is fine; just make sure the screw stays inside and you don't lose it.
Now, or at any time, you may wish to remove the weighted cartridge inside of the mouse. It is best if you do it at or before this step, but it is not necessary.
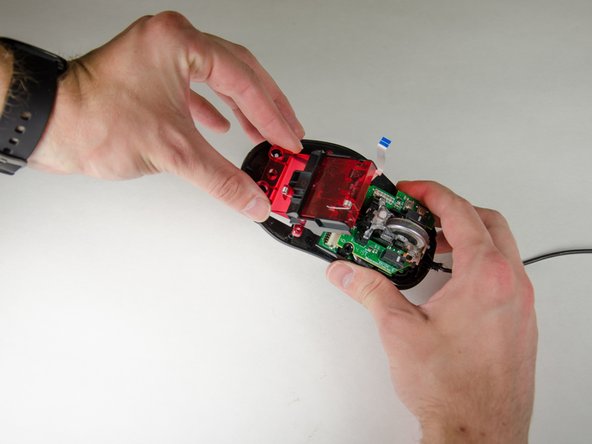
Remove the cable from the upper housing. The upper housing can now be set aside.
On the bottom right of the top circuit board is a revision number. The rev. 3 mouse has a soldered red wire between this board and the top half of the mouse. For rev. 3 mice, leave the ZIF cable in place and proceed.
Carefully pry on each side of the mouse connector until the cable comes free.
Since you don't care about the condition of the cable after you're done, an occasional light tug on the cable will help you determine if it is loose enough to be freed.
Thanks for the guide! Despite being super careful with the springs they managed to flick out when I was screwing the circuit board back in, one was never to be seen again. Thankfully the middle mouse button seems to work fine with just one!