跳转到主内容
Lenovo ThinkPad T490s SSD Replacement

Lenovo ThinkPad T490s SSD Replacement

Clay Eickemeyer

Clay Eickemeyer2 其他贡献者

最后更新于 March 18, 2025

15 - 30 分钟
简单

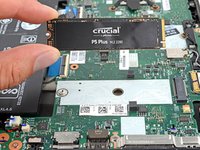
Follow this guide through the process of removing and replacing the Solid State Drive (SSD) in your Thinkpad T490s. A common use of this process is to upgrade the SSD. Note that a thermal pad helps the SSD dissipate heat more effectively. Remember to keep the original thermal pad, or have a replacement ready.

Before you perform this repair, back up your existing SSD if possible. If you’re replacing the SSD where your operating system is installed, familiarize yourself with a disk cloning utility so you’ll be ready to migrate your data to the new SSD.

你所需要的

修复工具包

本套装包含完成指南所需的所有零件和工具。

配件

工具

查看更多...

  1. Lenovo ThinkPad T490s SSD Replacement, Loosen the back screws: 步骤 1 中的图像 1,2 Lenovo ThinkPad T490s SSD Replacement, Loosen the back screws: 步骤 1 中的图像 2,2
    • For your safety, discharge the battery below 25% and power down your device before disassembly.

    • Use your Phillips #1 screwdriver to fully loosen the five screws on the back cover.

    • These screws are captive—they won't come out after being unscrewed.

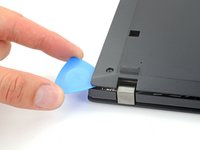
  2. Lenovo ThinkPad T490s SSD Replacement, Release the clips: 步骤 2 中的图像 1,2 Lenovo ThinkPad T490s SSD Replacement, Release the clips: 步骤 2 中的图像 2,2
    • Orient your laptop so that the screen's silver hinges are closest to you.

    • Insert an opening pick between the back cover and the device body near a hinge corner.

    • Pry upward to release the clips holding the cover. Listen for a loud click when each clip releases.

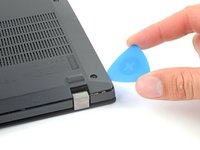
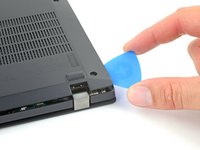
  3. Lenovo ThinkPad T490s SSD Replacement: 步骤 3 中的图像 1,2 Lenovo ThinkPad T490s SSD Replacement: 步骤 3 中的图像 2,2
    • Insert your opening pick between the cover and the device body at the other hinge corner.

    • Pry upward to release additional retaining clips.

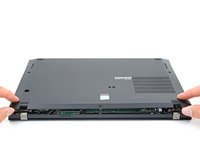
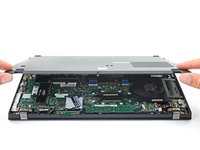
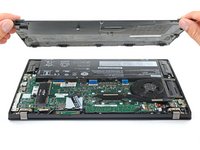
  4. Lenovo ThinkPad T490s SSD Replacement, Remove the back cover: 步骤 4 中的图像 1,3 Lenovo ThinkPad T490s SSD Replacement, Remove the back cover: 步骤 4 中的图像 2,3 Lenovo ThinkPad T490s SSD Replacement, Remove the back cover: 步骤 4 中的图像 3,3
    • Grab the front edge of the cover and lift it away from you.

    • There may be additional clips holding the cover in place. These remaining clips will release easily as you remove the cover.

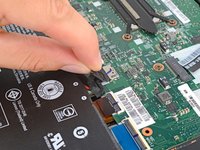
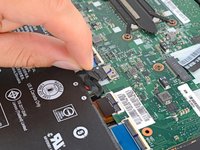
  5. Lenovo ThinkPad T490s SSD Replacement, Disconnect the battery cable: 步骤 5 中的图像 1,2 Lenovo ThinkPad T490s SSD Replacement, Disconnect the battery cable: 步骤 5 中的图像 2,2
    • Grab the battery pull-tab at the head of the connector.

    • Pull the connector out of its socket in the direction of the cable.

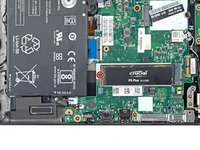
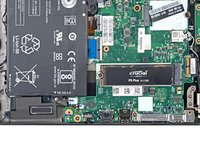
  6. Lenovo ThinkPad T490s SSD Replacement, Remove the SSD screw: 步骤 6 中的图像 1,2 Lenovo ThinkPad T490s SSD Replacement, Remove the SSD screw: 步骤 6 中的图像 2,2
    • Use a Phillips #1 screwdriver to remove the 3.7 mm-long screw holding down the SSD.

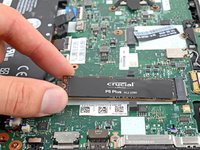
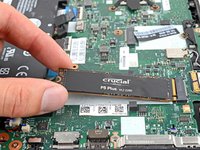
  7. Lenovo ThinkPad T490s SSD Replacement, Remove the SSD by hand: 步骤 7 中的图像 1,3 Lenovo ThinkPad T490s SSD Replacement, Remove the SSD by hand: 步骤 7 中的图像 2,3 Lenovo ThinkPad T490s SSD Replacement, Remove the SSD by hand: 步骤 7 中的图像 3,3
    • Pull the SSD out and away from its socket.

    • If this motion requires excessive force, walk the SSD side to side as you pull.

结论

To reassemble your device, follow these instructions in reverse order.

Take your e-waste to an R2 or e-Stewards certified recycler.

Repair didn’t go as planned? Try some basic troubleshooting, or ask our Lenovo ThinkPad answers community for help.

3等其他人完成本指南。

Clay Eickemeyer

于09/19/22注册

82,165 声望

创作了455篇指南

团队

Guide Team Guide Team 的会员

Staff

9 名成员

创作了11,459篇指南

0条评论

添加评论

浏览统计数据:

过去 24 小时: 6

过去 7 天: 36

过去 30 天: 225

总计 6,202