简介
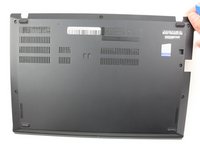
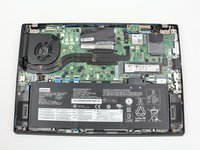
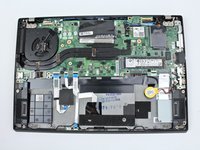
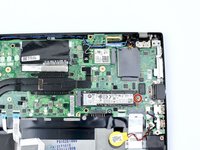
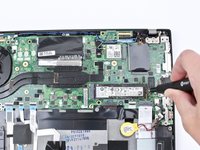
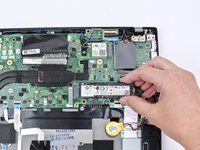
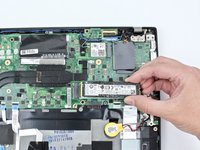
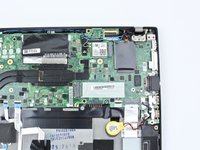
Use this guide to replace the SSD in your Lenovo ThinkPad T480s laptop.
An SSD (short for “solid-state drive”) is a storage component in a computer. SSDs use flash memory, as opposed to the spinning disks and moveable parts used in an HDD (hard disk drive). As a result, SSDs are much quieter and operate more quickly than HDDs. Signs your SSD may be faulty include corrupted data, read-only errors, frequent crashes, or blue screen of death.
If you are able to recover any data saved to your SSD, be sure to back up your files before beginning this guide. Also, make sure to disable the internal battery, power down your device, and disconnect from any external power sources before you begin.
你所需要的
-
-
-
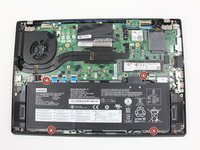
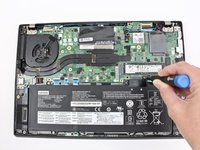
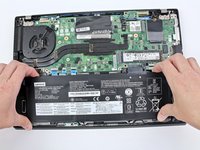
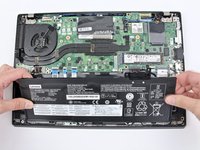
Use the Phillips #1 screwdriver to remove four 4.5mm screws that hold the battery down to the mid frame.
-
To reassemble your device, follow these instructions in reverse order.
Take your e-waste to an R2 or e-Stewards certified recycler.
Repair didn’t go as planned? Try some basic troubleshooting, or ask our Answers community for help.
另外一个人完成了本指南。
3指南评论
Hi Sanjay, we just want to make sure that there is no power to the system and the step to remove the battery is included as a precaution. Typically, you could detach the connector from the motherboard without removing the battery, and that would be sufficient. This connector is integrated into the battery case so we recommend battery removal. Thanks!
For ThinkPads, you can also disable the built-in battery in the BIOS settings before opening up the laptop. (You can always check if this is working by trying to turn on the laptop afterwards.) The internal battery stays off until you plug in the laptop with its wall charger again. This is shown in this video of the T480s (timestamped), before opening up the laptop.
Tai Lam -


