跳转到主内容
Lenovo ThinkPad T15 Gen 2 SSD Replacement

Lenovo ThinkPad T15 Gen 2 SSD Replacement

Spencer Day

Spencer Day3 其他贡献者

最后更新于 March 13, 2023

15 - 35 分钟
中等

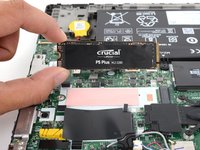
Use this guide to replace the SSD on your Lenovo ThinkPad T15 Gen 2.

Before you perform this repair, if at all possible, back up your existing SSD. If you are replacing the SSD where your operating system is installed, familiarize yourself with a disk cloning utility so you’ll be ready to migrate your data to the new SSD.

Be sure to completely power off and unplug your laptop. Make sure the laptop is not in standby, sleep, or hibernation mode.

你所需要的

修复工具包

本套装包含完成指南所需的所有零件和工具。

配件

工具

查看更多...

  1. Lenovo ThinkPad T15 Gen 2 SSD Replacement, Unfasten the lower case: 步骤 1 中的图像 1,2 Lenovo ThinkPad T15 Gen 2 SSD Replacement, Unfasten the lower case: 步骤 1 中的图像 2,2
    • Use a Phillips #1 screwdriver to loosen the eight captive screws securing the lower case.

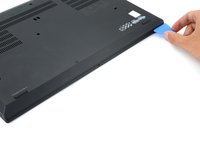
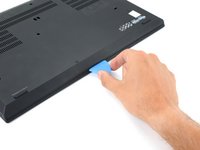
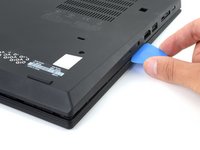
  2. Lenovo ThinkPad T15 Gen 2 SSD Replacement, Insert an opening pick: 步骤 2 中的图像 1,2 Lenovo ThinkPad T15 Gen 2 SSD Replacement, Insert an opening pick: 步骤 2 中的图像 2,2
    • Insert an opening pick between the lower case and the chassis on the front right edge.

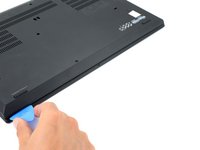
  3. Lenovo ThinkPad T15 Gen 2 SSD Replacement, Release the front clips: 步骤 3 中的图像 1,3 Lenovo ThinkPad T15 Gen 2 SSD Replacement, Release the front clips: 步骤 3 中的图像 2,3 Lenovo ThinkPad T15 Gen 2 SSD Replacement, Release the front clips: 步骤 3 中的图像 3,3
    • Angle the pick down at about 30˚.

    • Slide the pick along the front edge to release the clips securing the lower case.

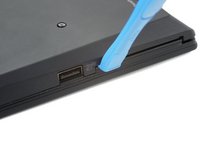
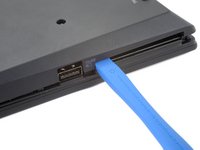
  4. Lenovo ThinkPad T15 Gen 2 SSD Replacement, Release the USB clip: 步骤 4 中的图像 1,2 Lenovo ThinkPad T15 Gen 2 SSD Replacement, Release the USB clip: 步骤 4 中的图像 2,2
    • Insert an opening tool between the lower case and the chassis, just to the right of the USB port on the left edge.

    • Pry the opening case up to release the clip next to the USB port.

    • It may take significant force and multiple attempts to release the clip. You will hear a popping noise when the clip releases.

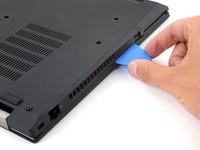
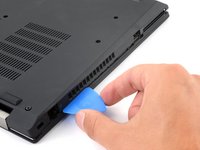
  5. Lenovo ThinkPad T15 Gen 2 SSD Replacement: 步骤 5 中的图像 1,2 Lenovo ThinkPad T15 Gen 2 SSD Replacement: 步骤 5 中的图像 2,2
    • Insert an opening pick on the left edge above the USB port. Slide the pick all the way up to the ethernet port to release the clips.

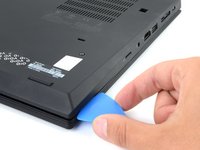
  6. Lenovo ThinkPad T15 Gen 2 SSD Replacement: 步骤 6 中的图像 1,2 Lenovo ThinkPad T15 Gen 2 SSD Replacement: 步骤 6 中的图像 2,2
    • Insert an opening pick on the right edge near the corner.

    • Slide the pick along the right edge all the way to the HDMI port to release the rest of the clips.

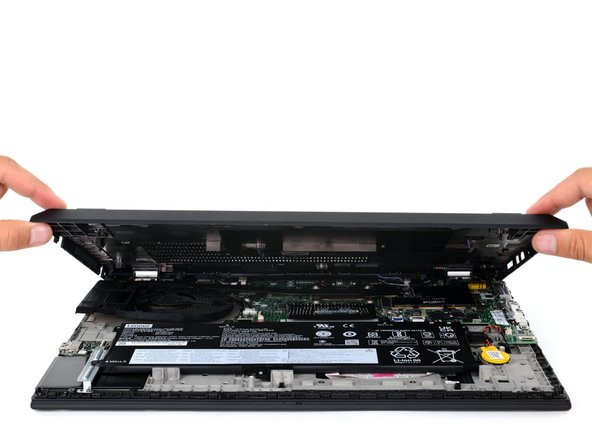
  7. Lenovo ThinkPad T15 Gen 2 SSD Replacement: 步骤 7 中的图像 1,3 Lenovo ThinkPad T15 Gen 2 SSD Replacement: 步骤 7 中的图像 2,3 Lenovo ThinkPad T15 Gen 2 SSD Replacement: 步骤 7 中的图像 3,3
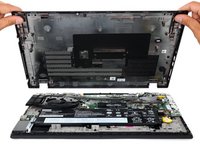
    • Lift the lower case from the chassis and remove it.

    • During reassembly, this is a good point to power on your laptop and test all functions before sealing it up. Be sure to power your laptop back down before you continue working.

  8. Lenovo ThinkPad T15 Gen 2 SSD Replacement, Disconnect the battery: 步骤 8 中的图像 1,3 Lenovo ThinkPad T15 Gen 2 SSD Replacement, Disconnect the battery: 步骤 8 中的图像 2,3 Lenovo ThinkPad T15 Gen 2 SSD Replacement, Disconnect the battery: 步骤 8 中的图像 3,3
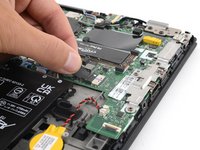
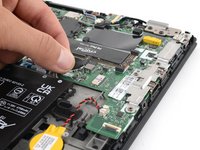
    • Grip the pull tab on the battery connector with your fingers and gently pull away from the socket to disconnect it.

  9. Lenovo ThinkPad T15 Gen 2 SSD Replacement, Unfasten the SSD: 步骤 9 中的图像 1,2 Lenovo ThinkPad T15 Gen 2 SSD Replacement, Unfasten the SSD: 步骤 9 中的图像 2,2
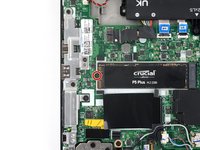
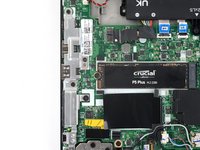
    • Use a Phillips screwdriver to remove the 3.5 mm screw securing the SSD.

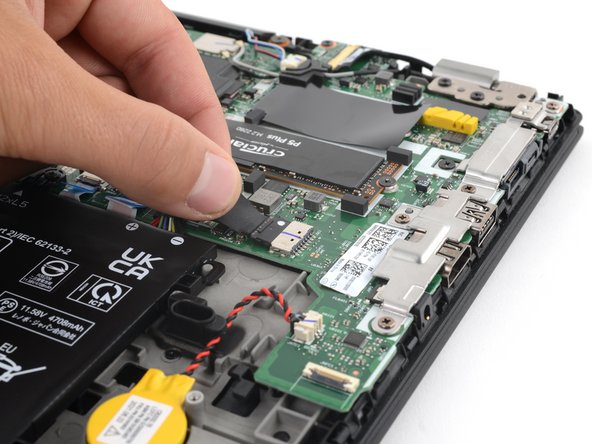
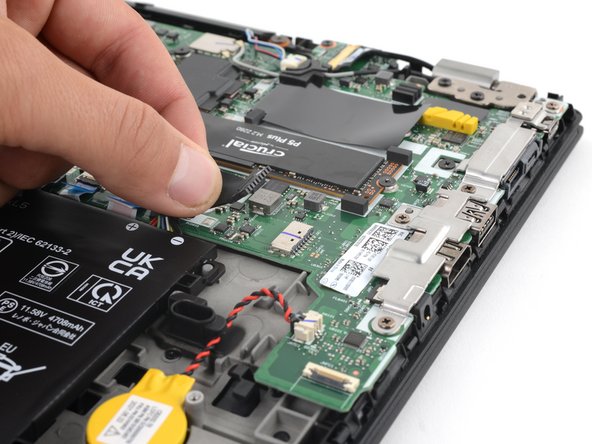
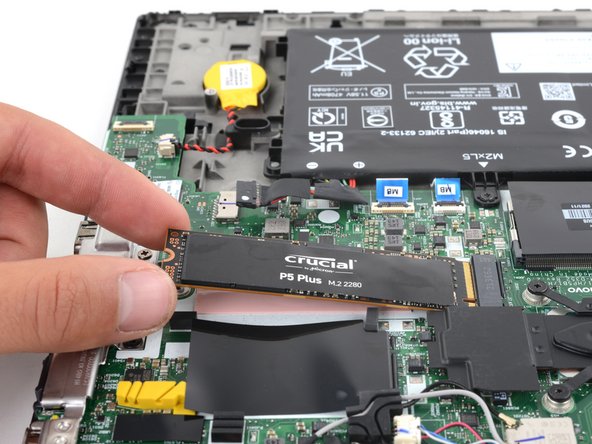
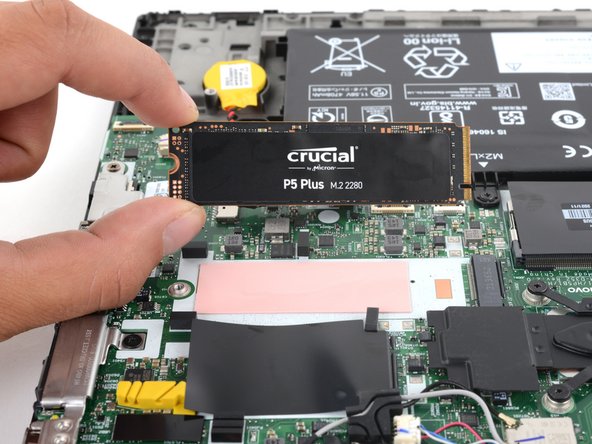
  10. Lenovo ThinkPad T15 Gen 2 SSD Replacement, Remove the SSD: 步骤 10 中的图像 1,3 Lenovo ThinkPad T15 Gen 2 SSD Replacement, Remove the SSD: 步骤 10 中的图像 2,3 Lenovo ThinkPad T15 Gen 2 SSD Replacement, Remove the SSD: 步骤 10 中的图像 3,3
    • Pull the SSD out of its socket and remove it. Keep the SSD as parallel to the motherboard as possible when pulling on it.

    • Do not pull up at a sharp angle, as this could damage the SSD and the socket.

结论

To reassemble your device, follow these instructions in reverse order.

Take your e-waste to an R2 or e-stewards certified recycler.

Repair didn't go as planned? Try some basic troubleshooting, or ask our Lenovo ThinkPad T Series answers community for help.

Spencer Day

于09/14/22注册

96,153 声望

创作了662篇指南

团队

iFixit iFixit 的会员

Staff

120 名成员

创作了19,664篇指南

0指南评论

添加评论

浏览统计数据:

过去 24 小时: 4

过去 7 天: 20

过去 30 天: 103

总计 1,962