跳转到主内容

Left Nintendo Switch NES Controller Charging Rail Replacement

你所需要的

  1. Left Nintendo Switch NES Controller Charging Rail Replacement, Unscrew the back casing: 步骤 1 中的图像 1,3 Left Nintendo Switch NES Controller Charging Rail Replacement, Unscrew the back casing: 步骤 1 中的图像 2,3 Left Nintendo Switch NES Controller Charging Rail Replacement, Unscrew the back casing: 步骤 1 中的图像 3,3
    • Use a Tri-point #Y00 screwdriver to remove the six 6.0 mm screws securing the back case.

    • Remove the back case from the controller.

  2. Left Nintendo Switch NES Controller Charging Rail Replacement, Unscrew the battery housing: 步骤 2 中的图像 1,3 Left Nintendo Switch NES Controller Charging Rail Replacement, Unscrew the battery housing: 步骤 2 中的图像 2,3 Left Nintendo Switch NES Controller Charging Rail Replacement, Unscrew the battery housing: 步骤 2 中的图像 3,3
    • Use a Phillips #000 to remove three 3.0 mm screws holding the battery and it's housing.

    • Remove the battery housing with the battery from the main board and set it aside.

    • At this point the battery is still attached to the motherboard by a connector so don't pull it off the board.

    • If you're not replacing the battery, you can leave it attached to the board to complete the repair, just be careful when moving them so you don't damage the connection.

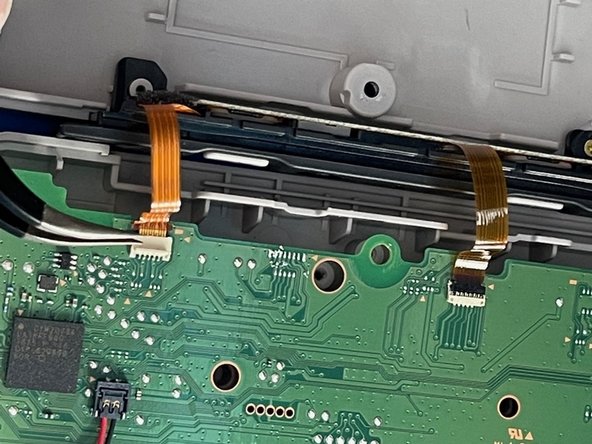
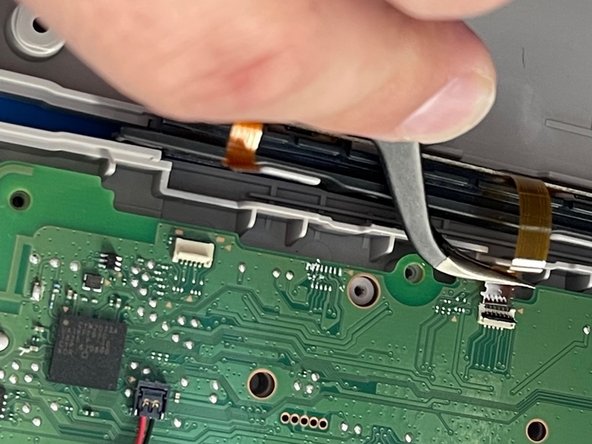
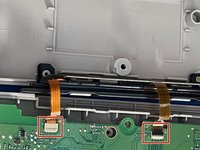
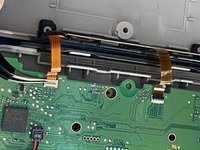
  3. Left Nintendo Switch NES Controller Charging Rail Replacement, Pry the ZIF connectors up: 步骤 3 中的图像 1,3 Left Nintendo Switch NES Controller Charging Rail Replacement, Pry the ZIF connectors up: 步骤 3 中的图像 2,3 Left Nintendo Switch NES Controller Charging Rail Replacement, Pry the ZIF connectors up: 步骤 3 中的图像 3,3
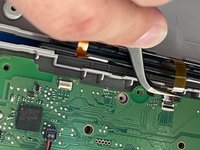
    • Use the tip of a spudger or your fingernail to flip up the small locking flaps on the two ZIF Connectors. Then, you can safely pull the cable out.

    • Be sure to pry up on the hinged flap, not the connector socket.

  4. Left Nintendo Switch NES Controller Charging Rail Replacement, Remove the charging rail: 步骤 4 中的图像 1,3 Left Nintendo Switch NES Controller Charging Rail Replacement, Remove the charging rail: 步骤 4 中的图像 2,3 Left Nintendo Switch NES Controller Charging Rail Replacement, Remove the charging rail: 步骤 4 中的图像 3,3
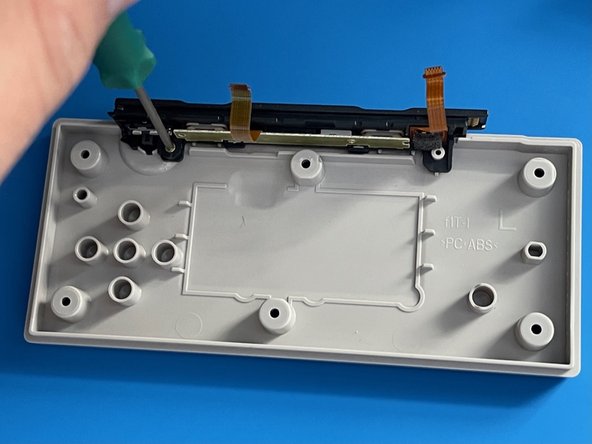
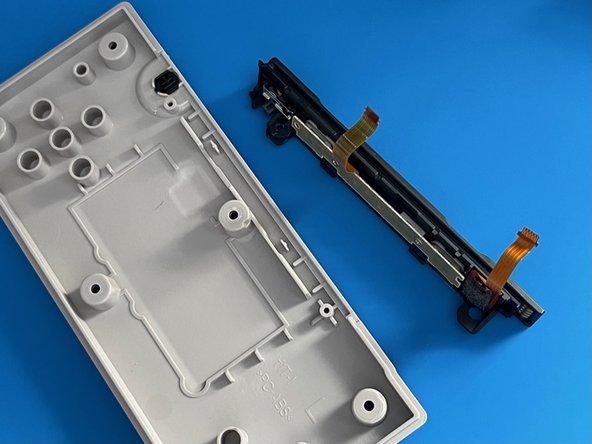
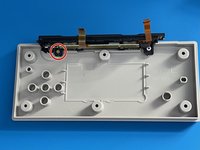
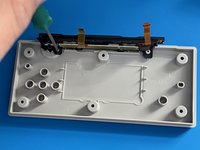
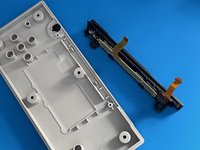
    • Use a Phillips #000 to remove the single 3.0 mm screw holding the charging rail to the back plate.

    • Remove the charging rail.

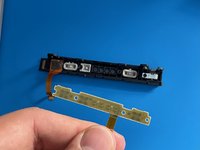
  5. Left Nintendo Switch NES Controller Charging Rail Replacement, Remove the rail PCB: 步骤 5 中的图像 1,3 Left Nintendo Switch NES Controller Charging Rail Replacement, Remove the rail PCB: 步骤 5 中的图像 2,3 Left Nintendo Switch NES Controller Charging Rail Replacement, Remove the rail PCB: 步骤 5 中的图像 3,3
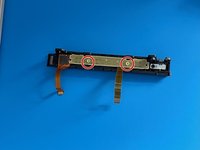
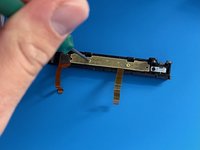
    • Use a Phillips #000 screwdriver to remove two 3.0mm screws from the rail PCB.

    • Remove the charging rail PCB.

  6. Left Nintendo Switch NES Controller Charging Rail Replacement, Take the SL, SR and Sync buttons out: 步骤 6 中的图像 1,3 Left Nintendo Switch NES Controller Charging Rail Replacement, Take the SL, SR and Sync buttons out: 步骤 6 中的图像 2,3 Left Nintendo Switch NES Controller Charging Rail Replacement, Take the SL, SR and Sync buttons out: 步骤 6 中的图像 3,3
    在这个步骤中使用的工具:
    Tweezers
    $4.99
    购买
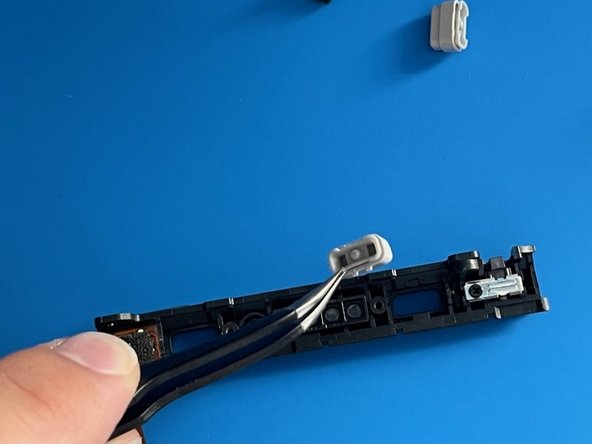
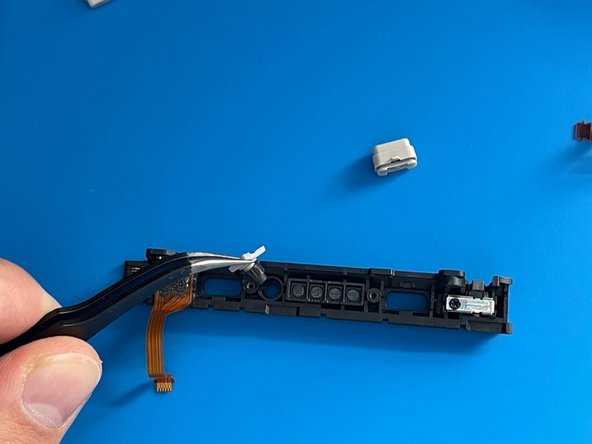
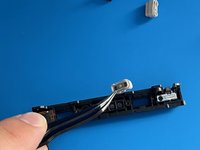
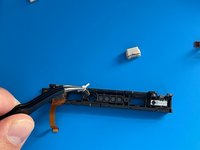
    • Using tweezers, remove the SL and SR buttons.

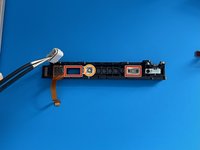
    • Do the same for the Sync button between them.

结论

We hope you enjoy your new and improved Charging Rail for your Nintendo Switch NES Controller.

To put the device back together, follow this guide in reverse.

2等其他人完成本指南。
Dominik Szwec

于01/14/22注册

148 声望

撰写一个指南

团队

York University, Team M-26, Allen Winter 2023 York University, Team M-26, Allen Winter 2023 的会员

YORK-ALLEN-W23SMG26

1 名成员

创作了2篇指南

0条评论

添加评论

浏览统计数据:

过去 24 小时: 2

过去 7 天: 13

过去 30 天: 46

总计 757