跳转到主内容

Kodak EasyShare M530 Control Buttons Replacement

你所需要的

  1. Kodak EasyShare M530 Control Buttons Replacement, Control Buttons: 步骤 1 中的图像 1,2 Kodak EasyShare M530 Control Buttons Replacement, Control Buttons: 步骤 1 中的图像 2,2
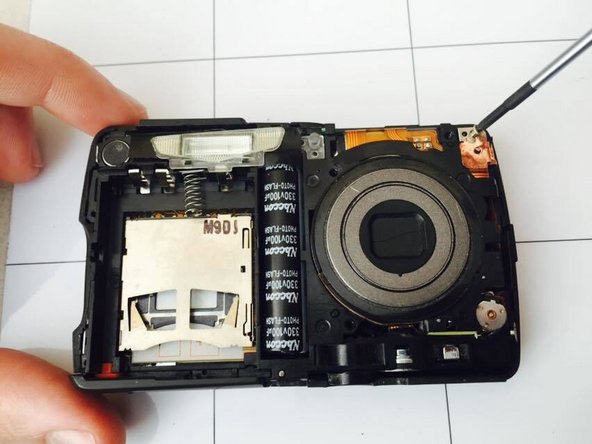
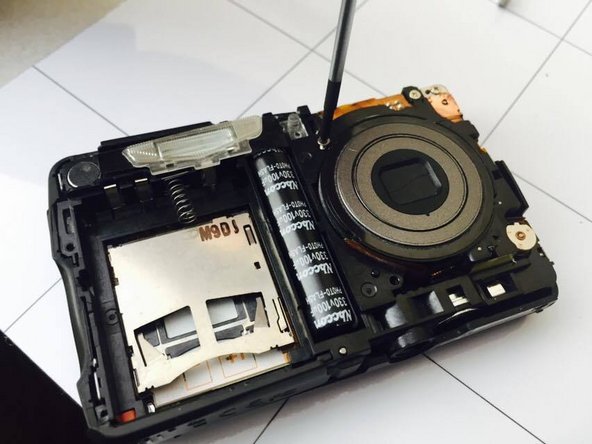
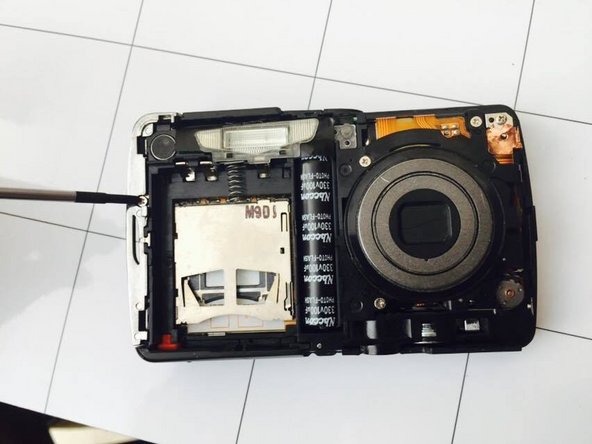
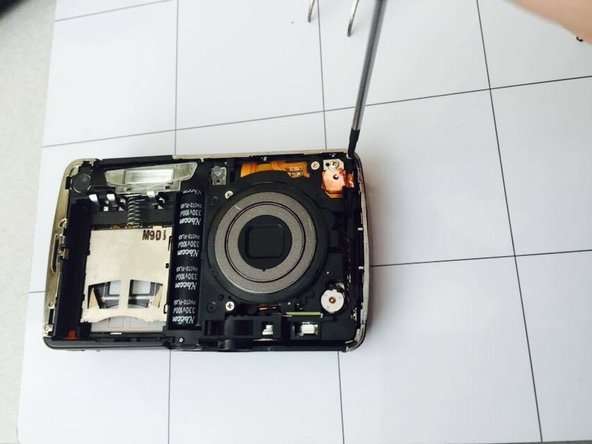
    • Front and Back view of camera. Use a Philips Head screw driver to unscrew the sides of the camera. There are six screws total.

  2. Kodak EasyShare M530 Control Buttons Replacement: 步骤 2 中的图像 1,2 Kodak EasyShare M530 Control Buttons Replacement: 步骤 2 中的图像 2,2
    • Use a Philips Head screw driver to unscrew the sides of the camera. There are two screws on each side except for the top of the camera. Carefully remove face plate of camera. Place alongside near screws.

  3. Kodak EasyShare M530 Control Buttons Replacement: 步骤 3 中的图像 1,3 Kodak EasyShare M530 Control Buttons Replacement: 步骤 3 中的图像 2,3 Kodak EasyShare M530 Control Buttons Replacement: 步骤 3 中的图像 3,3
    • To get to control buttons, use a Phillips Head screw driver to unscrew the three screws near lens.

  4. Kodak EasyShare M530 Control Buttons Replacement: 步骤 4 中的图像 1,3 Kodak EasyShare M530 Control Buttons Replacement: 步骤 4 中的图像 2,3 Kodak EasyShare M530 Control Buttons Replacement: 步骤 4 中的图像 3,3
    • Unscrew the screw near the rechargeable battery compartment. The metal piece then can be removed.

  5. Kodak EasyShare M530 Control Buttons Replacement: 步骤 5 中的图像 1,2 Kodak EasyShare M530 Control Buttons Replacement: 步骤 5 中的图像 2,2
    • Remove additional screws near lens.

  6. Kodak EasyShare M530 Control Buttons Replacement: 步骤 6 中的图像 1,2 Kodak EasyShare M530 Control Buttons Replacement: 步骤 6 中的图像 2,2
    • This is what the camera should look like with all screws are removed. Flip camera over to carefully remove the screen cover.

  7. Kodak EasyShare M530 Control Buttons Replacement: 步骤 7 中的图像 1,2 Kodak EasyShare M530 Control Buttons Replacement: 步骤 7 中的图像 2,2
    • Remove buttons from back case of screen cover. Replace with new set of buttons.

  8. Kodak EasyShare M530 Control Buttons Replacement: 步骤 8 中的图像 1,1
    • Follow the steps in reverse order to reassemble the camera. Now you can take beautiful pictures again!

结论

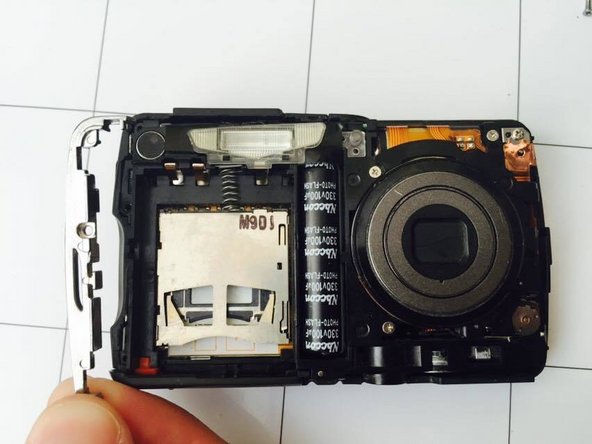
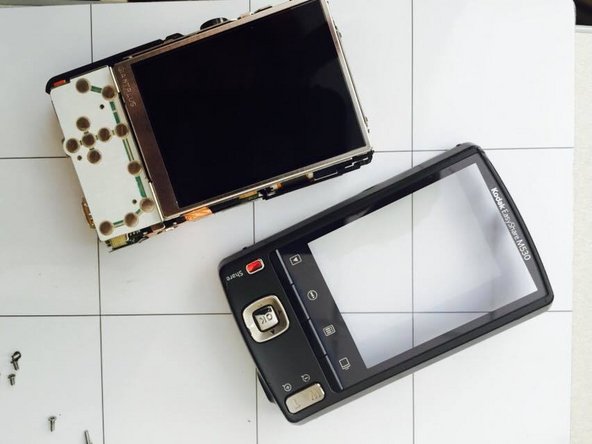
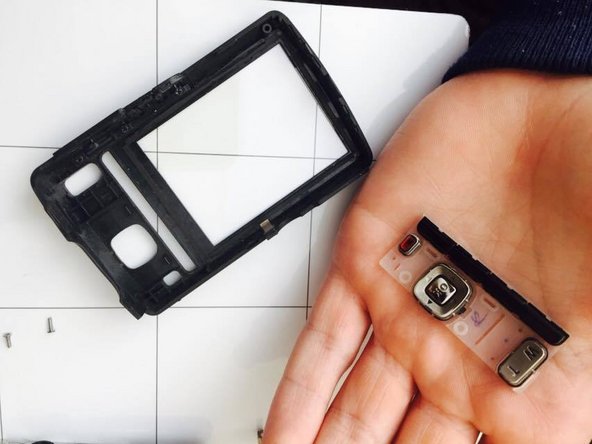
Once you purchase these parts, follow the given instructions. To reassemble your device, follow these instructions in reverse order.

3等其他人完成本指南。

Elizabeth

于01/28/15注册

279 声望

创作了2篇指南

团队

Penn State, Team 1-2, Kaschak Winter 2015 Penn State, Team 1-2, Kaschak Winter 2015 的会员

PSU-KASCHAK-W15S1G2

1 名成员

创作了4篇指南

一条评论

como cambio la tapa de la bateria y pin de carga

Dario - 回复

添加评论

浏览统计数据:

过去 24 小时: 0

过去 7 天: 8

过去 30 天: 11

总计 606