简介
Oh snap! The snap on your jacket just blew out. Fortunately, replacing it is easy. You’ll need the help of a hand press and a new snap. The hand press should be mounted firmly to a sturdy workbench—otherwise, it might slip and damage your project (or worse yet, injure you). Before you get started, make sure you check the fabric to determine whether or not it’s been damaged to the point where it cannot support a new snap. If the fabric has been damaged, you’ll need to sew a reinforcing patch onto the fabric before replacing the snap.
For replacement parts or further assistance, contact Patagonia Customer Service.
你所需要的
-
-
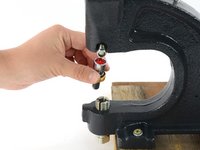
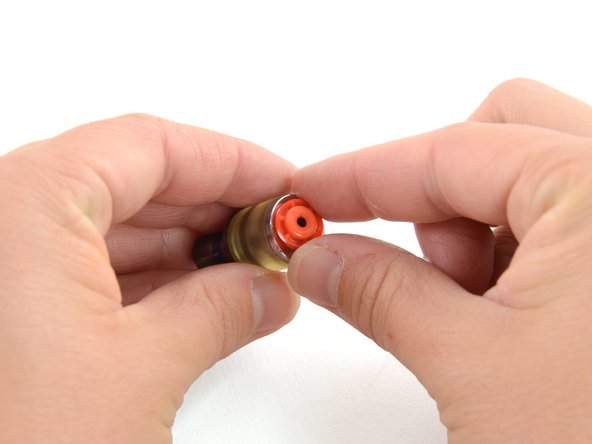
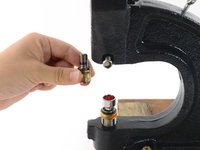
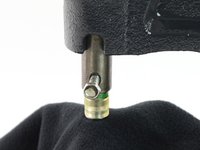
Insert the stud fitting into the upper fitting holder of the hand press.
-
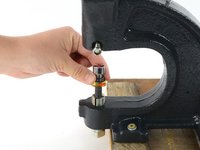
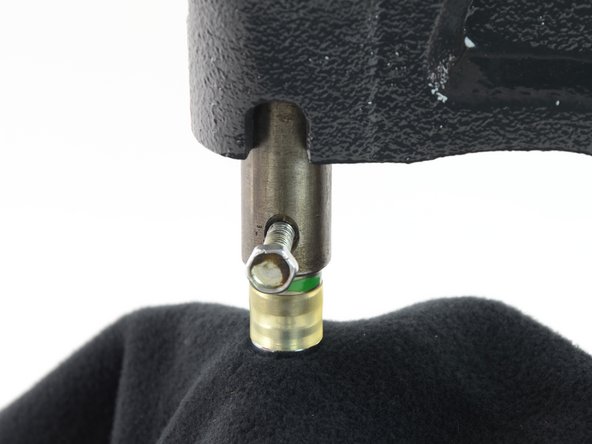
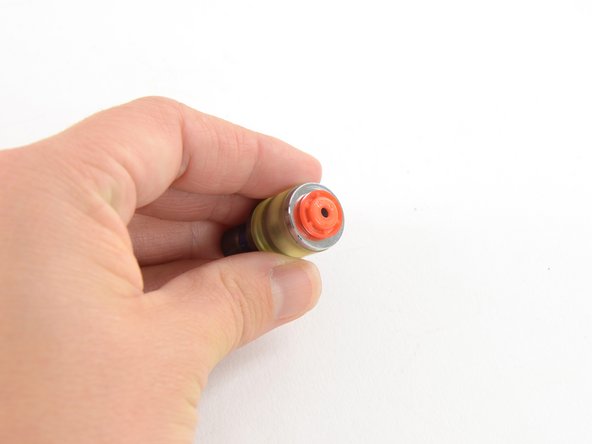
Insert the fitting as far as it will go, so that the only visible part is the wider encasement portion of the fitting.
-
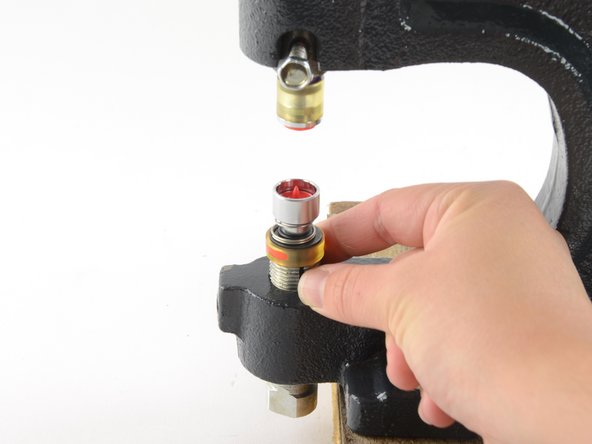
Tighten the screw on the side of the upper fitting holder to secure the stud fitting. Tighten the screw about a 1/4 turn past finger-tight.
-
-
-
-
Release the handle of the hand press, and remove the fabric.
-
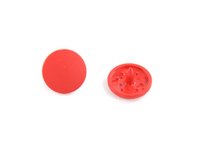
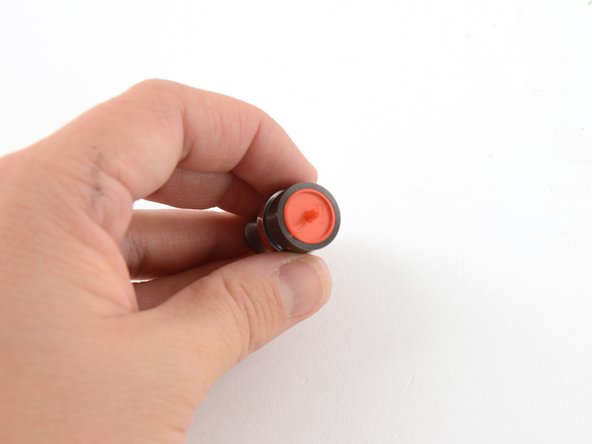
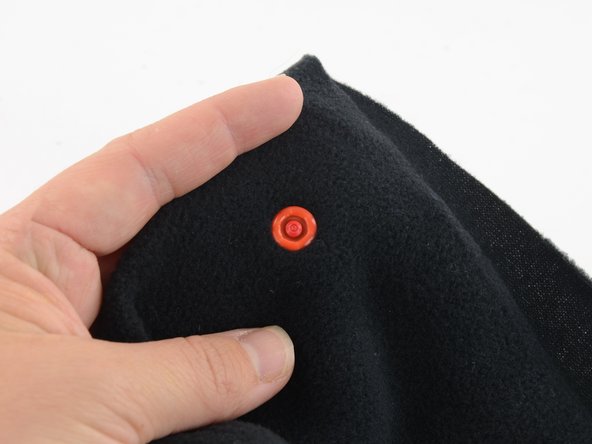
Inspect both sides of your snap to make sure that it is laying flat and tight up against the fabric. When you inspect the stud side you should see that the nose of the cap has been pressed into a ring; this is what holds the snap parts together.
-
-
-
Insert the socket fitting into the upper fitting holder on the hand press.
-
Insert the fitting as far as it will go, so that the only visible part is the wider encasement portion of the fitting.
-
Tighten the screw on the side of the upper fitting holder to secure the socket fitting. Tighten the screw about a 1/4 turn past finger-tight.
-
-
-
Release the handle of the hand press, and remove the fabric.
-
Inspect both sides of your snap to make sure that it is laying flat and tight up against the fabric. When you inspect the socket side you should see that the nose of the cap has been pressed into a ring; this is what holds the snap parts together.
-
If the snap is not set all the way, reinsert the snap into the hand press, aligning it as it was before, and repeat step 18 of this guide.
-


Admire your handiwork!

