简介
使用本指南更换华为 Mate 10 Pro 充电口。
你所需要的


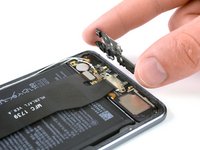


即将完成!
请按逆序重组你的设备。
结论
请按逆序重组你的设备。
18等其他人完成本指南。


2条评论
Great tutorial! It has been a month without being able to charge my phone, and now it charges 2x as fast with my repair.
I recommend testing the USB C flex cable assembly before you reassemble the phone. As soon as it’s connected to the upper connector and the battery is plugged in the phone should be charging. Mine was broken from the factory but I went to a great local repair shop and got a new one, the guy said 1 out of 15 is broken from the factory. Great tutorial, successful repair.