简介
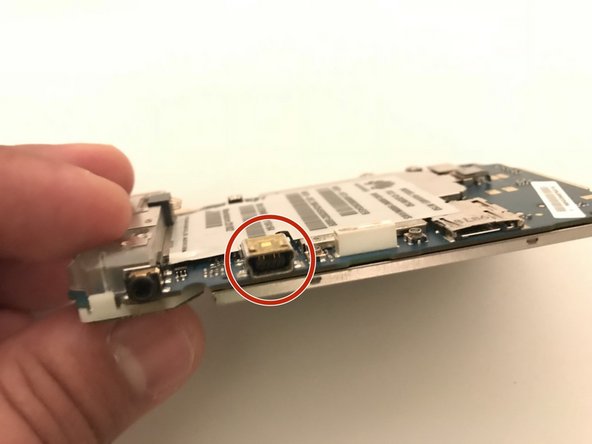
This guide will lead you throughout the process of the replacement of the charging port in Huawei M750
你所需要的
-
-
Depress the top of the battery cover, and pull downwards towards the base of the phone.
-
-
-
Use the opening tool to start prying the camera and speaker cover, starting from the battery side.
-
Work the opening tool around the border of the camera and speaker cover, until it comes loose.
-
-
-
-
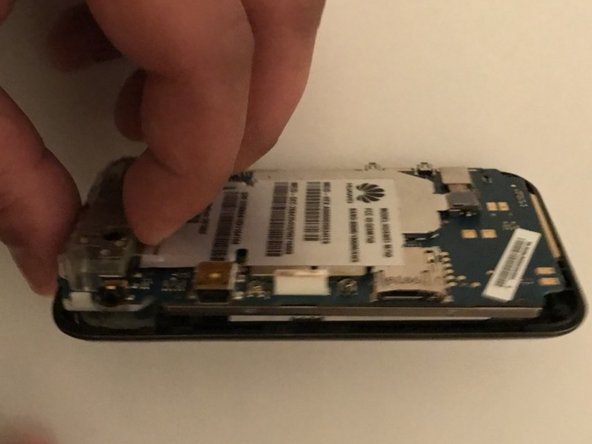
Using the opening tool, start prying out the motherboard from the front panel along the border.
-
When the motherboard seems separated from the front panel, pull it outwards.
-


To reassemble your device, follow these instructions in reverse order.
To reassemble your device, follow these instructions in reverse order.
另外一个人完成了本指南。
团队

University of North Texas, Team S1-G6, Thompson Spring 2018 University of North Texas, Team S1-G6, Thompson Spring 2018 的会员
UNT-THOMPSON-S18S1G6
3 名成员
创作了15篇指南