简介
Before attempting to repair this toy you need to consider that the manufacturer has glued a cover over a screw. To remove this will leave a broken part (which you can glue on later) and that tool marks may remain visible (can mostly be smoothed back down with a warmed metal spatula/rod)
你所需要的
-
-
Remove 1 screw securing battery cover. Remove batteries.
-
remove 2 screws from dog belly that were hidden by battery cover.
-
-
-
-
Remove 2 screws-1 each next to front legs.
-
Use a plastic spudger to pry between upper and lower body.
-
Remove lower casing, front legs may still be attached to case but will easily pull free. When reattaching the body it is easiest to place legs in lower case and then place upper case on top.
-
-
-
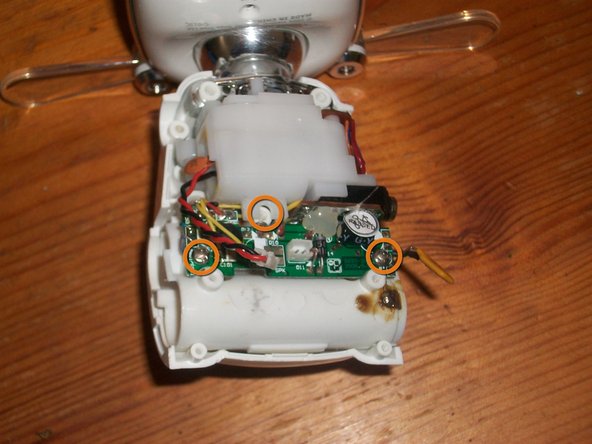
remove 2 screws holding motor to battery compartment that were hidden beneath jack and wiring near battery opening.
-
Lift motor housing up slightly to allow battery compartment to be removed. You may have to "wiggle" neck joint/silver attachment to allow this.
-
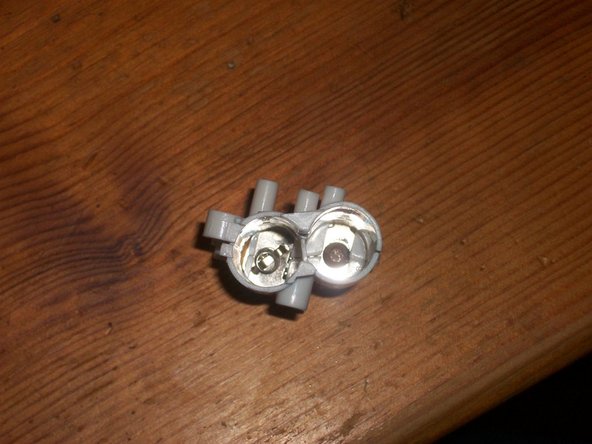
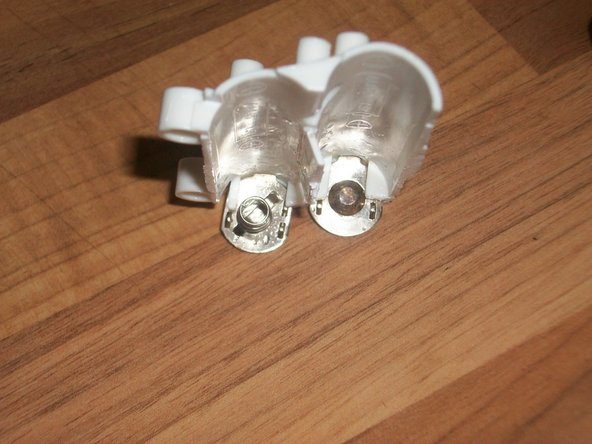
The removed battery compartment. You will need to use a sharp blade to cut along joins to fully access battery contacts for a thorough clean.
-


To reassemble your device, follow these instructions in reverse order.
To reassemble your device, follow these instructions in reverse order.
8等其他人完成本指南。

团队

2条评论
I struggled to remove the back cover to clean the battery corrosion off. So, I had an amazing idea. Q-tips and vinegar! I dipped a q-tip in vinager and reaches it down to the bottom of the compartment, cleaning it thoroughly. I dryed it with dry q-tips and small paper towel pieces. I placed new batteries inside and it worked again!
Rubbing alcohol will also work for removing battery corrosion. I have used it to clean out battery compartments with 30-year-old exploded batteries. 10 minutes & a little elbow grease, and you can often get an item to work again. IF the issue is just corrosion. If the damage is extensive, and or quite old, it can chew through the plastic walls of a battery compartment, or more easily, it can weaken the wire coil springs, causing them to break off requiring replacement. David James Moon.