简介
使用本指南可卸下或更换 HTC Vive 中的主板。
你需要一个狭窄的长螺丝刀,才能拧紧本指南中的某些螺丝。
你所需要的
-
-
使用T5梅花槽螺丝刀卸下两个12毫米长的螺丝,这些螺钉将头带安装在头显的任一侧。
Helaas blijkt de T5 Torx schroevendraaier aan de schroeven van de bevestigingsbeugels geen grip te krijgen. Wat dan gedaan?
-
-
-
-
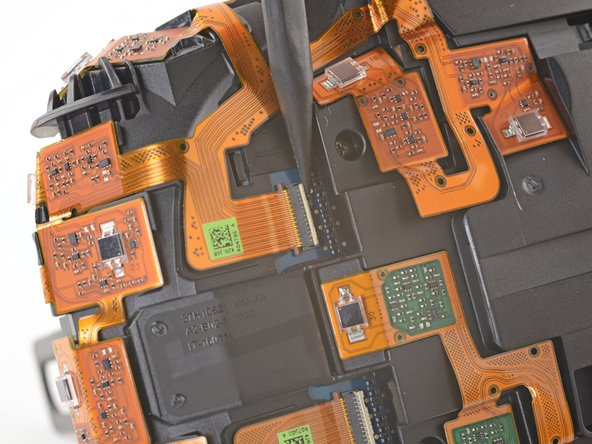
使用镊子除去所有四个传感器阵列电缆接口上的透明胶带。
-
-
-
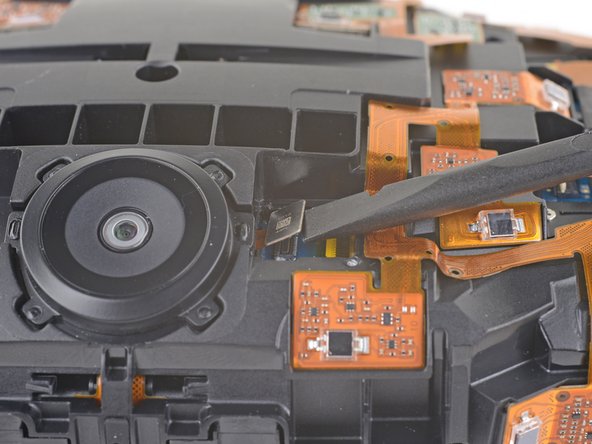
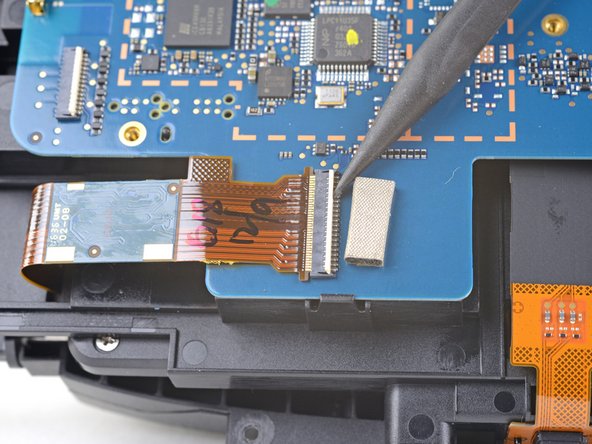
使用撬棒的尖端向上翻转传感器阵列ZIF 接口之一上的小锁定盖。
-
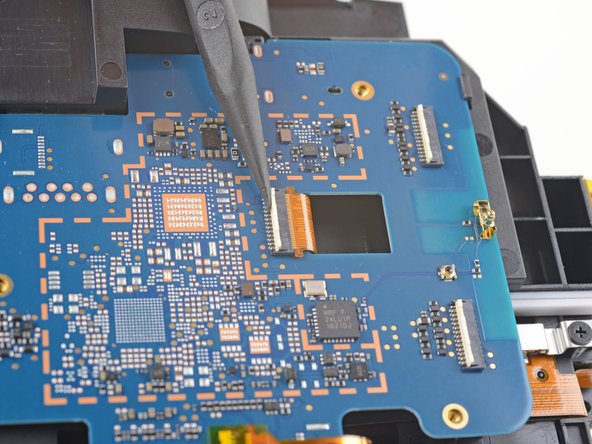
将电缆直接从主板上的插槽中滑出。
This guide is grossly incomplete. Do NOT try to pull up the sensor array after taking these five screws off. There are 8 more screws that have to be removed, as well as 2 tabs that need to be pushed before the sensor array comes off.
-Two screws on the bottom (by the camera) to each side. There are four screws here, but only the outermost two need to be taken off. See the two sensors on the bottom? The screws under the outside corner of each sensor are the ones you remove.
-Two screws on the top, to the right and left of the cable opening.
-Four screws on the back, to the left and right of the lenses. Turn the Vive around, the screws are deep inside four holes.
-Finally, two tabs on the bottom by the camera. If you look closely you will see them!
-
-
-
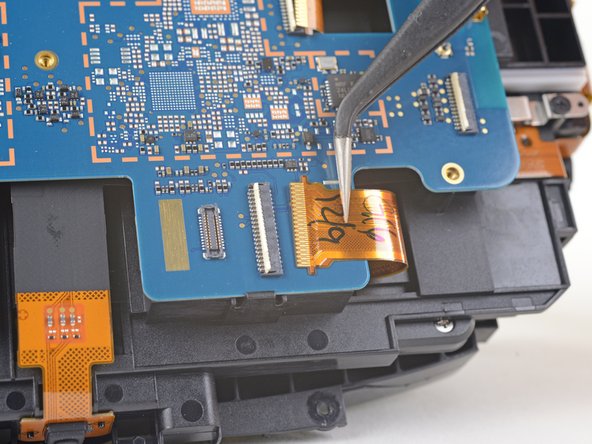
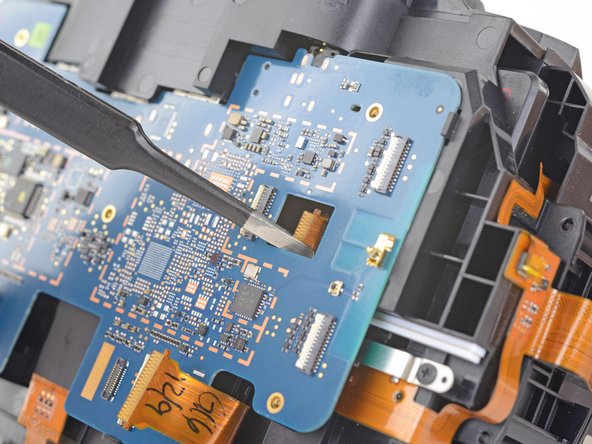
对其余三根传感器阵列电缆重复上一步骤,以断开其余电缆。
Sure, but how do you get a replacement array?
It starts with “lift the sensor array" but how am I supposed to do that? Its not just lifting off after unscrewing & disconnecting. What am I missing here?
-


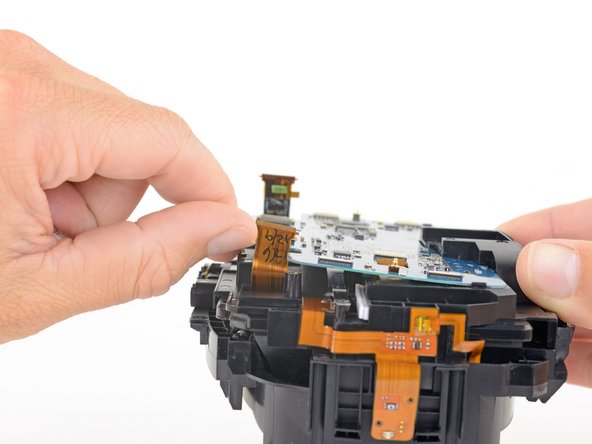

将新的替换零件与原始零件进行比较——在安装之前,你可能需要转移剩余的组件或从新零件上取下粘性衬板。
要重新组装设备,请按照逆序执行上述步骤。
将你的电子垃圾带到R2或e-Stewards认证回收商。
维修没有按计划进行吗?请查看我们的论坛,以获取疑难解答帮助。
将新的替换零件与原始零件进行比较——在安装之前,你可能需要转移剩余的组件或从新零件上取下粘性衬板。
要重新组装设备,请按照逆序执行上述步骤。
将你的电子垃圾带到R2或e-Stewards认证回收商。
维修没有按计划进行吗?请查看我们的论坛,以获取疑难解答帮助。
9等其他人完成本指南。


4条评论
Any recommendations as to where to find a motherboard for the vive? Having trouble getting google to stop recommending motherboards that support vr.
You may (or may not) have luck trying to grab Vives with different broken parts off of eBay.
is that really the only way?
Gus -
Anyone know where to get a replacement vive motherboard? Even if it’s from china