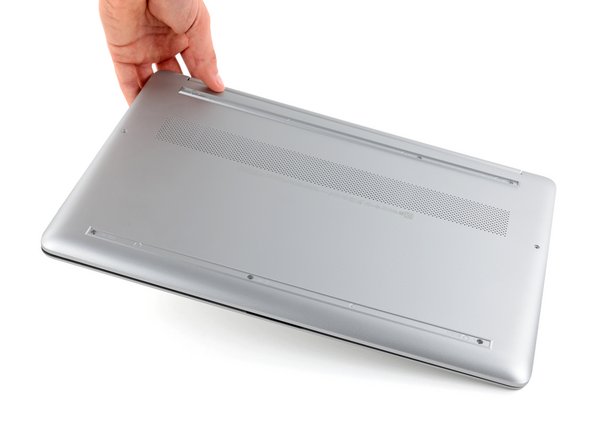
跳转到主内容

HP 15-dy Fan Replacement

你所需要的

  1. HP 15-dy Fan Replacement, Prepare your laptop for disassembly: 步骤 1 中的图像 1,1
    • Fully shut down your laptop and unplug all cables.

  2. HP 15-dy Fan Replacement, Flip your laptop over: 步骤 2 中的图像 1,1
    • Flip your laptop over so the rubber feet are facing up.

  3. HP 15-dy Fan Replacement, Peel up an end of the front foot: 步骤 3 中的图像 1,3 HP 15-dy Fan Replacement, Peel up an end of the front foot: 步骤 3 中的图像 2,3 HP 15-dy Fan Replacement, Peel up an end of the front foot: 步骤 3 中的图像 3,3
    • The rubber feet cover a total of six back cover screws.

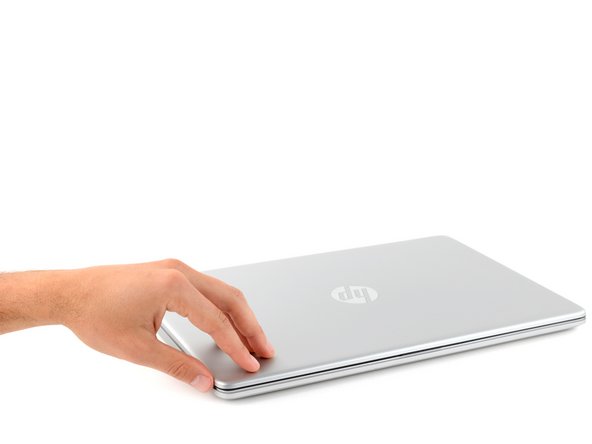
    • Use an opening pick to peel up an end of the front rubber foot until you can grip it with your fingers.

    • Make sure both the foot and its adhesive peel up together, as they need to be removed as one piece.

  4. HP 15-dy Fan Replacement, Remove the front foot: 步骤 4 中的图像 1,3 HP 15-dy Fan Replacement, Remove the front foot: 步骤 4 中的图像 2,3 HP 15-dy Fan Replacement, Remove the front foot: 步骤 4 中的图像 3,3
    • Peel the front foot away from the back cover and remove it.

  5. HP 15-dy Fan Replacement, Remove the rear foot: 步骤 5 中的图像 1,3 HP 15-dy Fan Replacement, Remove the rear foot: 步骤 5 中的图像 2,3 HP 15-dy Fan Replacement, Remove the rear foot: 步骤 5 中的图像 3,3
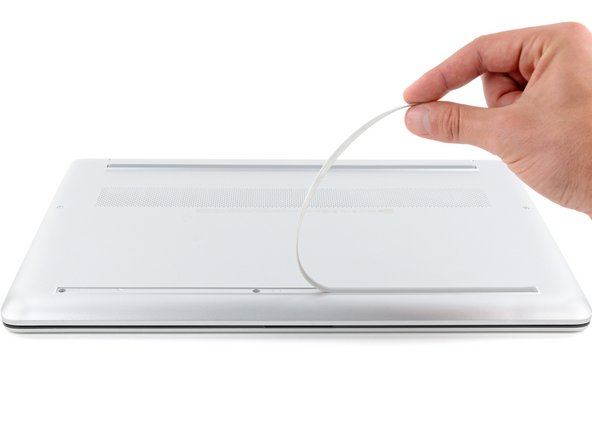
    • Use an opening pick to peel up an end of the rear rubber foot until you can grip it with your fingers.

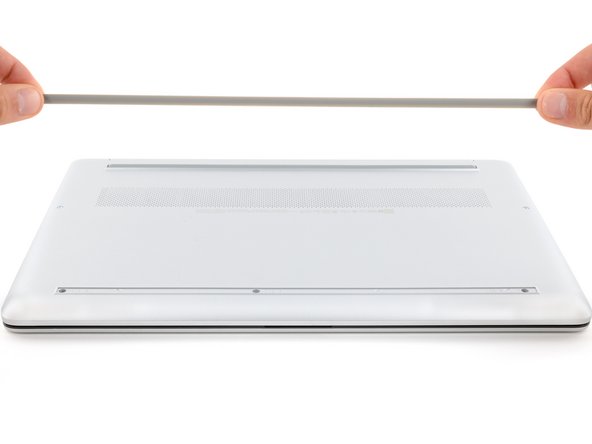
    • Peel the rear foot away from the back cover and remove it.

  6. HP 15-dy Fan Replacement, Reassembly information: 步骤 6 中的图像 1,3 HP 15-dy Fan Replacement, Reassembly information: 步骤 6 中的图像 2,3 HP 15-dy Fan Replacement, Reassembly information: 步骤 6 中的图像 3,3
    在这个步骤中使用的工具:
    Tesa 61395 Tape
    $5.99
    购买
    • Note that the rubber feet are different:

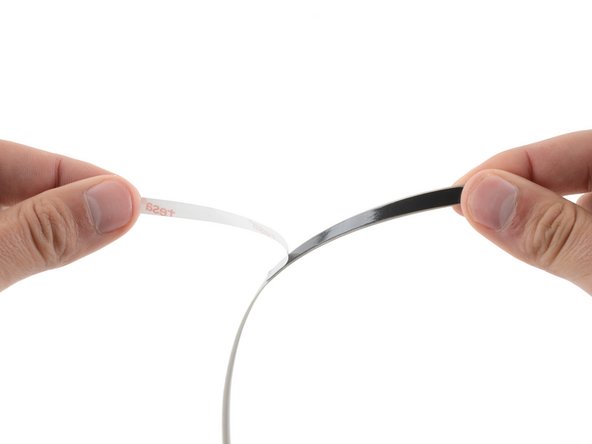
    • The rear foot is thicker, with a deeper recess.

    • The front foot is thinner, with a shallower recess.

    • During reassembly:

    • If you're reusing the rubber feet, the leftover adhesive should be tacky enough to reuse.

    • If the leftover adhesive isn't sticky enough or your replacement feet didn't come with adhesive, you can use double-sided tape such as Tesa Tape to secure the feet.

    • Make sure the strips of tape aren't wider than 6 mm, otherwise they may not fit.

    • To install a foot, remove its adhesive liner, lay the foot into its matching recess, and press down firmly along the entire length of the foot to secure it.

  7. HP 15-dy Fan Replacement, Unfasten the back cover: 步骤 7 中的图像 1,2 HP 15-dy Fan Replacement, Unfasten the back cover: 步骤 7 中的图像 2,2
    • Use a Phillips screwdriver to remove the eight screws securing the back cover:

    • Six 6.5 mm-long silver screws

    • Two 6.7 mm-long black screws

    • Despite the standards, Phillips screwdrivers can vary in size and shape—two drivers labeled as the same size may fit differently in the same screw. Use the size that fits the most snug into the screw head to avoid stripping it.

  8. HP 15-dy Fan Replacement, Open your laptop: 步骤 8 中的图像 1,3 HP 15-dy Fan Replacement, Open your laptop: 步骤 8 中的图像 2,3 HP 15-dy Fan Replacement, Open your laptop: 步骤 8 中的图像 3,3
    • Flip your laptop over and open the screen.

  9. HP 15-dy Fan Replacement, Release the clips: 步骤 9 中的图像 1,2 HP 15-dy Fan Replacement, Release the clips: 步骤 9 中的图像 2,2
    • Plastic clips secure the back cover to the frame. You'll hear and feel the clips release as you work.

    • Insert the flat side of an opening pick into the seam between the top left edge of the back cover and the frame.

    • Slide the opening pick down to the bottom left corner to release the clips on the left edge.

  10. HP 15-dy Fan Replacement: 步骤 10 中的图像 1,2 HP 15-dy Fan Replacement: 步骤 10 中的图像 2,2
    • Insert the flat side of an opening pick into the seam between the top right edge of the back cover and the frame.

    • Slide the opening pick down to the bottom right corner to release the clips on the right edge.

  11. HP 15-dy Fan Replacement: 步骤 11 中的图像 1,3 HP 15-dy Fan Replacement: 步骤 11 中的图像 2,3 HP 15-dy Fan Replacement: 步骤 11 中的图像 3,3
    • Insert the flat side of an opening pick between the bottom right corner of the back cover and frame.

    • Slide the opening pick to the bottom left corner to release the remaining clips.

  12. HP 15-dy Fan Replacement, Flip your laptop over: 步骤 12 中的图像 1,3 HP 15-dy Fan Replacement, Flip your laptop over: 步骤 12 中的图像 2,3 HP 15-dy Fan Replacement, Flip your laptop over: 步骤 12 中的图像 3,3
    • Close the screen and flip your laptop back over again.

  13. HP 15-dy Fan Replacement, Remove the back cover: 步骤 13 中的图像 1,3 HP 15-dy Fan Replacement, Remove the back cover: 步骤 13 中的图像 2,3 HP 15-dy Fan Replacement, Remove the back cover: 步骤 13 中的图像 3,3
    • Remove the back cover.

    • To reinstall the back cover, lay it on the frame and firmly press down around the perimeter to engage all of the clips.

  14. HP 15-dy Fan Replacement, Unfasten the battery: 步骤 14 中的图像 1,2 HP 15-dy Fan Replacement, Unfasten the battery: 步骤 14 中的图像 2,2
    • Given the design of the battery connector, the only way to disconnect the battery is to physically remove it.

    • Try not to bend, crease, deform, poke, or puncture the battery with your tool—a damaged battery is a potential fire hazard.

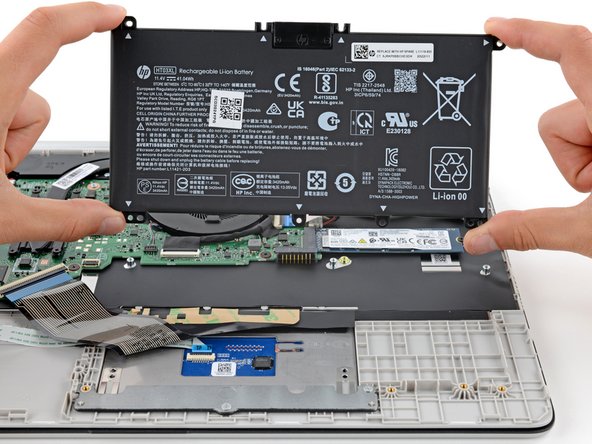
    • Use a Phillips screwdriver to remove the five 3.7 mm-long screws securing the battery.

  15. HP 15-dy Fan Replacement, Remove the battery: 步骤 15 中的图像 1,3 HP 15-dy Fan Replacement, Remove the battery: 步骤 15 中的图像 2,3 HP 15-dy Fan Replacement, Remove the battery: 步骤 15 中的图像 3,3
    • Gently lift the upper edge of the battery to disconnect its socket from the motherboard.

    • Remove the battery.

    • During reassembly, use the alignment posts to position the battery and press down on the socket to secure it.

    • Never reuse a deformed or damaged battery—it's a fire hazard. Replace it with a new battery.

  16. HP 15-dy Fan Replacement, Disconnect the fan cable: 步骤 16 中的图像 1,3 HP 15-dy Fan Replacement, Disconnect the fan cable: 步骤 16 中的图像 2,3 HP 15-dy Fan Replacement, Disconnect the fan cable: 步骤 16 中的图像 3,3
    • Use the flat end of a spudger to gently pry the fan cable connector straight up from the motherboard to disconnect it.

  17. HP 15-dy Fan Replacement, Move the display cable: 步骤 17 中的图像 1,2 HP 15-dy Fan Replacement, Move the display cable: 步骤 17 中的图像 2,2
    • A section of the display cable covers one of the screws securing the fan.

    • Move the cable out of its clip and away from the fan.

  18. HP 15-dy Fan Replacement, Unfasten the fan: 步骤 18 中的图像 1,2 HP 15-dy Fan Replacement, Unfasten the fan: 步骤 18 中的图像 2,2
    在这个步骤中使用的工具:
    Tweezers
    $4.99
    购买
  19. HP 15-dy Fan Replacement, Remove the fan: 步骤 19 中的图像 1,2 HP 15-dy Fan Replacement, Remove the fan: 步骤 19 中的图像 2,2
    • Remove the fan.

结论

Compare your new replacement part to the original part—you may need to transfer remaining components or remove adhesive backings from the new part before you install it.

To reassemble your device, follow these instructions in reverse order.

Take your e-waste to an R2 or e-Stewards certified recycler. Depending on your region, used HP devices and parts can be returned for reuse or recycling through the HP Planet Partners program.

Repair didn’t go as planned? Try some basic troubleshooting, or ask our Answers community for help.

2等其他人完成本指南。

Spencer Day

于09/14/22注册

54,804 声望

创作了407篇指南

团队

iFixit iFixit 的会员

Staff

135 名成员

创作了17,277篇指南

0条评论

添加评论

浏览统计数据:

过去 24 小时: 3

过去 7 天: 31

过去 30 天: 128

总计 1,024