当前版本的文档还未经巡查,您可以查看最新的已查核版本。
你所需要的
-
这个步骤还没有翻译 帮忙翻译一下
-
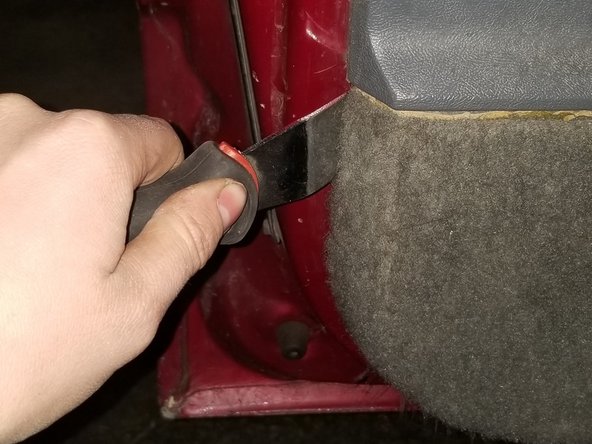
Gently use the same tool for loosing door panel to pop off the covers that hold on the plastic trim pieces to expose screws and electrical switch plugs
-
There will be tabs to depress or unhook on plugs so make sure to see how the socket is attached before pulling on a switch or plug
-
-
-
这个步骤还没有翻译 帮忙翻译一下
-
If your door has an inner liner or panel like this one does it is easy to remove
-
Locate the bolts around the edges of the panel and unscrew them to remove the final barrier between you and the actuator. Or, if you have a plastic or fabric liner slowly peel it back, being careful not to tear it, until it is out of the way.
-
-
这个步骤还没有翻译 帮忙翻译一下
-
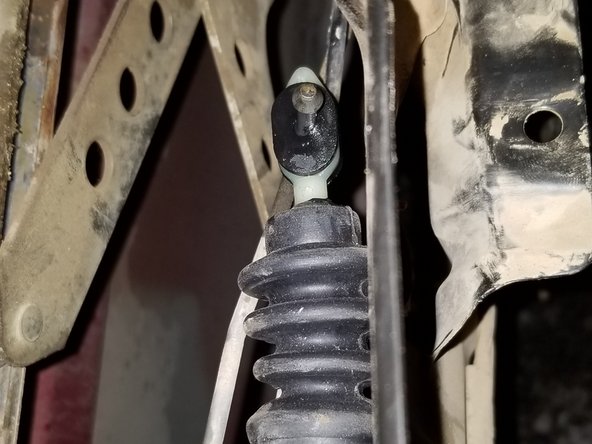
After locating the door lock actuator, which will be on the top or bottom of the door furthest from the engine bay, unplug the single socket running to it by depressing the tab and pulling it away from the motor.
-
As shown in the third image there is an eye hole where your door lock rod will be running through. This will need to be pulled out from the actuator as well
-
-
这个步骤还没有翻译 帮忙翻译一下
-
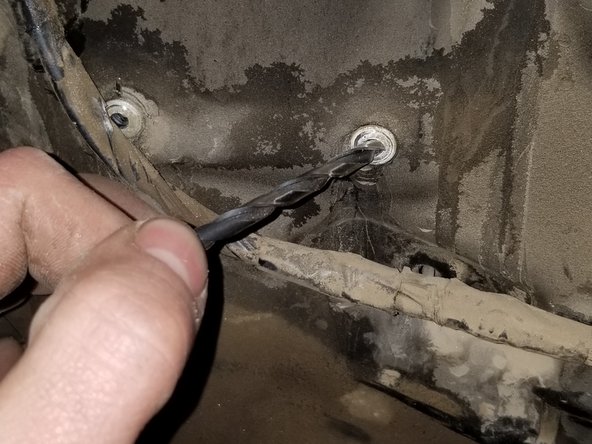
Using a drill with some drill bits to remove the rivets from the door body by finding a bit size that is bigger than the size of the dimple in the head. This may need more than one round of drilling so do not be afraid to incrementally go up in bit size.
-
After drilling this out there will be an eyelet on the end of your drill and hear a ting of the back half falling to the ground this means you have dismounted the actuator
-


另外一个人完成了本指南。

团队

Eastern Washington University, Team S27-G9, Munoz Winter 2019 Eastern Washington University, Team S27-G9, Munoz Winter 2019 的会员
EWU-MUNOZ-W19S27G9
1 名成员
创作了1篇指南