简介
This guide will help you step by step in replacing your damaged vibrating motor. Note soldering will be required, please follow this wonderful guide for helpful tips. Soldering Connectors
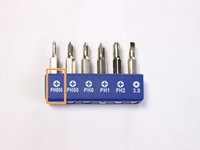
你所需要的
-
-
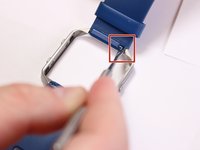
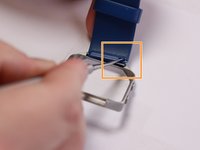
Locate the pin behind the second wristband located on the edge of metal ring.
-
Insert the pointed end of the metal spudger into the pin hold and push it into opposite direction.
-
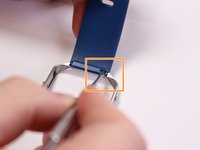
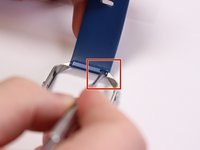
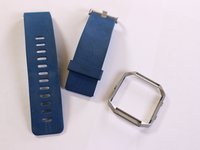
Remove wristband.
-
-
-
-
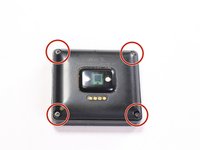
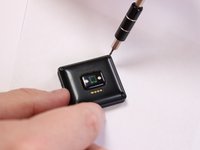
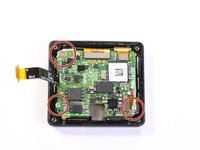
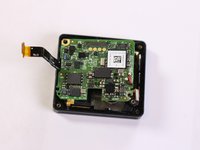
Place device screen face down and locate the four screws attaching the back cover.
-
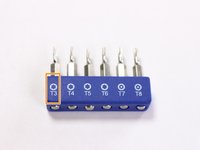
Use a T3 torx head or T3 torx screwdriver to remove the four screws.
-
-
-
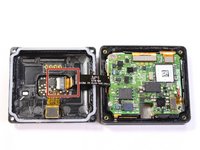
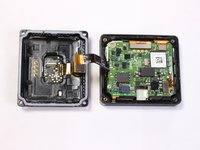
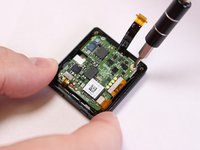
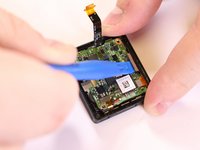
Lift and push the motherboard to the side to uncover the 167mAh battery.
-
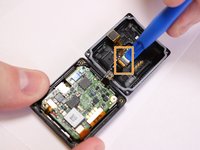
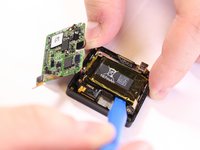
Use a plastic spudger tool to pry out the battery from its adhesive plastic underneath.
-
Lift up and pull downward to remove battery. Switch to the top portion of the battery and push downward to pry out battery.
-
-
-
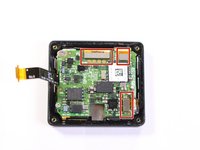
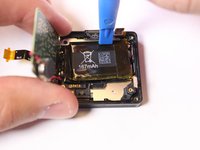
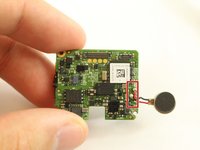
Flip the motherboard back to the front to locate the metal pins from the vibration motor soldered to the board.
-
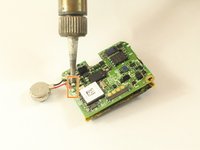
Desolder the connection to remove the motor component.
-
Follow this guide on how to solder and desolder connectors Soldering Guide
-


To reassemble your device, follow these instructions in reverse order.
团队

USF Tampa, Team S3-G3, Sullivan Spring 2017 USF Tampa, Team S3-G3, Sullivan Spring 2017 的会员
USFT-SULLIVAN-S17S3G3
4 名成员
创作了15篇指南