跳转到主内容

Dymo LabelManager 280 Screen Replacement

你所需要的

  1. Dymo LabelManager 280 Screen Replacement, Rear Case: 步骤 1 中的图像 1,2 Dymo LabelManager 280 Screen Replacement, Rear Case: 步骤 1 中的图像 2,2
    • Remove battery.

    • Remove the label cassette.

  2. Dymo LabelManager 280 Screen Replacement: 步骤 2 中的图像 1,2 Dymo LabelManager 280 Screen Replacement: 步骤 2 中的图像 2,2
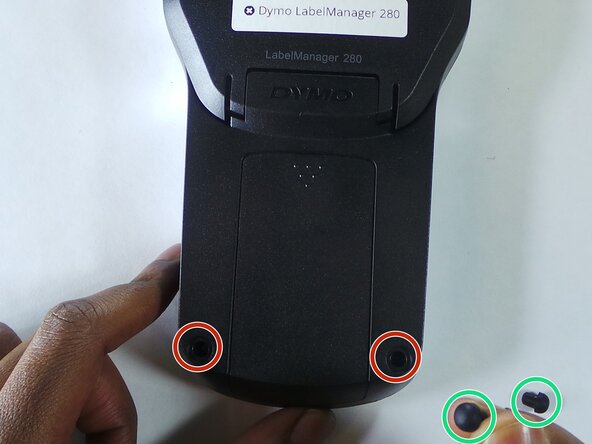
    • Remove the 6 screws in the indicated places. These particular screws are 2mm x 8mm Phillips #0 head

  3. Dymo LabelManager 280 Screen Replacement: 步骤 3 中的图像 1,2 Dymo LabelManager 280 Screen Replacement: 步骤 3 中的图像 2,2
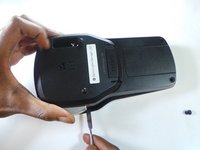
    • Use the spudger to take apart the device by insterting it as shown in the picture and twisting it. This should be done all around the device to ensure the two parts split correctly.

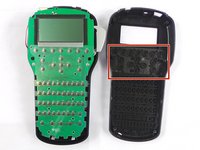
    • The keys/buttons highlighted in the second picture fall out easily so be careful. Keep device faced down in order to keep them from falling.

  4. Dymo LabelManager 280 Screen Replacement, Screen: 步骤 4 中的图像 1,1
    • Further remove the 2 screws (1.2mm X 4mm Phillips #0 head).

  5. Dymo LabelManager 280 Screen Replacement: 步骤 5 中的图像 1,2 Dymo LabelManager 280 Screen Replacement: 步骤 5 中的图像 2,2
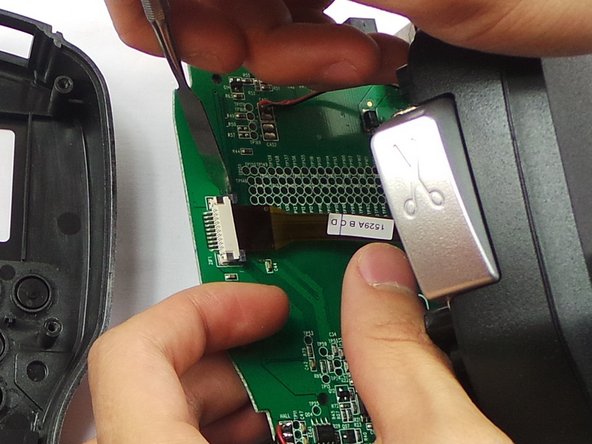
    • Detach the ribbon cable.

  6. Dymo LabelManager 280 Screen Replacement: 步骤 6 中的图像 1,1
    • Remove the screen.

结论

To reassemble your device, follow these instructions in reverse order.

另外一个人完成了本指南。

Steven Nguyen

于02/08/16注册

431 声望

创作了3篇指南

团队

USF Tampa, Team 6-5, Eyestone Spring 2016 USF Tampa, Team 6-5, Eyestone Spring 2016 的会员

USFT-EYESTONE-S16S6G5

3 名成员

创作了3篇指南

一条评论

Hi, thak you for the tutorial, it seems pretty simple. Do you know where to find the LCD screen, or whats the specs, maybe I can find it at AliExpress.

Jacques Maltais - 回复

添加评论

浏览统计数据:

过去 24 小时: 3

过去 7 天: 17

过去 30 天: 68

总计 3,355