简介
If you wish to replace a failed hard drive or upgrade it to a larger drive or SSD, this guide will show you how to change the drive on the system.
Guide notes
- This guide does not cover OS installation or backups. This is something you will need to figure out how to do.
- If your system has a HDP on it, it may carry to your new hard drive. I recommend testing it with a junk drive first (if available), just to be sure.
- You will need to figure out how to get install media for your particular system. If you wish to reinstall Windows, you can use the black Dell DVD or your custom media, if you made this when you purchased the system. If you have neither available, Dell will send you one set of media for your system, if it has not been previously requested. If this is the case, you can find these DVD's online very easily.
你所需要的
-
-
Locate the Hibernate option in the Start menu. Let the system fully hibernate (or shut down) before removing the battery.
-
-
-
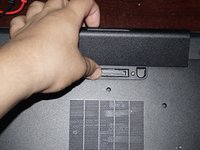
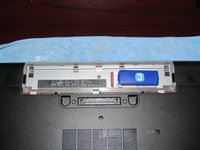
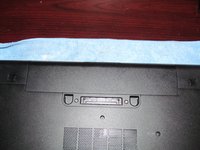
Flip the laptop over and unlock the 2 battery tabs. The tabs will remain unlocked until the battery is removed.
-
-
-
-
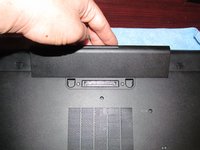
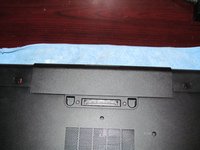
Align the battery with the tabs on the chassis. Drop the battery in place once lined up. If needed, use light pressure to seat it in the computer.
-
-
-
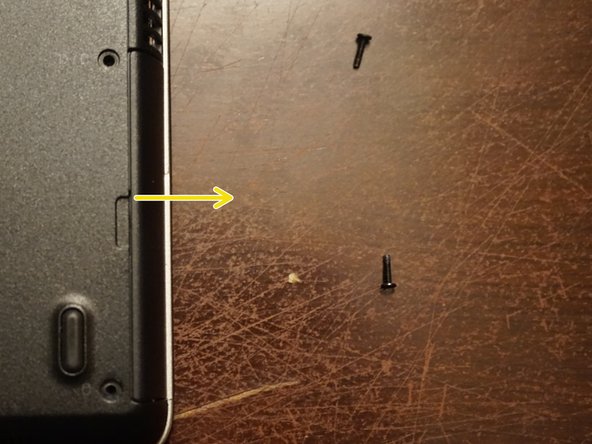
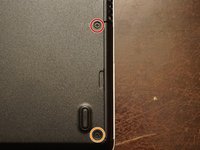
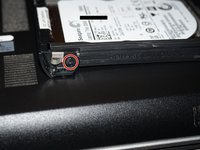
To remove the hard drive from the computer, remove the two screws. Use the Phillips #1 bit.
-
-
-
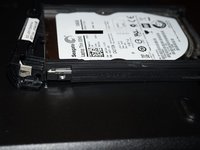
To remove the drive clip, remove the Phillips #0 screw holding the hard drive to the clip.
-
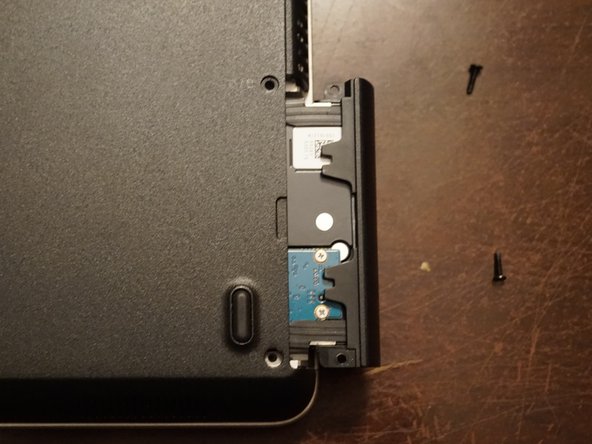
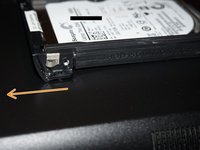
Once the screw is removed, remove the drive starting from the side with the screw.
-
Remove the drive from the right side by removing the drive from the alignment pin.
-
-
-
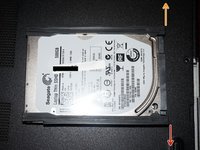
Once the drive is removed from the clip, remove the rubber bumpers. Transfer them to your new drive.
-


To reassemble your device, follow these instructions in reverse order.
To reassemble your device, follow these instructions in reverse order.
3等其他人完成本指南。

团队
