当前版本的文档还未经巡查,您可以查看最新的已查核版本。
你所需要的
-
这个步骤还没有翻译 帮忙翻译一下
-
Flip the laptop over horizontally and open up the lid.
-
Insert the tip of the plastic opening tool into the upper left corner of the panel.
-
Keeping its tip under the top panel, slide the plastic opening tool around the panel until the panel is completely loose. Next gently remove the panel.
-
Remove the four 2mm Phillips #0 screws at the top of the keyboard.
-
Slide the plastic opening tool around the keyboard until the keyboard is completely loose. Gently remove the keyboard.
-
-
-
这个步骤还没有翻译 帮忙翻译一下
-
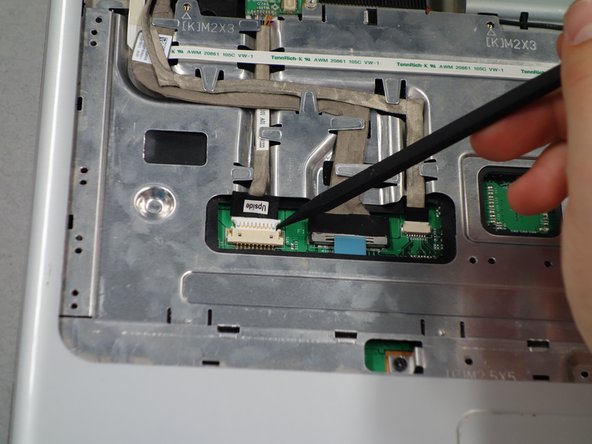
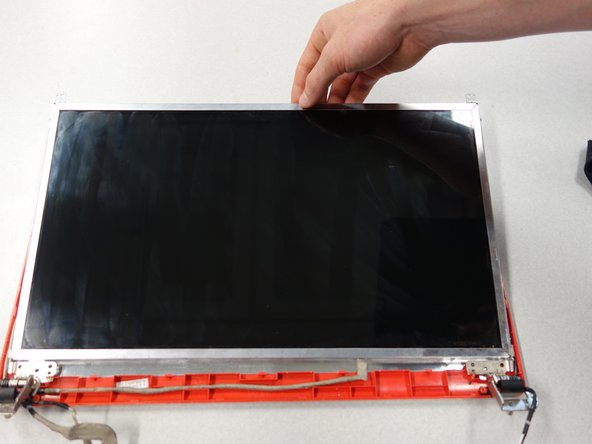
Gently remove the three grey wires from the metal tabs.
-
Insert the tip of the plastic opening tool into the bottom left corner of the panel.
-
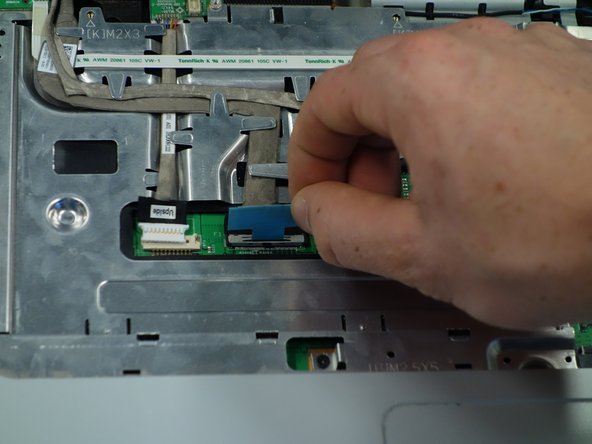
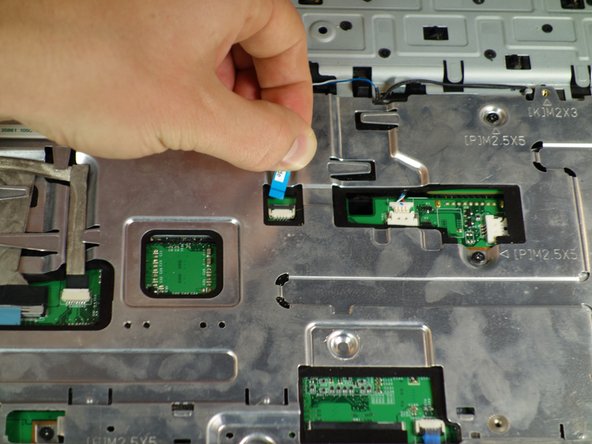
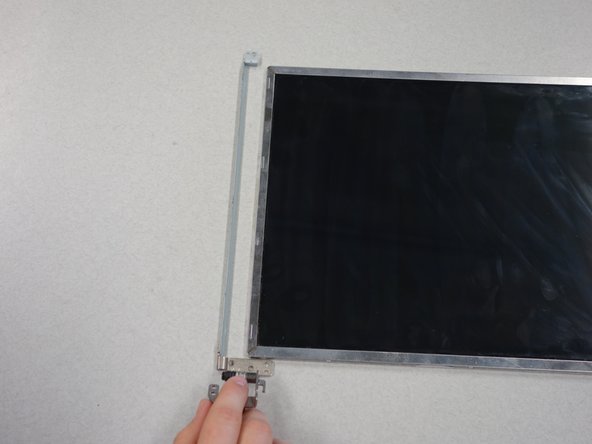
Keeping its tip under the top panel, slide the plastic opening tool around the panel until the panel is completely loose.
-
Gently lift off the top metal panel.
-


3等其他人完成本指南。
团队

Cal Poly, Team 6-3, Forte Spring 2014 Cal Poly, Team 6-3, Forte Spring 2014 的会员
CPSU-FORTE-S14S6G3
5 名成员
创作了7篇指南