跳转到主内容
加入维修社区 - 创建账户
Dell Chromebook 5190 I/O board Replacement

你所需要的

    1. Dell Chromebook 5190 I/O board Replacement, Battery: 步骤 1 中的图像 1,1
      • Before starting, please make sure you have disconnected and removed all devices populating the laptop's ports.

      • Remove the nine M2.5x7.5 screws located on the bottom side of the laptop.

      询问修复机器人

      添加评论

    2. Dell Chromebook 5190 I/O board Replacement: 步骤 2 中的图像 1,3 Dell Chromebook 5190 I/O board Replacement: 步骤 2 中的图像 2,3 Dell Chromebook 5190 I/O board Replacement: 步骤 2 中的图像 3,3
      • Be cautious, the following instructions are to prevent cracking the base cover.

      • With the opening tool, pry open the upper left corner by the laptop hinge.

      • With the opening tool, pry open the upper right corner by the laptop hinge.

      • Lift off base cover.

      询问修复机器人

      添加评论

    3. Dell Chromebook 5190 I/O board Replacement: 步骤 3 中的图像 1,2 Dell Chromebook 5190 I/O board Replacement: 步骤 3 中的图像 2,2
      • Unscrew and remove the M2x3 screw holding the silver metal brackets labeled "Battery Bracket" located on the top left side of the battery.

      • Unscrew and remove the M2x3 screw holding the silver metal brackets labeled "Battery Bracket" located on the top right side of the battery.

      询问修复机器人

      添加评论

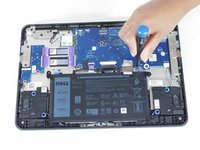
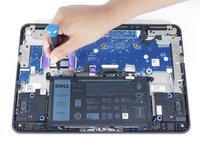
    4. Dell Chromebook 5190 I/O board Replacement: 步骤 4 中的图像 1,2 Dell Chromebook 5190 I/O board Replacement: 步骤 4 中的图像 2,2
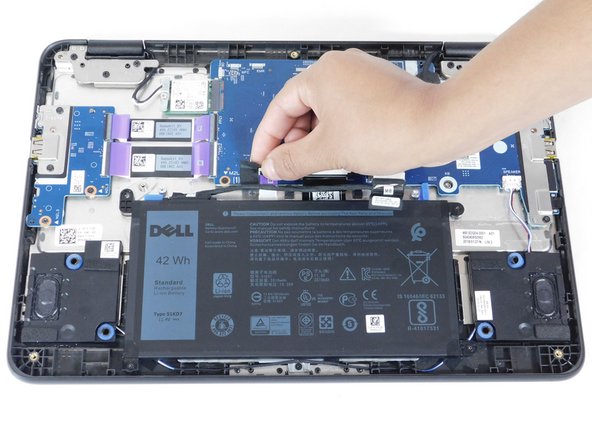
      • Remove the clear adhesive tape on the system board from the battery cable from where it's seated above the battery.

      • Pull out the keyboard cable toward you to disconnect it.

      询问修复机器人

      添加评论

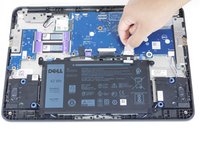
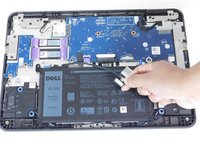
    5. Dell Chromebook 5190 I/O board Replacement: 步骤 5 中的图像 1,2 Dell Chromebook 5190 I/O board Replacement: 步骤 5 中的图像 2,2
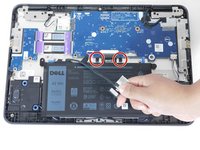
      • Remove the black adhesive tape on the system board from the battery cable.

      • Dismount the cable from where it's seated above the battery.

      询问修复机器人

      添加评论

    6. Dell Chromebook 5190 I/O board Replacement: 步骤 6 中的图像 1,3 Dell Chromebook 5190 I/O board Replacement: 步骤 6 中的图像 2,3 Dell Chromebook 5190 I/O board Replacement: 步骤 6 中的图像 3,3
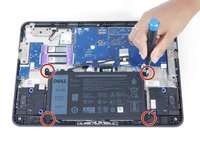
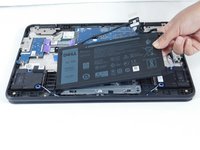
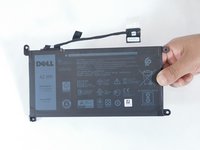
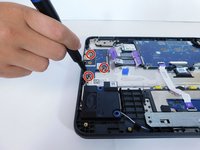
      • Unscrew and remove the four M2x3 screws on each corner of the battery.

      • Dismount the battery.

      询问修复机器人

      添加评论

    1. Dell Chromebook 5190 I/O board Replacement, I/O board: 步骤 7 中的图像 1,2 Dell Chromebook 5190 I/O board Replacement, I/O board: 步骤 7 中的图像 2,2
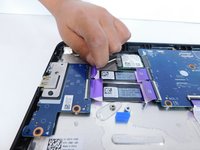
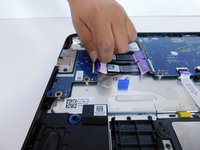
      • Disconnect the first purple I/O cable by lifting upwards and pulling away from the I/O connector.

      询问修复机器人

      添加评论

    2. Dell Chromebook 5190 I/O board Replacement: 步骤 8 中的图像 1,2 Dell Chromebook 5190 I/O board Replacement: 步骤 8 中的图像 2,2
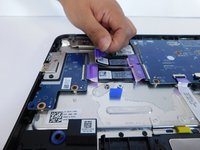
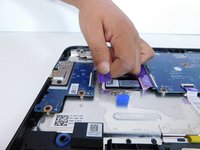
      • Disconnect the second purple I/O cable by lifting upwards and pulling away from the I/O connector.

      询问修复机器人

      添加评论

    3. Dell Chromebook 5190 I/O board Replacement: 步骤 9 中的图像 1,3 Dell Chromebook 5190 I/O board Replacement: 步骤 9 中的图像 2,3 Dell Chromebook 5190 I/O board Replacement: 步骤 9 中的图像 3,3
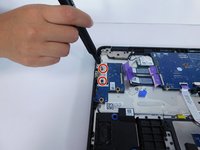
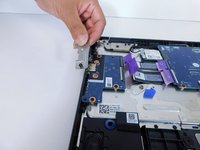
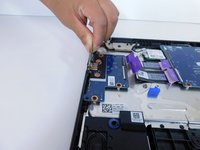
      • Unscrew the two (M2x4) screws on the I/O bracket.

      • Lift off the I/O bracket.

      询问修复机器人

      添加评论

    4. Dell Chromebook 5190 I/O board Replacement: 步骤 10 中的图像 1,2 Dell Chromebook 5190 I/O board Replacement: 步骤 10 中的图像 2,2
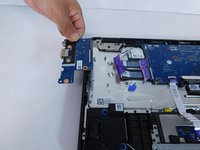
      • Unscrew the three (M2x4) screws on the I/O board.

      • Dismount the I/O board.

      询问修复机器人

      添加评论

结论

To reassemble your device, follow these instructions in reverse order.

取消:我没有完成这个指南。

Denise Cano

于02/10/22注册

617 声望

创作了4篇指南

团队

Gateway, Team 1-3, Pee Spring 2022 Gateway, Team 1-3, Pee Spring 2022 的会员

GCC-PEE-S22S1G3

3 名成员

创作了58篇指南

0指南评论

添加评论

浏览统计数据:

过去 24 小时: 1

过去 7 天: 7

过去 30 天: 26

总计 494