跳转到主内容
加入维修社区 - 创建账户

Dell Chromebook 5190 Battery Replacement

浏览量: 1116

浏览统计数据:

过去24小时
1
过去 7 天:
16
过去 30 天:
71
总计
1,116
评论: 0

暂时还没有人对本指南发表评论。你想做第一个评论的人吗?

Go to guide comments
已完成: 0

暂时还没有人将本指南标记为“已完成”。你会是第一个完成的人吗?

收藏: 0

暂时还没有人收藏(和订阅)本指南。你会是第一个收藏(和订阅)的人吗?

所需时间: 20分钟
难度: 简单
Dell Chromebook 5190 Battery Replacement

This guide will aid you in replacing your Dell Chromebook 5190 battery.

The Dell Chromebook 5190 was released alongside its sister model Dell Chromebook 5190 2-in-1. This guide will focus on the 5190 model that lacks a touchscreen.

A battery's purpose is to keep your laptop powered on. If your laptop battery is not holding a charge or is not charging after the battery is drained, try the Dell Chromebook 5190 troubleshooting page for possible solutions before replacing the battery. If you are still experiencing these issues after troubleshooting, you may need a battery replacement.

Before starting please take caution and look for signs of a swollen battery. Handling a swollen battery can be a fire hazard, please refer to this page for further information on how to identify a swollen battery and how to handle it.

Please make sure your laptop is off before beginning and remove all cables or devices populating your laptop ports.

你所需要的

    1. Dell Chromebook 5190 Battery Replacement, Battery: 步骤 1 中的图像 1,1
      • Before starting, please make sure you have disconnected and removed all devices populating the laptop's ports.

      • Remove the nine M2.5x7.5 screws located on the bottom side of the laptop.

      询问修复机器人

      添加评论

    2. Dell Chromebook 5190 Battery Replacement: 步骤 2 中的图像 1,3 Dell Chromebook 5190 Battery Replacement: 步骤 2 中的图像 2,3 Dell Chromebook 5190 Battery Replacement: 步骤 2 中的图像 3,3
      • Be cautious, the following instructions are to prevent cracking the base cover.

      • With the opening tool, pry open the upper left corner by the laptop hinge.

      • With the opening tool, pry open the upper right corner by the laptop hinge.

      • Lift off base cover.

      询问修复机器人

      添加评论

    3. Dell Chromebook 5190 Battery Replacement: 步骤 3 中的图像 1,2 Dell Chromebook 5190 Battery Replacement: 步骤 3 中的图像 2,2
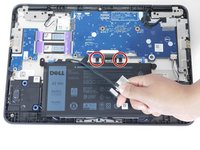
      • Unscrew and remove the M2x3 screw holding the silver metal brackets labeled "Battery Bracket" located on the top left side of the battery.

      • Unscrew and remove the M2x3 screw holding the silver metal brackets labeled "Battery Bracket" located on the top right side of the battery.

      询问修复机器人

      添加评论

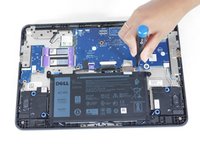
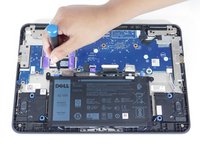
    4. Dell Chromebook 5190 Battery Replacement: 步骤 4 中的图像 1,2 Dell Chromebook 5190 Battery Replacement: 步骤 4 中的图像 2,2
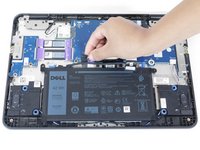
      • Remove the clear adhesive tape on the system board from the battery cable from where it's seated above the battery.

      • Pull out the keyboard cable toward you to disconnect it.

      询问修复机器人

      添加评论

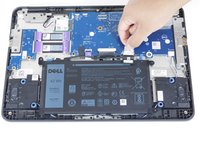
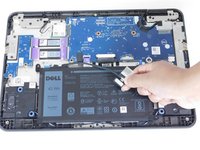
    5. Dell Chromebook 5190 Battery Replacement: 步骤 5 中的图像 1,2 Dell Chromebook 5190 Battery Replacement: 步骤 5 中的图像 2,2
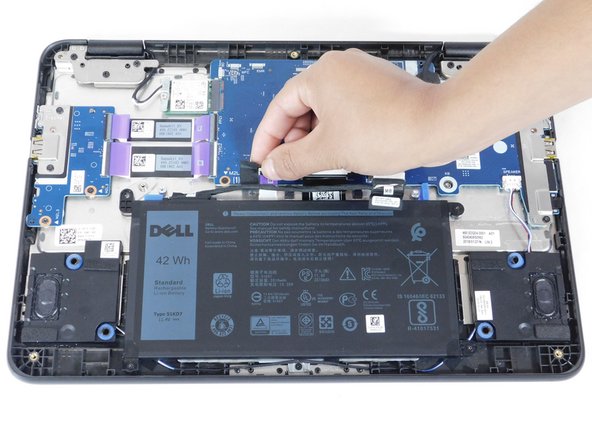
      • Remove the black adhesive tape on the system board from the battery cable.

      • Dismount the cable from where it's seated above the battery.

      询问修复机器人

      添加评论

    6. Dell Chromebook 5190 Battery Replacement: 步骤 6 中的图像 1,3 Dell Chromebook 5190 Battery Replacement: 步骤 6 中的图像 2,3 Dell Chromebook 5190 Battery Replacement: 步骤 6 中的图像 3,3
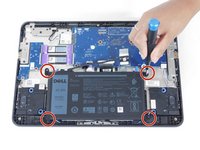
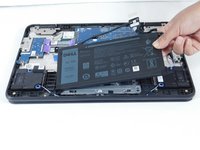
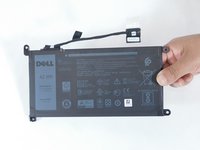
      • Unscrew and remove the four M2x3 screws on each corner of the battery.

      • Dismount the battery.

      询问修复机器人

      添加评论

结论

To reassemble your device, follow these instructions in reverse order.
取消:我没有完成这个指南。

Denise Cano

于02/10/22注册

617 声望

创作了4篇指南

团队

Gateway, Team 1-3, Pee Spring 2022 Gateway, Team 1-3, Pee Spring 2022 的会员

GCC-PEE-S22S1G3

3 名成员

创作了60篇指南

0指南评论

添加评论

浏览统计数据:

过去 24 小时: 1

过去 7 天: 16

过去 30 天: 71

总计 1,116