简介
If your Casio CTK keyboard (model 3200) has keys that are sticking, not working, or broken, use this guide to replace them.
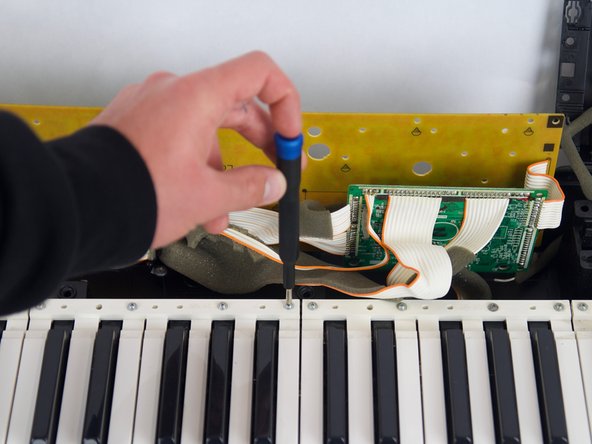
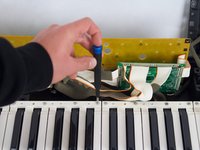
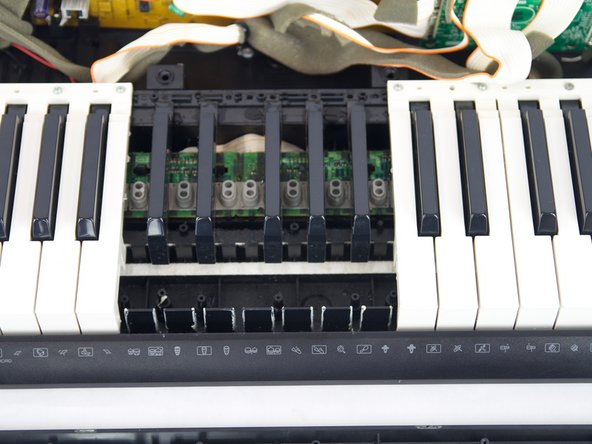
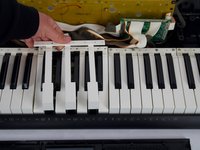
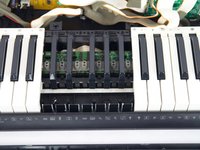
The keys are the plastic material that you press on to make the sounds. The keys are pressed and they register that motion by applying pressure down on a button below them.
It makes noise by relaying that signal through the main board, transmitting the press to the speakers which create the sound for that specific key. If any part of the key is broken, you may experience it not making noise or just sitting flat. If that is the case you will have to replace it.
你所需要的
-
-
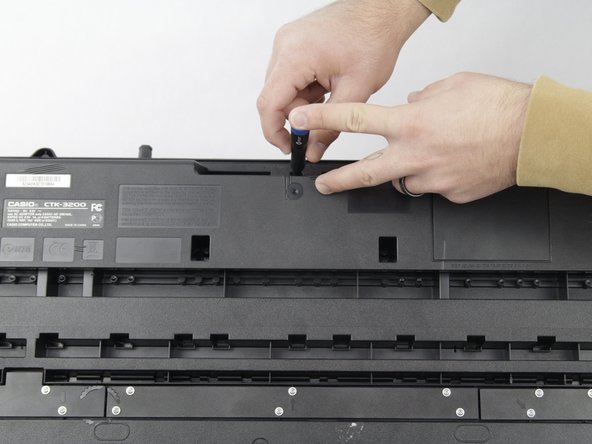
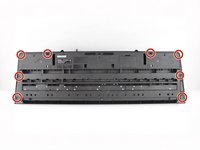
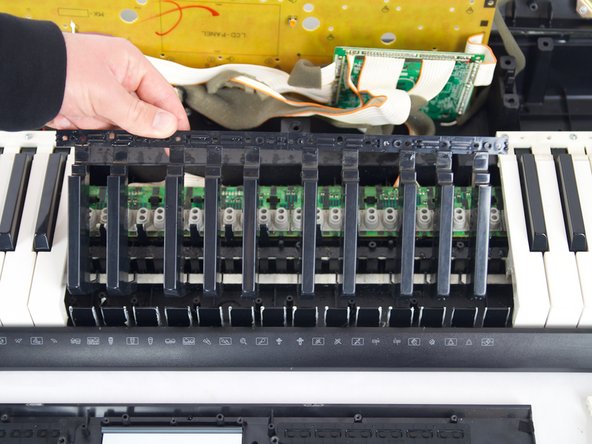
Remove the seven 10 mm Phillips #1 screws on the underside of the keyboard that secure the center front panel.
-
-


To reassemble your device, follow the above steps in reverse order.
Repair didn’t go as planned? Try some basic troubleshooting or ask our Answers community for help.

团队

Cuesta, Team 10-4, Krynen Fall 2024 Cuesta, Team 10-4, Krynen Fall 2024 的会员
CUESTA-KRYNEN-F24S10G4
4 名成员
创作了6篇指南