简介
This guide will show you how to remove the bottom casing.
Before you can perform any other replacement guide, you must remove the bottom casing. It gives access to the Ethernet PCB Board, Audio and USB PCB Board and to the nooks where you can pry the front panel off.
As you remove the bottom casing, work slowly to avoid damaging the ribbon cable that is attached to the Audio and USB PCB Board.
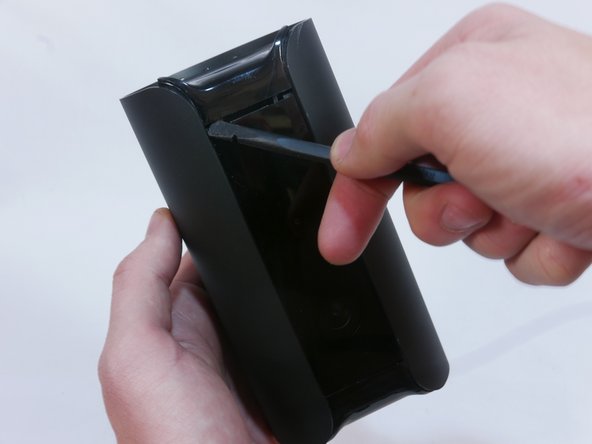
A spudger is needed to pry the bottom casing off.
你所需要的
-
-
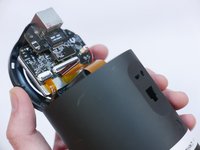
Grip the rubber ring with your fingers and pull up.
-
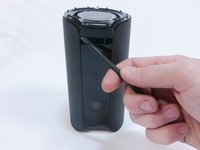
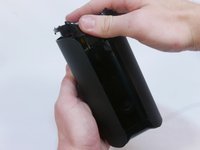
Rotate the Canary as you pull out one tab at a time.
-
-
-
-
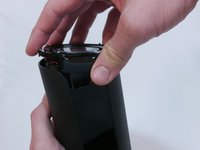
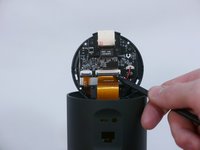
Use the pointed end of the spudger to flip up the small retaining flap on the ZIF (zero insertion force) connector.
-
Pull the ribbon cable out towards the device.
-


To reassemble your device, follow these instructions in reverse order.
团队

USF Tampa, Team S1-G2, Nance Spring 2017 USF Tampa, Team S1-G2, Nance Spring 2017 的会员
USFT-NANCE-S17S1G2
4 名成员
创作了16篇指南