当前版本的文档还未经巡查,您可以查看最新的已查核版本 。
Throughout this step, make sure you support the handle and head with at least three hands.
Slide the bearing rod out of the head.
Inspect the bearing rod and head for any wear or tear.
Firmly lift the riser main slider with two hands.
Use caution not to drop the riser main, as this can damage the pump cylinder.
Lift the slider and riser main pipe.
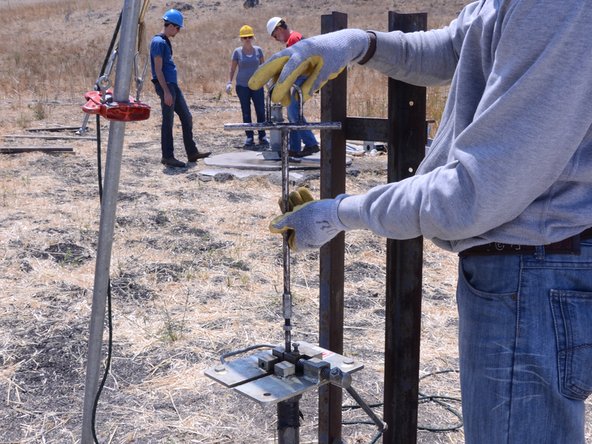
Place a pump rod clamp around the rod, and tighten it securely against the pump rod.
Carefully lower the riser main and slider to allow it to rest on the rod clamp.
Remove the riser main slider, and inspect it for wear and tear.
Set the slider in a sanitary place to prevent contamination.
Remove the above grade riser pipe.
Firmly screw a T-handle onto the pump rod.
If you are replacing the above ground riser main, leave the T-handle attached until you are ready to install the replacement part.
Use a pipe wrench to loosen and remove the pump spout.
Inspect the spout for obstructions or potential contaminants.
Place the spout on a clean surface to prevent any contamination.
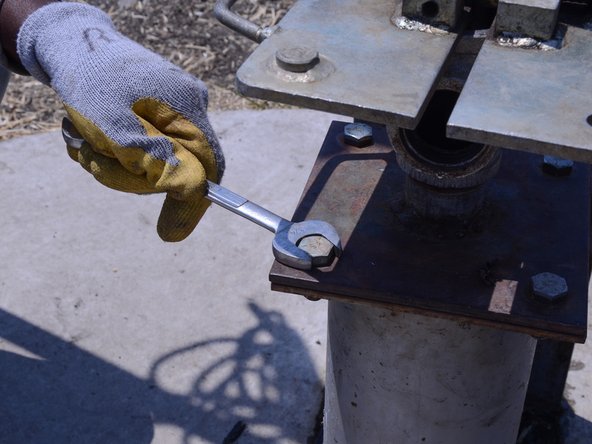
Place one wrench on the top of one of the pump riser plate bolts.
Place another wrench around the bottom of the bolt.
Pull the wrenches apart to loosen the bolt.
Repeat this procedure for the remaining three bolts.
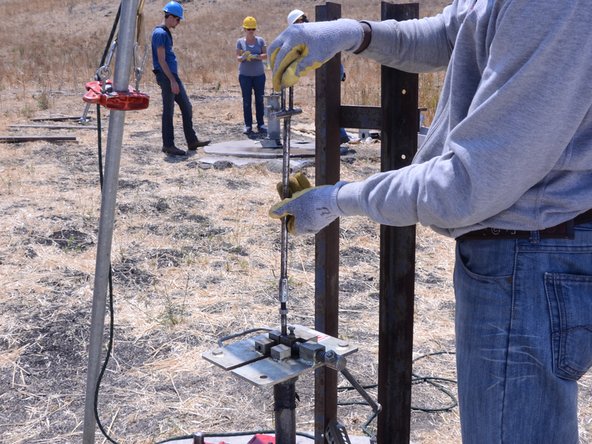
Securely lift the T-handle several inches.
While 2 people support the T-handle, remove the pump rod clamp.
Lower the T-handle gently until the pump rod is supporting itself.
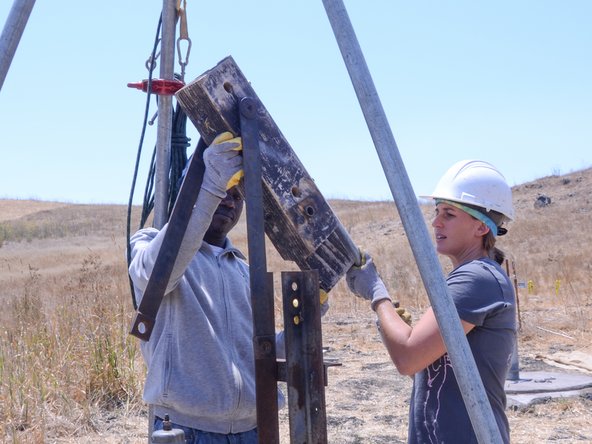
This particular pump is using a tripod with a block and tackle to lift the riser main. C-wrenches may also be used to lift the riser main.
Securely clamp and tighten the pipe elevator to the riser main below the spout exit.
Secure the base clamp to the frame base using a bolt.
One bolt is typically sufficient to keep the base clamp in place, but you can add another bolt if you wish to further secure it.
While supporting the top portion of the pipe, carefully move the elevator clamp off of the pipe.
Lower the elevator clamp while providing tension towards the ground to prevent the ropes from tangling in the block and tackle.
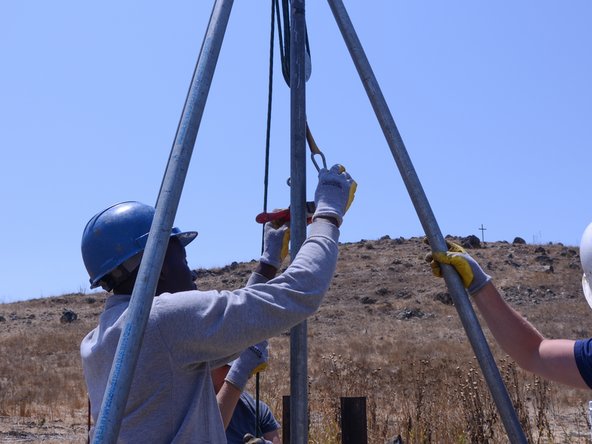
Once the elevator clamp is tight, provide tension on the rope.
While keeping tension on the rope to support the riser, loosen the base clamp.
Use the rope to pull the riser main up as far as comfortable.
Be sure to keep the rope within the confines of the tripod to prevent the tripod from pulling over.
Watch the top of the tripod to align the riser main in the support slot.
Keep the pipe wrench a few inches above the joint in this step.
Using a pipe wrench, unscrew the first section of the riser main from the connection.
Secure a splash guard over the joint to prevent water from spraying out of the connection when separated.
Using the pipe wrench, loosen the riser main until water begins to spray into the splash guard.
Do not loosen it any further until the water has stopped spraying.
Remove the splash guard, and finish loosening the riser main.
Remove the first section of the riser main by lifting it straight up, while supporting the top of the section and keeping the pipe within the support slot on the top of the tripod.
Using two crescent wrenches, unscrew the pump rod from the remaining portion.
When the joint is separated, carefully lower the riser main to the ground.
Carefully lower the riser main, horizontally, and place it in a sanitary place, preferably resting above the ground, to prevent contamination.
Remove the T-handle from the separated pump rod.
Attach the T-handle to the remaining pump rod.
Remove the rod clamp and repeat steps 29-35 until the riser main is completely removed, or until the broken section is reached.
嵌入本指南
选择一个尺寸并复制下面的代码,将本指南作为一个小插件嵌入到你的网站/论坛中。
单个步骤
完整指南
小——600像素
中——800像素
大——1200像素
预览