简介
Be sure is it not the disk that is faulty before replacing the disk drive. If you are having anyother problems with this device check the troubleshooting page here.
你所需要的
-
-
Start by removing the 10 screws on the back of the laptop with a Phillips head 1 screw driver.
-
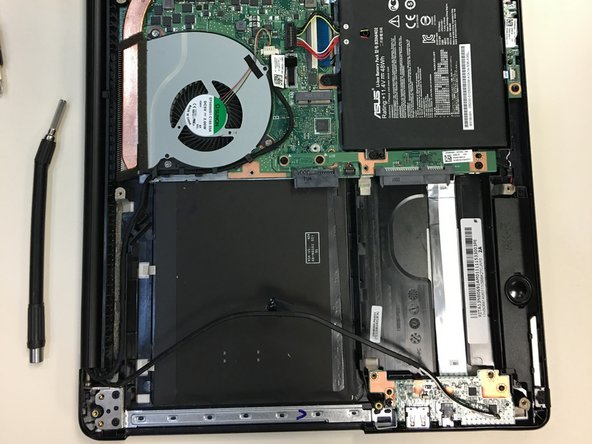
Remove back cover.
-
-


To reassemble your device, follow these instructions in reverse order.
To reassemble your device, follow these instructions in reverse order.
另外一个人完成了本指南。
团队

University of North Texas, Team S6-G5, Thomas Fall 2017 University of North Texas, Team S6-G5, Thomas Fall 2017 的会员
UNT-THOMAS-F17S6G5
4 名成员
创作了5篇指南