跳转到主内容

本指南有最近更改,您可查看未经巡查的最新版本

Asus Q550LF-BBI7T07 RAM Replacement

你所需要的

  1. Asus Q550LF-BBI7T07 RAM Replacement, Battery: 步骤 1 中的图像 1,2 Asus Q550LF-BBI7T07 RAM Replacement, Battery: 步骤 1 中的图像 2,2
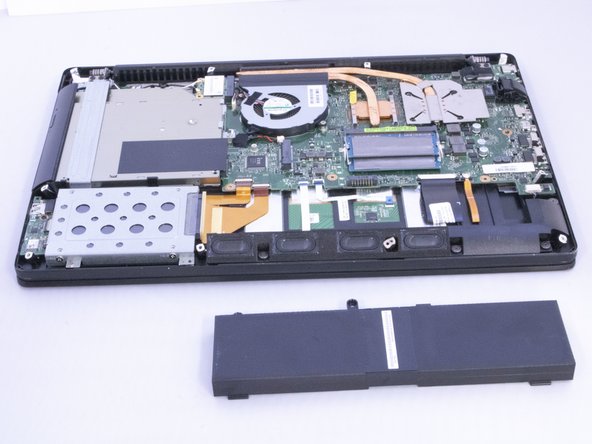
    • Use a T4 Torx screwdriver head to remove the ten 4mm Torx head screws on the bottom of the laptop.

  2. Asus Q550LF-BBI7T07 RAM Replacement: 步骤 2 中的图像 1,2 Asus Q550LF-BBI7T07 RAM Replacement: 步骤 2 中的图像 2,2
    • Use an opening tool to pry open the rear cover. Lift the cover off and away from the board.

  3. Asus Q550LF-BBI7T07 RAM Replacement: 步骤 3 中的图像 1,2 Asus Q550LF-BBI7T07 RAM Replacement: 步骤 3 中的图像 2,2
    • Use a Phillips #0 screwdriver head to remove the three black 7mm Phillips head screws that hold the battery in place.

  4. Asus Q550LF-BBI7T07 RAM Replacement: 步骤 4 中的图像 1,2 Asus Q550LF-BBI7T07 RAM Replacement: 步骤 4 中的图像 2,2
    • Once the screws have been removed, gently lift the battery out.

  5. Asus Q550LF-BBI7T07 RAM Replacement, RAM: 步骤 5 中的图像 1,3 Asus Q550LF-BBI7T07 RAM Replacement, RAM: 步骤 5 中的图像 2,3 Asus Q550LF-BBI7T07 RAM Replacement, RAM: 步骤 5 中的图像 3,3
    • Push both metal tabs away from each other on each side of the RAM farthest from battery so that the RAM will pop up.

  6. Asus Q550LF-BBI7T07 RAM Replacement: 步骤 6 中的图像 1,1
    • Pull out first RAM chip at the same angle it is raised at.

  7. Asus Q550LF-BBI7T07 RAM Replacement: 步骤 7 中的图像 1,1
    • Push both metal tabs away from each other on each side of the RAM closest to the battery so that the second RAM will pop up.

  8. Asus Q550LF-BBI7T07 RAM Replacement: 步骤 8 中的图像 1,2 Asus Q550LF-BBI7T07 RAM Replacement: 步骤 8 中的图像 2,2
    • Pull out second RAM chip at the same angle it is raised at so that the RAM is removed.

结论

To reassemble your device, follow these instructions in reverse order.

4等其他人完成本指南。

0条评论

添加评论

浏览统计数据:

过去 24 小时: 0

过去 7 天: 3

过去 30 天: 7

总计 602