跳转到主内容
加入维修社区 - 创建账户

Alldaymall A88X Motherboard Replacement

浏览量: 1270

浏览统计数据:

过去24小时
2
过去 7 天:
21
过去 30 天:
87
总计
1,270
评论: 0

暂时还没有人对本指南发表评论。你想做第一个评论的人吗?

Go to guide comments
已完成: 1

1 人已将本指南标记为“已完成”。你会是下一个完成的人吗?

收藏: 0

暂时还没有人收藏(和订阅)本指南。你会是第一个收藏(和订阅)的人吗?

所需时间: 45分钟 - 1小时
难度: 困难
Alldaymall A88X Motherboard Replacement

The Alldaymall A88X has an Allwinner A33 Quad Core processor which is soldered onto the motherboard. The motherboard is mounted onto the back panel with three screws. This guide will walk you through the process of removing the existing motherboard and installing a new one.

你所需要的

工具

    1. Alldaymall A88X Motherboard Replacement, Alldaymall A88X Back Cover: 步骤 1 中的图像 1,3 Alldaymall A88X Motherboard Replacement, Alldaymall A88X Back Cover: 步骤 1 中的图像 2,3 Alldaymall A88X Motherboard Replacement, Alldaymall A88X Back Cover: 步骤 1 中的图像 3,3
      • Using a plastic opening tool, carefully pry the device apart. Make your way around the entire perimeter of the device and carefully place the two panels next to each other.

      • After the panels are separated, watch out for the speaker on the rear panel as it's wire is rather short.

      • When separating the panels keep an eye out for the power button and volume rocker as they can be dislodged.

      询问修复机器人

      添加评论

    2. Alldaymall A88X Motherboard Replacement: 步骤 2 中的图像 1,1
      在这个步骤中使用的工具:
      Tweezers
      $4.99
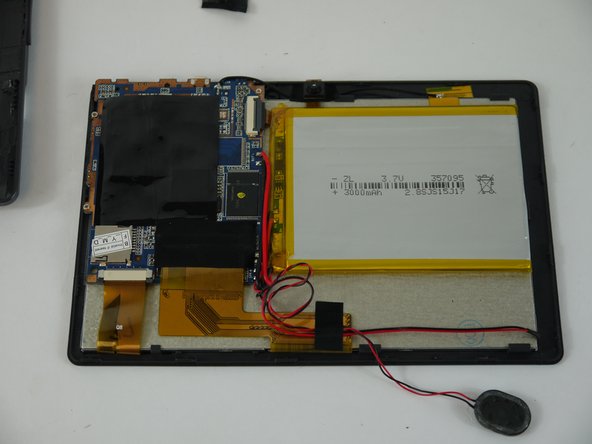
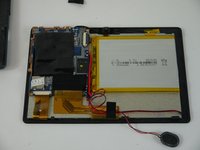
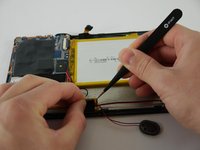
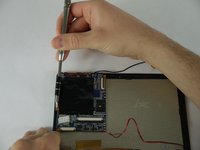
      • Grip the speaker from the sides with your fingers or a pair of tweezers and slowly begin to remove it from the rear panel.

      • When removing the speaker, make sure not to disconnect the wires in any way.

      • After the speaker has been removed, place the rear panel aside.

      询问修复机器人

      添加评论

    1. Alldaymall A88X Motherboard Replacement, Speaker: 步骤 3 中的图像 1,3 Alldaymall A88X Motherboard Replacement, Speaker: 步骤 3 中的图像 2,3 Alldaymall A88X Motherboard Replacement, Speaker: 步骤 3 中的图像 3,3
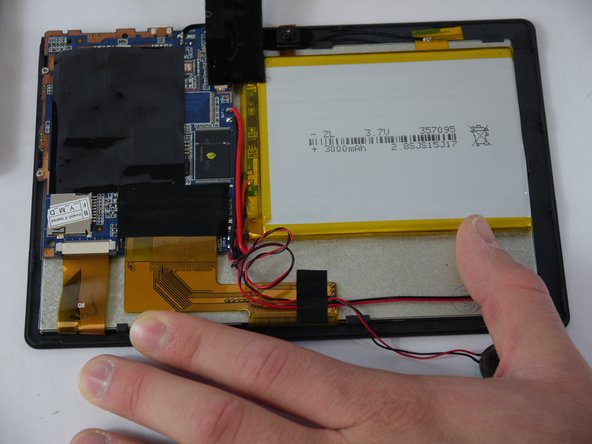
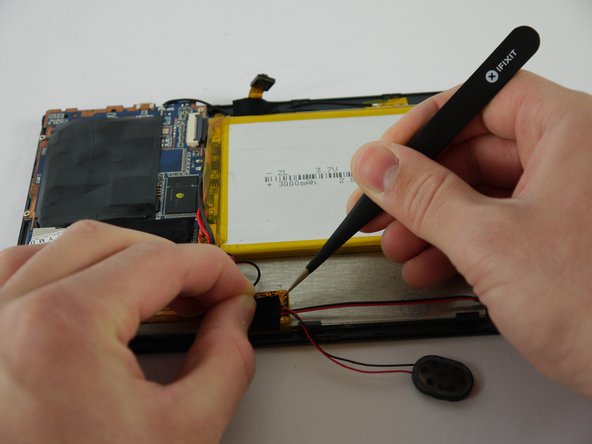
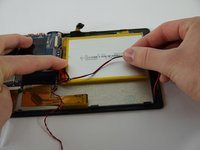
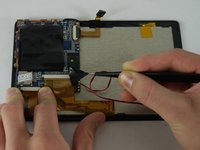
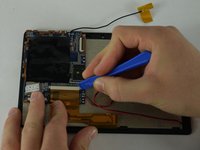
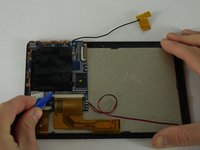
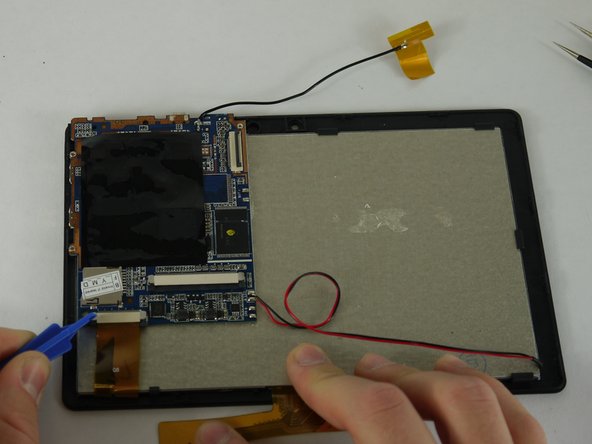
      • Carefully separate the speaker wire from the tape and proceed to peel the tape off in an upwards direction.

      • The tape we are removing covers a number of connections on the motherboard. Be extra careful not to sever any of these.

      询问修复机器人

      添加评论

    2. Alldaymall A88X Motherboard Replacement: 步骤 4 中的图像 1,3 Alldaymall A88X Motherboard Replacement: 步骤 4 中的图像 2,3 Alldaymall A88X Motherboard Replacement: 步骤 4 中的图像 3,3
      在这个步骤中使用的工具:
      Tweezers
      $4.99
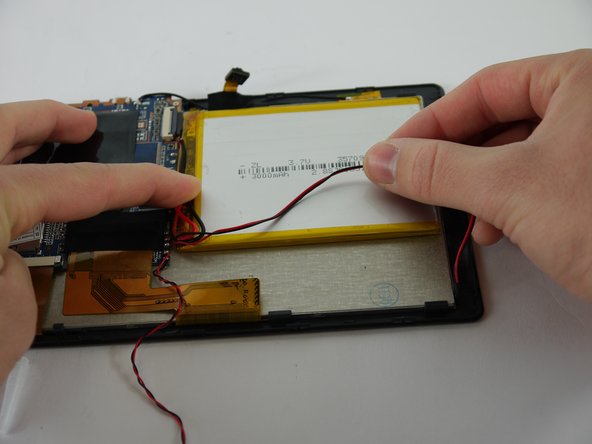
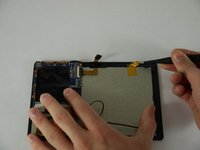
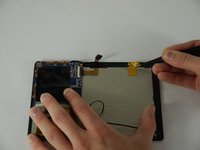
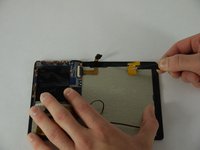
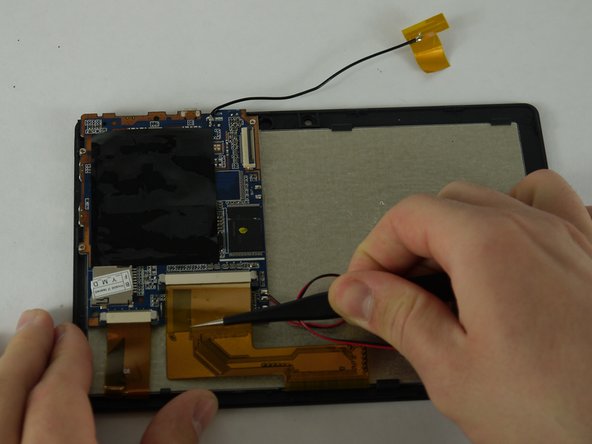
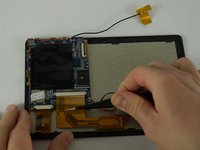
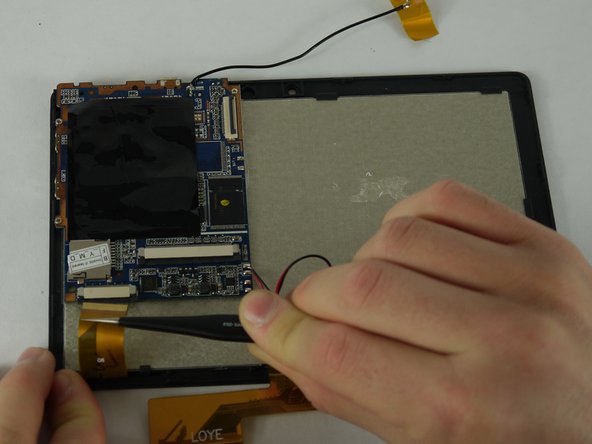
      • Using a pair of tweezers, begin separating the tape downwards from the back panel.

      • Pull the tape away from the wire bundle beneath.

      • Isolate the wire running from the speaker to the motherboard.

      询问修复机器人

      添加评论

    3. Alldaymall A88X Motherboard Replacement: 步骤 5 中的图像 1,3 Alldaymall A88X Motherboard Replacement: 步骤 5 中的图像 2,3 Alldaymall A88X Motherboard Replacement: 步骤 5 中的图像 3,3
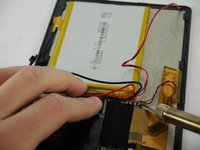
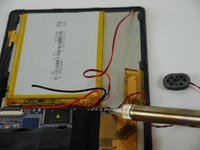
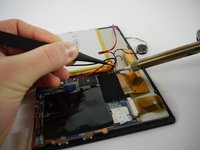
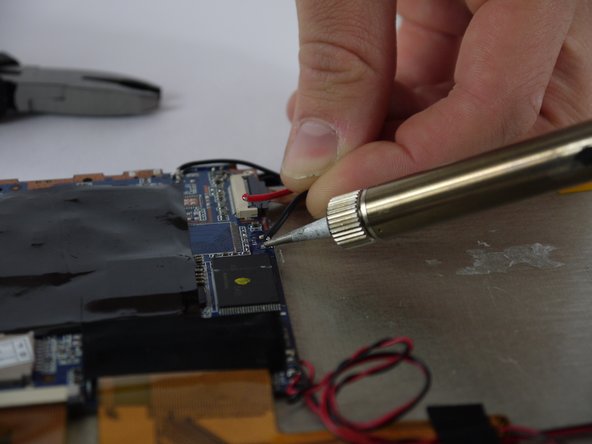
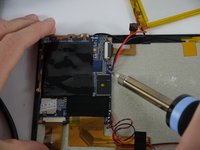
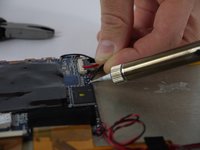
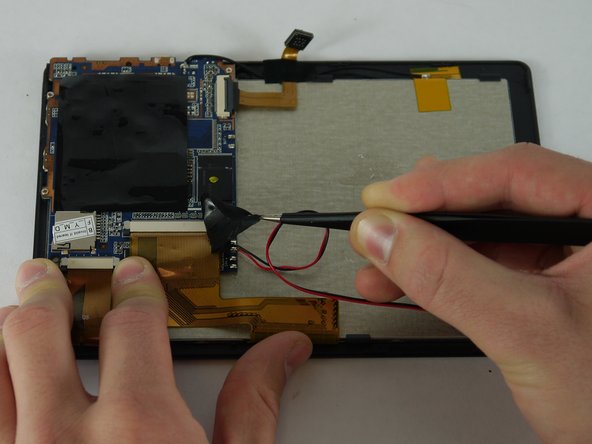
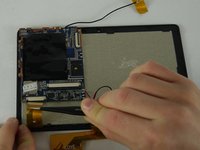
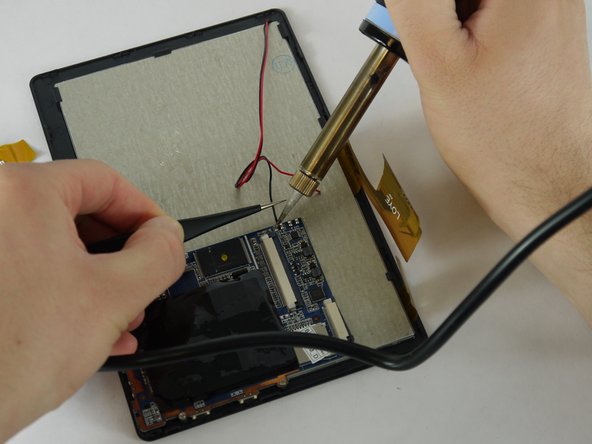
      • Desolder the speaker wires from the motherboard.

      询问修复机器人

      添加评论

    1. Alldaymall A88X Motherboard Replacement, Camera: 步骤 6 中的图像 1,3 Alldaymall A88X Motherboard Replacement, Camera: 步骤 6 中的图像 2,3 Alldaymall A88X Motherboard Replacement, Camera: 步骤 6 中的图像 3,3
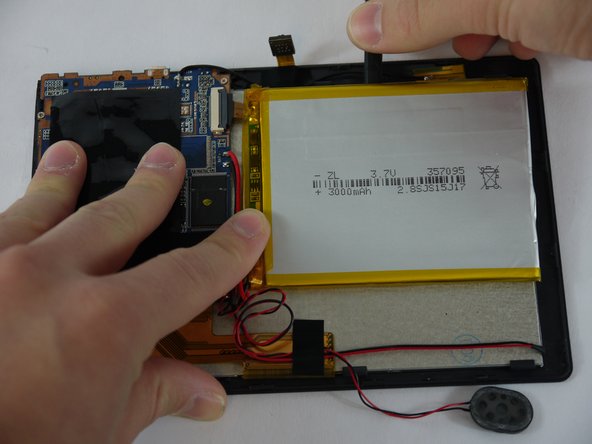
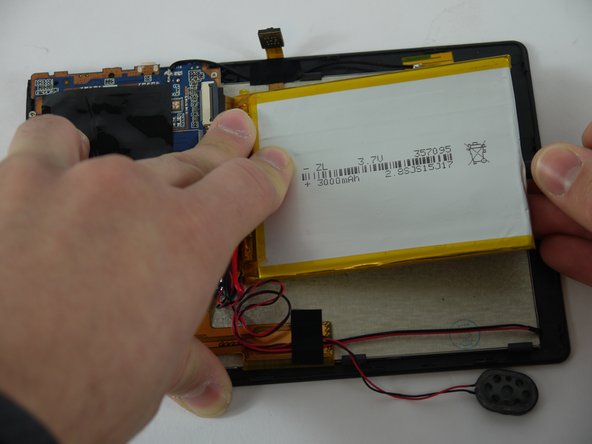
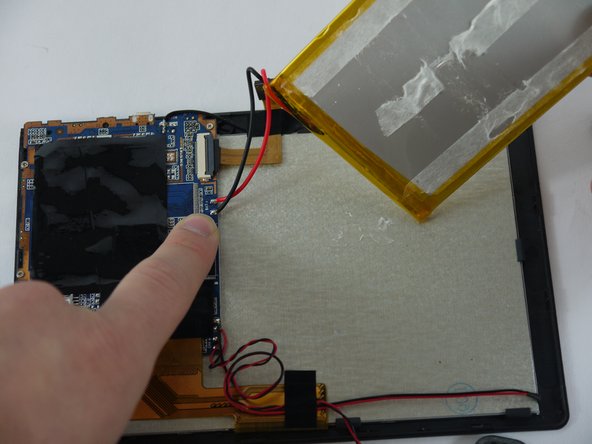
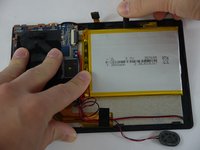
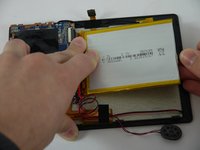
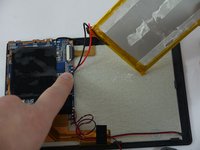
      • Using a nylon spudger, slowly work your way underneath the battery separating it from the panel beneath.

      • After the battery is separated from the panel make sure to place it face down above the tablet itself.

      • Throughout the removal process keep an eye on the battery's wires and make sure they do not break.

      询问修复机器人

      添加评论

    2. Alldaymall A88X Motherboard Replacement: 步骤 7 中的图像 1,2 Alldaymall A88X Motherboard Replacement: 步骤 7 中的图像 2,2
      • Desolder the wires that connect the battery to the motherboard.

      询问修复机器人

      添加评论

    3. Alldaymall A88X Motherboard Replacement: 步骤 8 中的图像 1,2 Alldaymall A88X Motherboard Replacement: 步骤 8 中的图像 2,2
      在这个步骤中使用的工具:
      Tweezers
      $4.99
      • Using a pair of tweezers begin to peel the tape covering the ribbon cable on the motherboard.

      询问修复机器人

      添加评论

    4. Alldaymall A88X Motherboard Replacement: 步骤 9 中的图像 1,3 Alldaymall A88X Motherboard Replacement: 步骤 9 中的图像 2,3 Alldaymall A88X Motherboard Replacement: 步骤 9 中的图像 3,3
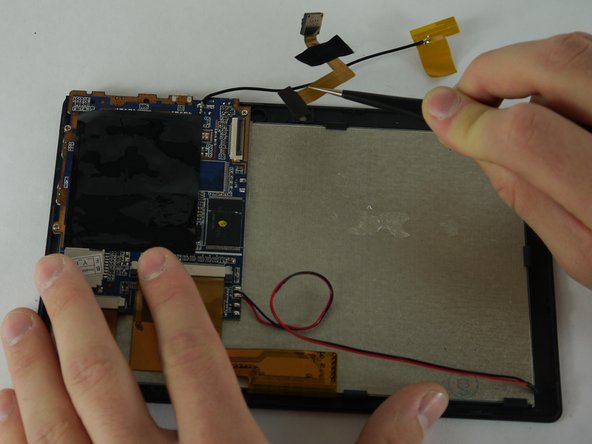
      • Using a pair of tweezers begin to peel the antenna from the metal panel.

      • Work your way down until the antenna is completely removed.

      • Be careful not deform the antenna or sever its connection.

      询问修复机器人

      添加评论

    5. Alldaymall A88X Motherboard Replacement: 步骤 10 中的图像 1,1
      • Using a pair of tweezers remove the tape securing the cameras to the back panel.

      询问修复机器人

      添加评论

    6. Alldaymall A88X Motherboard Replacement: 步骤 11 中的图像 1,1
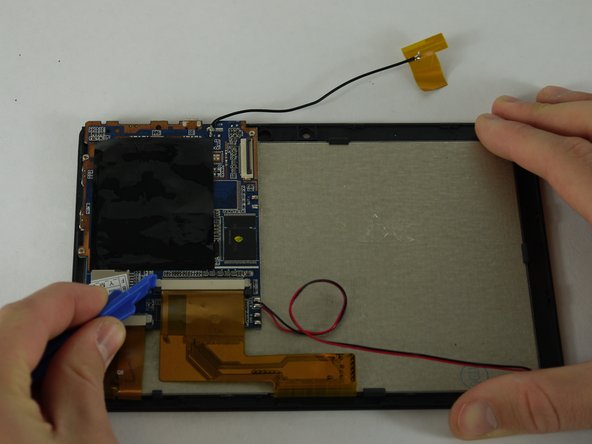
      • Using a plastic opening tool lift up the flap on the ribbon cable receptacle.

      询问修复机器人

      添加评论

    7. Alldaymall A88X Motherboard Replacement: 步骤 12 中的图像 1,2 Alldaymall A88X Motherboard Replacement: 步骤 12 中的图像 2,2
      • Using a pair of tweezers remove the camera assembly from its housing and its receptacles.

      询问修复机器人

      添加评论

    1. Alldaymall A88X Motherboard Replacement, Motherboard: 步骤 13 中的图像 1,3 Alldaymall A88X Motherboard Replacement, Motherboard: 步骤 13 中的图像 2,3 Alldaymall A88X Motherboard Replacement, Motherboard: 步骤 13 中的图像 3,3
      在这个步骤中使用的工具:
      Tweezers
      $4.99
      • Use a plastic opening tool to pull out the black knobs on both sides of the ribbon cable receptacle.

      • Using a pair of tweezers remove the ribbon cable from its receptacle.

      询问修复机器人

      添加评论

    2. Alldaymall A88X Motherboard Replacement: 步骤 14 中的图像 1,3 Alldaymall A88X Motherboard Replacement: 步骤 14 中的图像 2,3 Alldaymall A88X Motherboard Replacement: 步骤 14 中的图像 3,3
      • Now on the left ribbon cable use a plastic opening tool to pull out the black knobs on both sides of the ribbon cable receptacle.

      • Using a pair of tweezers remove the ribbon cable from its receptacle.

      询问修复机器人

      添加评论

    3. Alldaymall A88X Motherboard Replacement: 步骤 15 中的图像 1,2 Alldaymall A88X Motherboard Replacement: 步骤 15 中的图像 2,2
      • Desolder the wires that connect the backlight to the motherboard.

      询问修复机器人

      添加评论

    4. Alldaymall A88X Motherboard Replacement: 步骤 16 中的图像 1,3 Alldaymall A88X Motherboard Replacement: 步骤 16 中的图像 2,3 Alldaymall A88X Motherboard Replacement: 步骤 16 中的图像 3,3
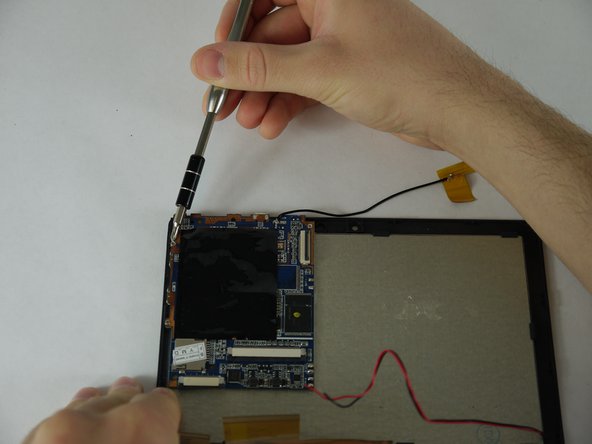
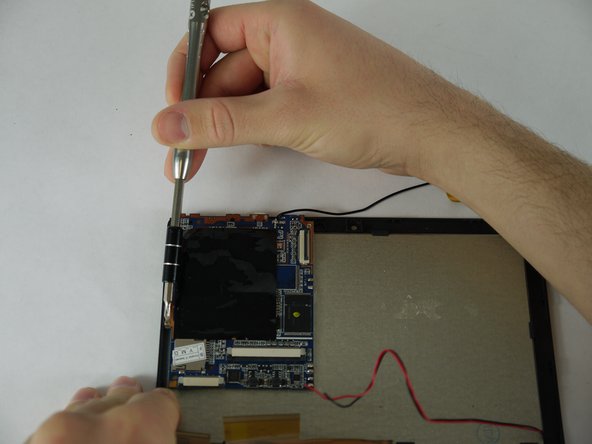
      • Using a PH0 screw bit unscrew the three 3mm screws securing the motherboard to the back panel.

      询问修复机器人

      添加评论

    5. Alldaymall A88X Motherboard Replacement: 步骤 17 中的图像 1,1
      • Carefully lift up on the motherboard from its housing.

      询问修复机器人

      添加评论

结论

To reassemble your device, follow these instructions in reverse order.

取消:我没有完成这个指南。

另外一个人完成了本指南。

作者

与

Drhaber

于02/10/16注册

985 声望

创作了7篇指南

团队

USF Tampa, Team 4-1, Lacy Spring 2016 USF Tampa, Team 4-1, Lacy Spring 2016 的会员

USFT-LACY-S16S4G1

4 名成员

创作了96篇指南

0指南评论

添加评论

浏览统计数据:

过去 24 小时: 2

过去 7 天: 21

过去 30 天: 87

总计 1,270