简介
If your Abask A8 Dash Cam is not functioning properly and all other possible causes have been ruled out, it may be time to replace the motherboard. The motherboard connects the most important internal components of the dash cam and allows them to communicate with each other.
If a motherboard needs replacing, your dash cam will likely not work at all, failing to power on altogether. Follow this step-by-step guide to replace the motherboard and get the Abask A8 working like new.
Before you continue, please unplug the camera from its power source and hold the power button down for 10 seconds to avoid dispelling leftover energy. You may also wear an Anti-Static Wrist Strap to prevent electrostatic discharge.
你所需要的
-
-
Use a Phillips #00 screwdriver to remove the four 1.6 mm screws on the front plate.
-
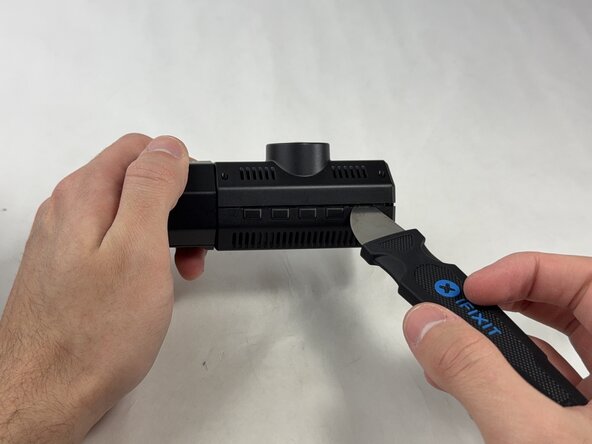
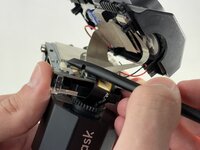
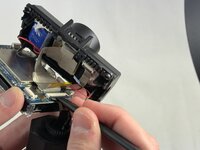
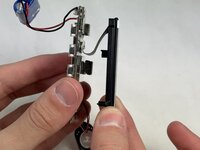
Gently insert a pry between the front panel and the main body, working around the edges to pop it off.
-
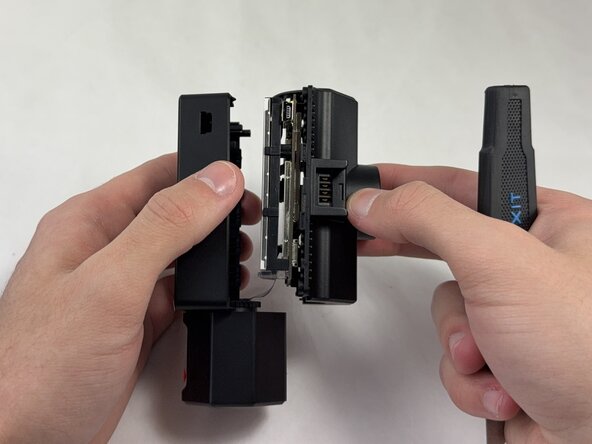
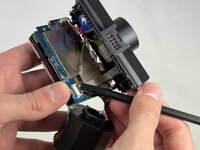
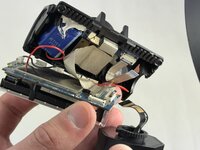
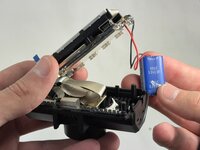
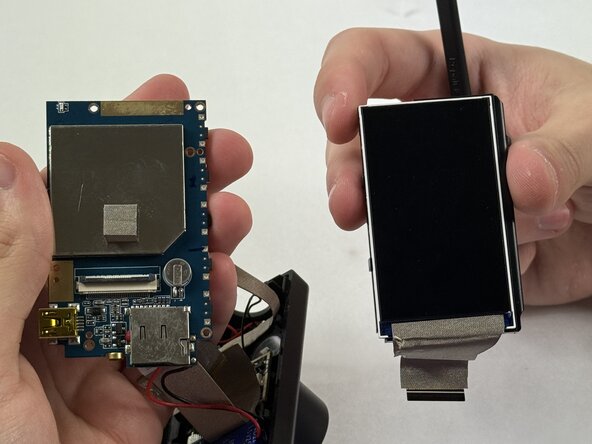
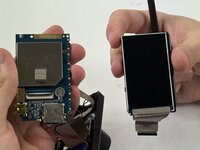
Pull the main body from the shell.
-
-
-
-
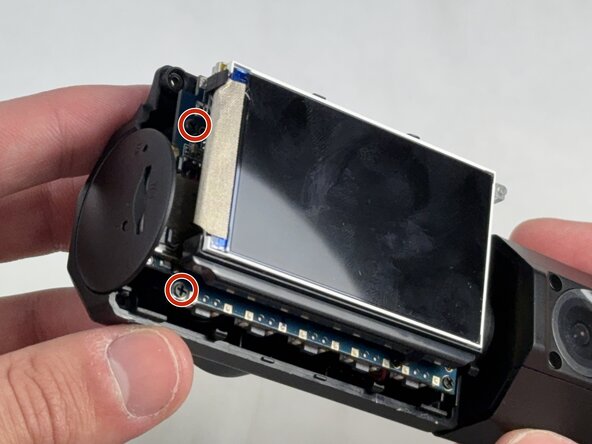
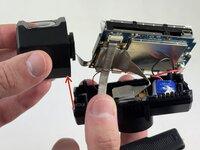
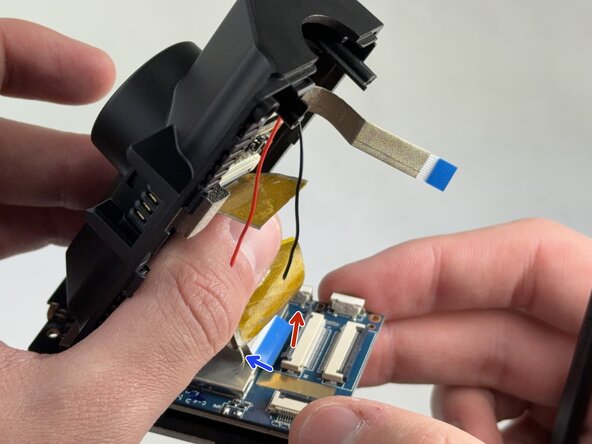
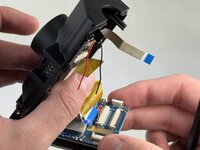
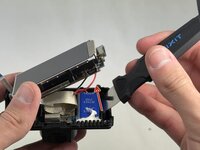
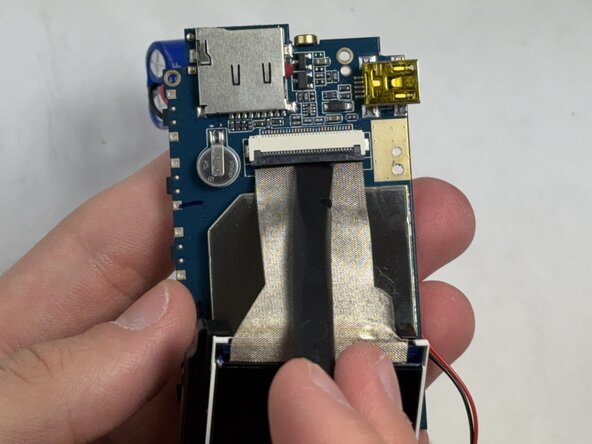
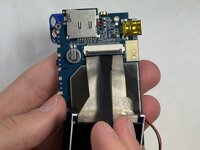
Lift the ZIF locking flap that is securing the ribbon cable connecting the motherboard to the shell.
-


To reassemble your device, follow the above steps in reverse order.
Take your e-waste to an R2 or e-Stewards certified recycler.
Repair didn’t go as planned? Try some basic troubleshooting or ask our Answers community for help.

团队

UMass Dartmouth, Team 4-4, Konn Spring 2025 UMass Dartmouth, Team 4-4, Konn Spring 2025 的会员
UMASSD-KONN-S25S4G4
4 名成员
创作了4篇指南