简介
This is the ASUS Chromebook (Model C424MA-DH48F), here we will be guiding you though a full battery replacement for the ASUS Chromebook.
Reasons to replace the battery include:
- Overheating
- Reduced battery life
- Slow charging
- Swollen battery
- Laptop dying unexpectedly
After replacing the component if you plan on disposing of the old battery here is a link explaining proper battery disposal.
你所需要的
-
-
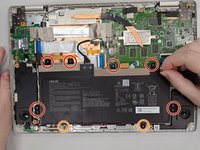
Use a Phillips #0 screwdriver to remove the eleven 6.9 mm screws that secure the lower case.
-
Insert an opening pick into the gap between the lower case and chassis.
-
Slide the pick around the entire perimeter of the laptop until the lower case fully releases.
-
Remove the lower case.
-
-
-
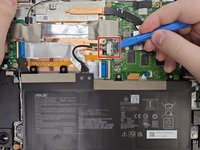
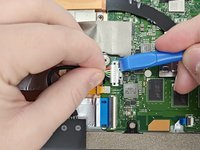
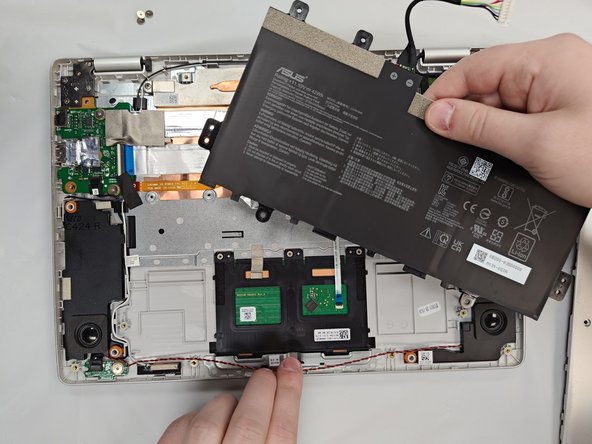
Use an opening tool to pop up the silver locking bar securing the battery connector.
-
Push the battery connector directly out of its motherboard port.
-
-
-
-
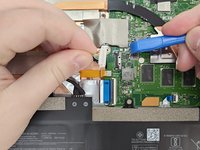
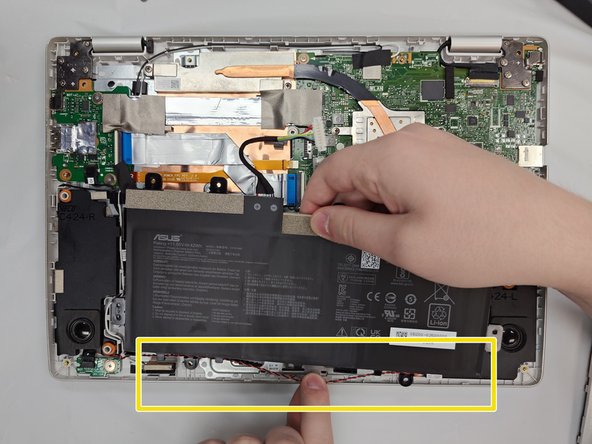
Carefully use the plastic prying tool and pop up the locking bar and lift the connector off with your hand.
-


To reassemble your device, follow the above steps in reverse order.
For optimal performance, after completing this guide, calibrate your newly installed battery.
Take your e-waste to an R2 or e-Stewards certified recycler.
To reassemble your device, follow the above steps in reverse order.
For optimal performance, after completing this guide, calibrate your newly installed battery.
Take your e-waste to an R2 or e-Stewards certified recycler.

团队

University of North Texas, Team 1-6, Kilpatrick Fall 2024 University of North Texas, Team 1-6, Kilpatrick Fall 2024 的会员
UNT-KILPATRICK-F24S1G6
4 名成员
创作了5篇指南