简介
使用本指南,借助带有粘胶去除剂的iFixit 套装,可以安全地从 MacBook Pro 上卸下粘合的电池。粘胶去除剂会溶解固定电池的粘胶,使你轻松卸下它。
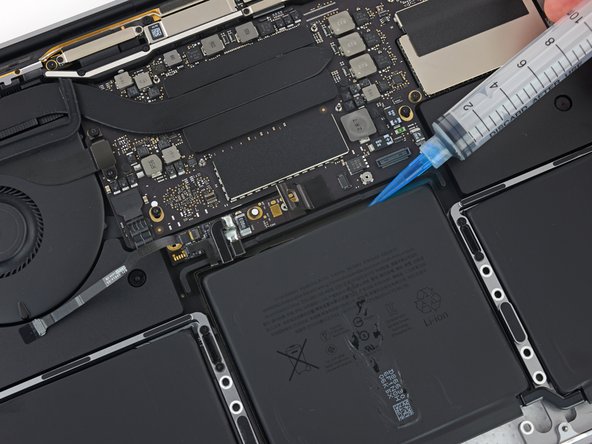
“'iFixit粘胶清除剂是易燃的。'”在通风良好的地方执行此步骤。在此过程中,请勿吸烟或在明火附近工作。
“为了最大程度地减少损坏的风险,请在启动此程序之前打开MacBook并让电池完全放电。”如果意外刺穿,已充电的锂离子电池会造成危险且不可控制的火灾。如果电池膨胀,请如何处理膨胀的电池;请采取额外的预防措施。
'“注意”':用于溶解电池粘合剂的溶剂会损坏某些塑料。请遵循所有说明,并在你涂抹脱胶剂的地方小心。
你所需要的
-
-
开机,并打开终端。
-
将以下命令复制粘贴到(或完全键入)终端窗口中:
-
sudo nvram AutoBoot=%00
-
按[回车]。如果出现钥匙提示,请输入管理员密码(开机密码)并再次按[回车]。注意:您的回车键也可能标有「⏎」或 return。
-
sudo nvram AutoBoot=%03
-
-
-
-
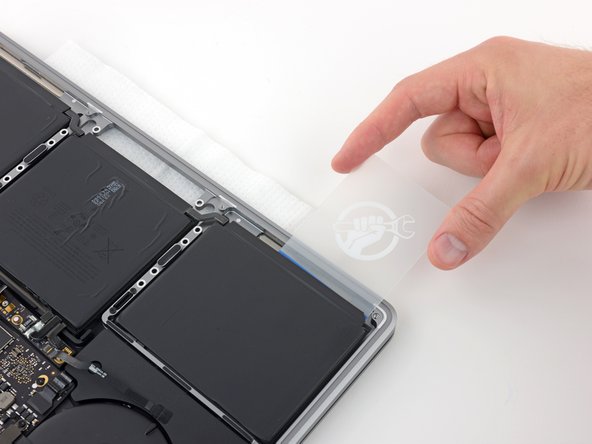
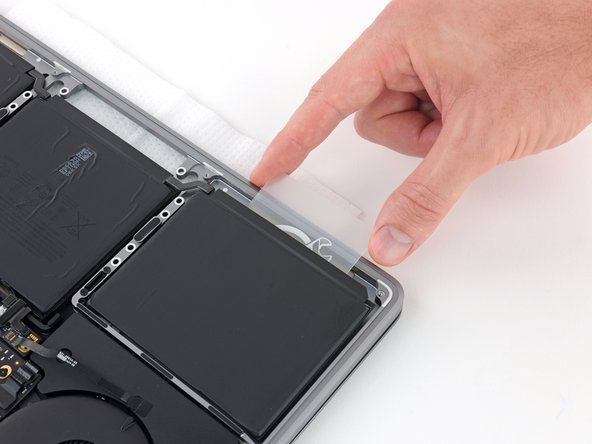
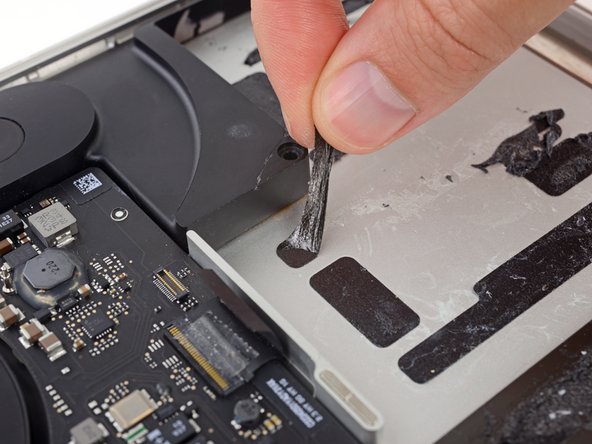
准备一个iOpener,把它放在触摸板排线上持续大概一分钟,来软化把触控板排线黏在电池上的双面胶。
-
如果你没有iOpener,可以用一台吹风机来加热排线。排线应该是热的,但不能热到没法碰。千万小心不要使电池过热。
-


请将即将换上去的新件与换下来的旧件做比对。你可能需要将其他部件从旧件换到新件上,以及将新件上的双面胶离型纸撕掉。
要重新组装设备,请按逆序执行上述步骤。
为了获得最佳性能,请校准新安装的电池:将其充电至100%,并继续充电至少2小时。然后使用设备,直到低电量自动关机。最后,不间断地将其充电回100%。
将产生的电子垃圾带到R2或e-Stewards认证回收商。
维修过程中出现了预期之外的情况?请查看我们的社区,以获取疑难解答帮助。
请将即将换上去的新件与换下来的旧件做比对。你可能需要将其他部件从旧件换到新件上,以及将新件上的双面胶离型纸撕掉。
要重新组装设备,请按逆序执行上述步骤。
为了获得最佳性能,请校准新安装的电池:将其充电至100%,并继续充电至少2小时。然后使用设备,直到低电量自动关机。最后,不间断地将其充电回100%。
将产生的电子垃圾带到R2或e-Stewards认证回收商。
维修过程中出现了预期之外的情况?请查看我们的社区,以获取疑难解答帮助。
151等其他人完成本指南。


28条评论
Cela peut paraitre impressionnant mais si vous suivez à la lettre ce guide de démontage / remontage, vous y arriverez ! Patience et motivation seront déterminantes !
Make sure when removing the battery with the adhesive and card that the card goes about 2-2.5 cm into the battery (underneath) because there is a cut out in the metal preventing you from pushing underneath the battery thinking it is very strong adhesive when it is not. Also when lining up the battery connector make sure that is lined up and able to fit before making the adhesive stick. One last tip is to make sure the trackpad is aligned before completely screwing in.
Cole Blair - 回复
All valid great tips
This tip about the cutout in the metal under the battery is very true for the two batteries on the side. Luckily, under the side batteries, the metal is smooth under the corner close to the middle, so I recommend starting with the card there and getting the card far enough under the battery to get past those cutouts before moving it to the side.
Hi,
ich habe den Akku nach dieser Anleitung getauscht, jedoch wird der Akku nicht erkannt…kann mir jemand helfen?