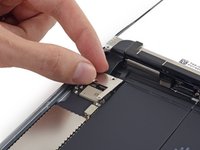
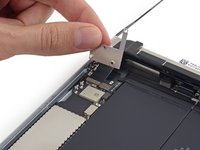
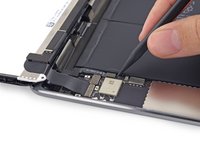
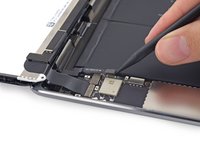
简介
使用這指南移除和更換你的iPad Mini 3 Wi-Fi電池
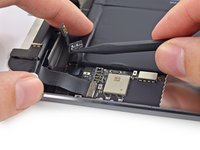
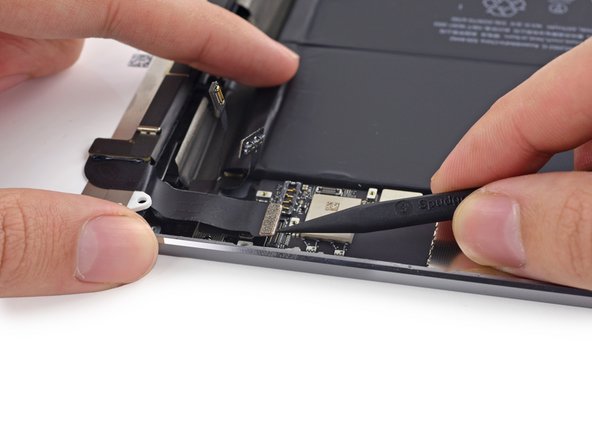
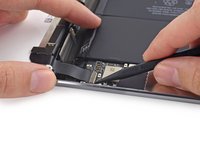
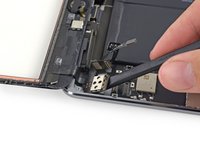
你所需要的
-
-
在锅或平底锅里装满足够的水来完全淹没iOpener。
-
把水加热到沸腾。关火。
-
将iOpener放入热水中2-3分钟。确保iOpener完全浸入水中。
-
用钳子从热水中提取加热的iOpener。
-
用毛巾彻底擦干iOpener。
-
你的iOpener已准备好使用!如果你需要重新加热iOpener,请将水加热到沸点,关火,并将iOpener放入水中2-3分钟。
-
-
-
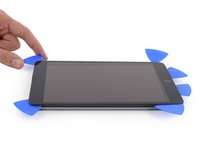
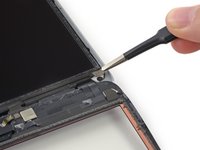
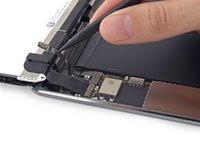
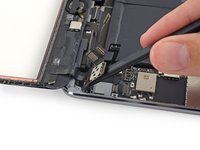
如果你的屏幕已经损坏,那么请效益以防止其进一步损坏或者因触摸而导致身体受伤。
-
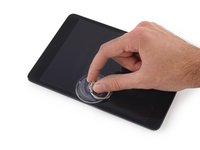
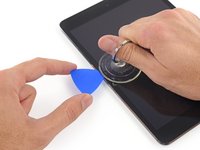
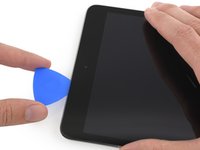
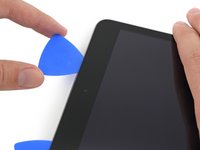
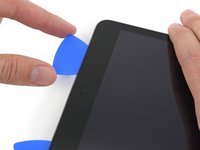
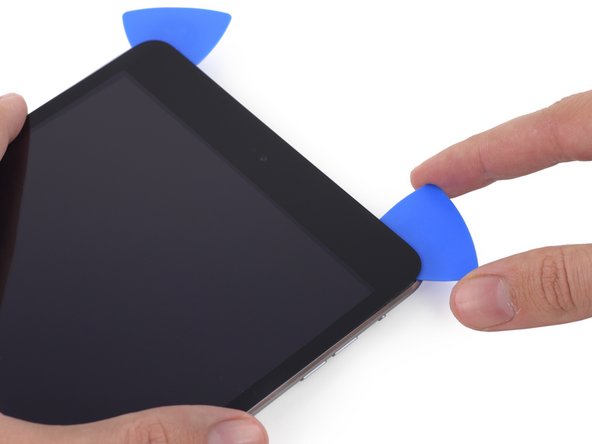
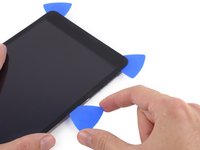
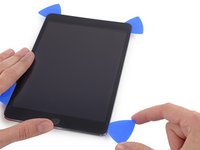
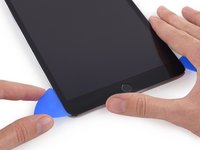
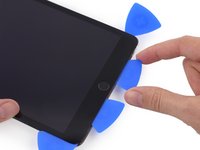
在iPad显示屏上重叠贴上透明胶带直到iPad的整块显示屏都被覆盖。
-
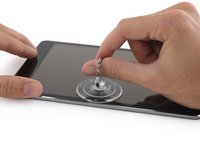
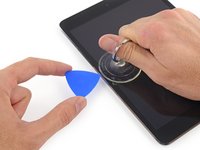
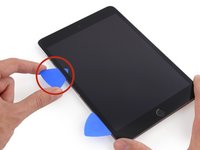
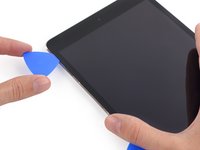
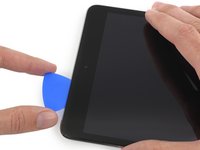
最好尽你的最大努力来完成指南。但是,一旦玻璃已经损坏,它就会随着您的使用而继续损坏,所以你可能需要使用金属撬具来讲玻璃取出。
-
-


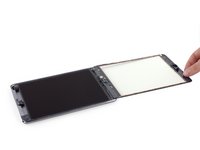


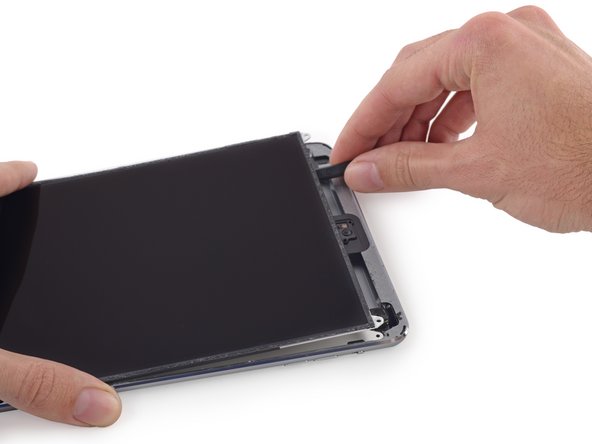


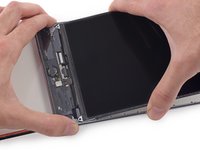


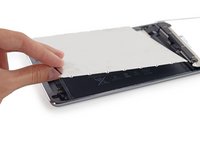


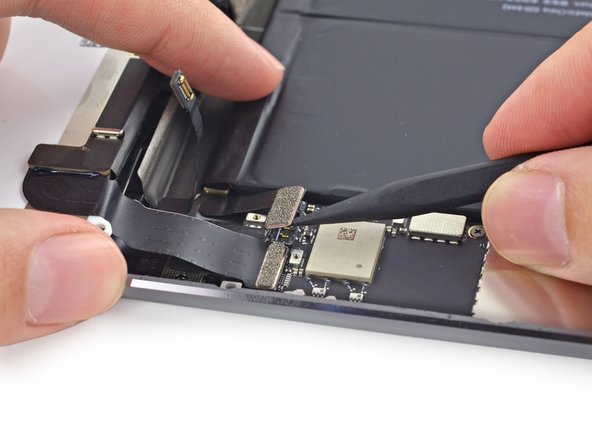

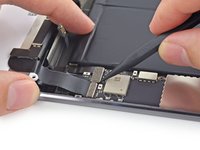
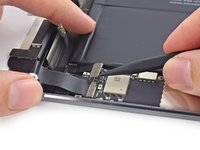


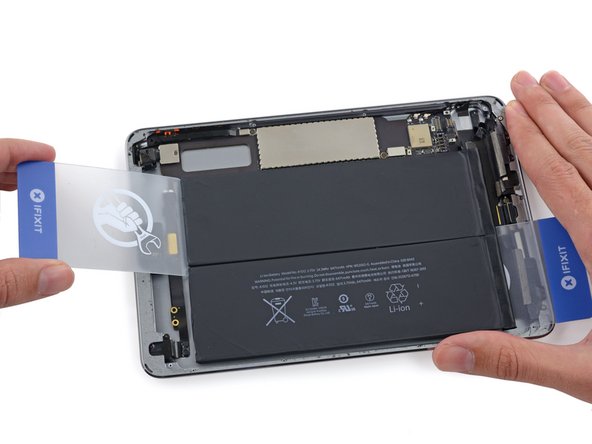


要重新組裝您的設備,請按照相反的順序執行這些指示。
要重新組裝您的設備,請按照相反的順序執行這些指示。
24等其他人完成本指南。


4条评论
Thank you so much I really needed help
Thanks, Sam
Thank you! I had an iPad Mini 3 with a bulging battery that had lifted the glass and display away from the body of the iPad. I purchased the repair kit + battery replacement kit and was able to install the new battery using these instructions. I took extra time to make sure the glass and display were not damaged from the bulging battery, but it made it a little easier to get the glass off since most of the adhesive had already been lifted off. I used Goo Gone and one of the blue plastic spudgers to remove the old adhesive from the glass and from the case.
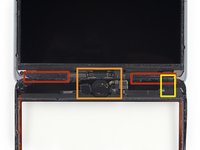
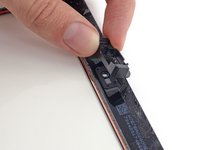
I would have liked to have seen instructions on installing the replacement adhesive but figured it out. I cut some of the long pieces into smaller pieces to make it more manageable, especially the section under the digitizer ribbon. Also, there wasn’t a mention of the two, small, metal pieces that stick to the adhesive in two of the corners to help support the glass over the display screws. I made sure to save those and replace them.
My Ipad Mini 3 doesn’t turn on at all. I checked the battery’s voltage and it’s ok. Could it be the LCD? Can anyone help me?