简介
请按照本指南更换任天堂 Switch Lite 中的右操纵杆。更换操纵杆将解决臭名昭著的“ Joy-Con漂移”问题(按照 本指南更换 Nintendo Switch Lite 的右摇杆)。
Switch Lite 使用 JIS 螺丝,但您可以在紧要关头使用十字螺丝刀。当心不要滑丝。 iFixit 的十字头设计与 JIS 型螺丝相兼容。
维修后,建议在玩游戏前[链接|Nintendo Switch Joy-Con Drift|对更换的摇杆进行校准|new_window=true]。
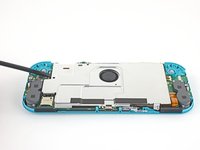
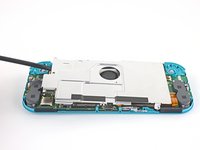
注意:此过程需要卸下屏蔽罩和散热器。在重新安装屏蔽罩和散热器之前,需要清除这两个组件以及CPU上的导热膏,然后重新涂抹。
你所需要的
-
-
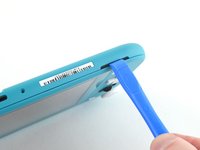
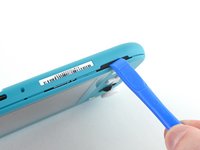
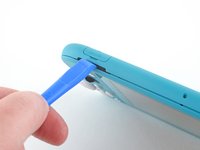
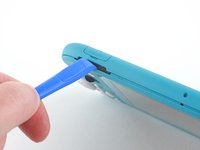
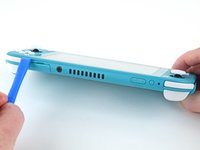
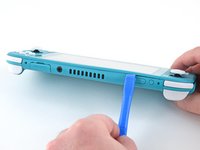
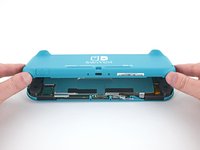
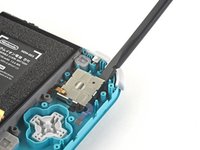
用 JIS 000 螺丝刀或官方 iFixit PH 000 螺丝刀卸下固定后面板的螺丝:
-
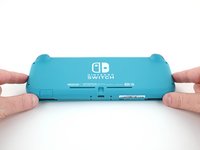
设备顶部的两个3.6毫米长的螺丝
-
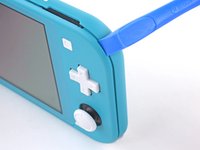
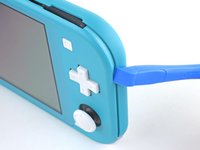
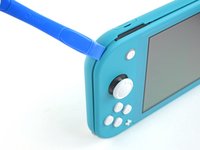
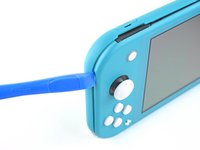
设备底部的两个3.6毫米长的螺丝
-
为防止这些拧的很紧的螺丝滑丝,请向下用力,缓慢操作,如果螺钉无法卸下,请尝试使用不同的螺丝刀。
-
-


要重新组装设备,请按照逆序进行操作。
将你的电子垃圾带到R2或e-Stewards认证回收商。
维修没有按计划进行吗?尝试一些基本故障排除后的故障排除,或向我们的Nintendo Switch Lite 社区寻求帮助。
131等其他人完成本指南。


44指南评论
Really appreciate the detailed pictures.
This was great, I love how every step was so simply broken down and had pictures. Thank you, my son is very happy to have his switch back in action.
I followed this guide, bought the tools and replacement part, after successfully doing the replacement, my switch light now won’t power on at all, how can I fix this? any help please…
Hi Iczleal I had the same issue when I first did it and then I went back step by step. Turns out I didn’t plug the battery back in correctly, I recommend just repeating the steps and checking to see if everything is connected properly. Hope this helps :)