简介
使用本指南更换三星 Galaxy S9 Plus 破损的屏幕。
本指南涉及拆除后玻璃盖:你需要更换粘合剂才能将后盖重新连接到手机上。如果你的替换显示器没有附带粘合剂,请使用强大的双面胶带,例如Tesa 61395来保护它。
打开三星Galaxy S9 Plus 将“损坏设备上的防水密封”。如果你不更换胶粘剂密封圈,你的手机将“正常运行”,但将会“失去防水功能”。
如果框架损坏或弯曲,更换它是很重要的,否则新屏幕可能无法正确安装并且可能因压力不均而受损。
将显示屏与框架分开的过程通常会破坏显示屏,因此除非你打算更换显示屏,否则请不要按照本指南进行操作。
你所需要的
视频概述
-
-
在开始之前,请关闭手机。
-
将加热的 iOpener 应用到手机的长边,以松开后玻璃下方的粘合剂。使用 iOpener加热至少两分钟。在拆开过程中,你可能需要多次重新加热并重新施加 iOpener,以使粘合剂足够温暖以便切割。
-
-
-
在以下步骤中,你将切割固定后盖的粘合剂。
-
你将在所示区域中切割粘合剂:
-
粘合剂厚的区域
-
粘合剂薄的区域
-
避免在此区域撬或切片,以保护指纹传感器柔性电缆。
The yellow portion labeled "Avoid prying in this area" is also pretty heavily glued. I had luck using heat to soften it, but I messed up my fingerprint sensor because the image above is mirrored - I sliced through the right side because the image says it's on the left. The fingerprint sensor cable is actually on the right (when viewing the back side of the phone) on the same side as the phone's volume control.
-
-
-
将吸盘按到后盖上。
-
用吸盘提起后盖的底边,打开后盖和框架之间的微小间隙。
-
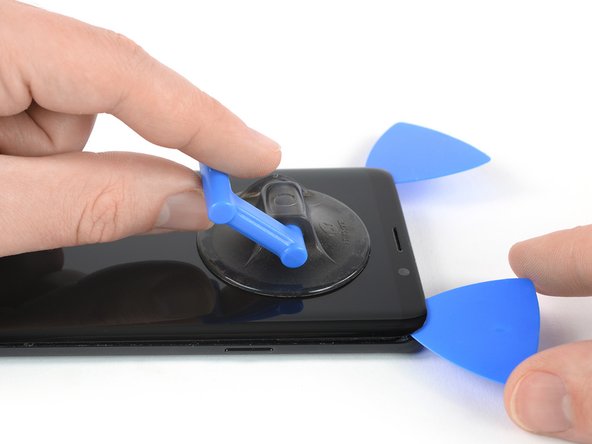
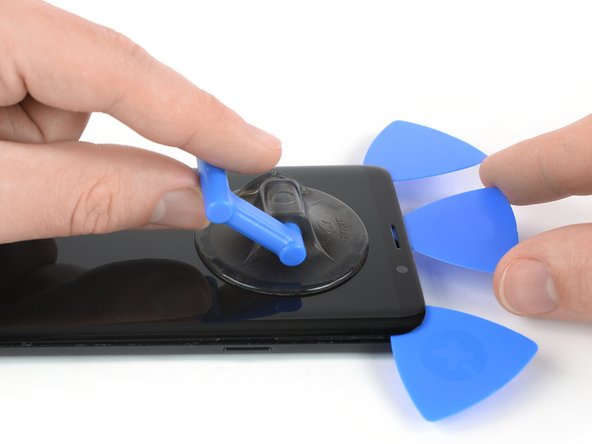
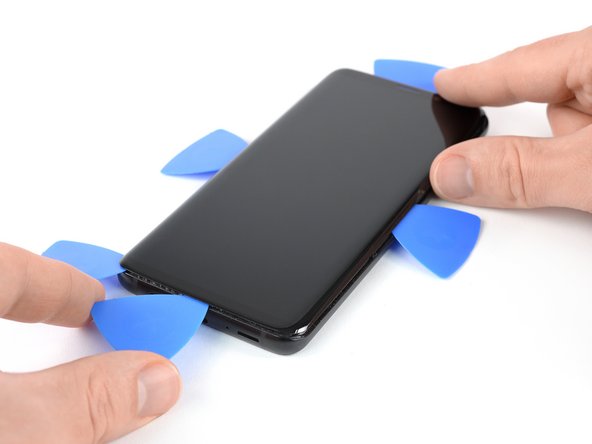
在你打开的间隙中插入一个三角撬片,然后将其滑动到右下角。
This is the most challenging part. The suction cup can barely hold for the amount of force required...but here's a tip, especially for the first-timers like me. It's not obvious in this image, but the back, curved as it is as it attaches to the frame, is curved because the surface under the back is also curved. Therefore, using an angle for the pick that's a bit tilted up will help to get under the back, and get the cutting of the adhesive started.
Don't let that give you too much confidence, though. Sufficient heating of the back, to make the adhesive soft enough to yield to the several picks, is essential. Go slow, if you go too fast, or don't have enough heat, you WILL break the glass...as I did. Replacements, fortunately, are easy to find and not too expensive.
-
-
-
小心抬起后玻璃侧面有音量按钮的位置。
-
使用撬棒的边缘撬起并断开指纹传感器柔性电缆。
I also have a G965U model S9+, and its fingerprint read also remained in the back glass.
It's easier to pop the button up than it is to reattach it when reassembling the phone. Well, I sure hope it goes better for you than it did me. (:
-
-
-
取下后玻璃。
Is it necessary to replace the rear glass adhesive? I have given up on water resistance, just want it to hold in one piece.
Hi Zachary,
in order to assure that the rear glass sticks to the rest of the phone assembly you have to replace the rear glass adhesive once you removed the rear glass. However you can use a narrow and strong double sided tape, tesa tape or our precut adhesive card. All of these will do their job however as you just mentioned you will lose the water protection of your phone. Before installing all of these it is very important to remove the old adhesive backings (for example with high isopropyl alcohol 90% or higher).
Sadly it's not possible to replace the rear glass without new adhesive.
-
-
-
-
卸下九颗4毫米菲利普斯#00 螺丝。
Don´t forget to unscrew the two screws on the left side (one near the battery, and one near the edge).
11 screws need to be removed here. Watch the video to confirm the remaining 2.
The 9 screws shown won't let the bracket up unless you finish with the 2 more screws. (near edge and bottom of the bracket).
-
-
-
在包含NFC天线和充电线圈的塑料盖的右侧下方插入一个三角撬片。
-
向侧面翻转三角撬片,将盖子从其塑料夹中提出。
-
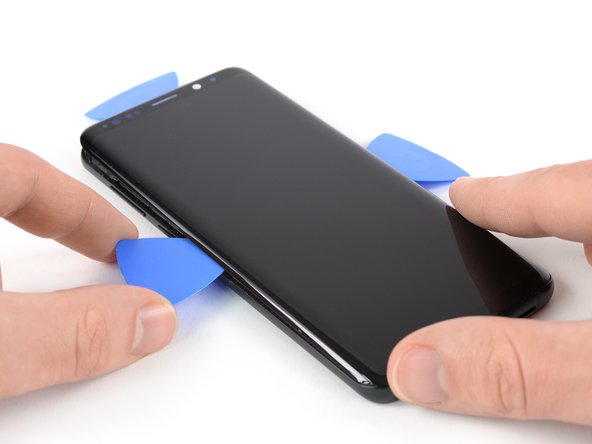
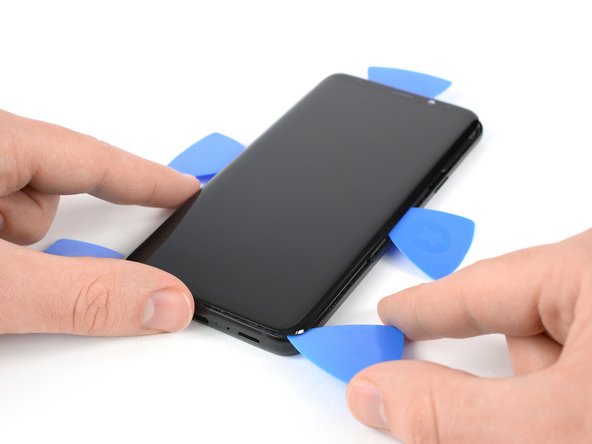
绕着塑料盖工作,撬起以释放剩余的夹扣。
I used a pointed metal spudger to pop that piece. The picks were more difficult here. There's an arrow that points the spot that needs to be opened.
-
-
-
一旦屏幕摸起来变暖了,请在手机的上边缘使用吸盘。
-
在间隙中插入一个三角撬片,然后将粘合剂滑动到左上角,开始切割粘合剂。
to just replace the screen with the Digitizer would I have to remove the back still?. I've removed the broken glass screen but the replacement didn't have the film inside it and I see a foil covering what I assume is the lcd.
-


将新的更换配件与原始配件进行比较 —— 在安装之前,你可能需要转移剩余配件或从新配件上移除粘合剂背衬。
确保新屏幕安全的最佳方法是使用一张定制的双面胶带。将胶带贴在屏幕背面,然后小心地将显示屏电缆穿过框架。对齐屏幕并将其按入到位。
要重新组装你的设备,请按相反顺序执行上述步骤。
如果可能,请在安装新胶粘剂并重新密封手机之前打开手机并测试维修。
将你的电子垃圾带到R2或e-Stewards认证的回收商。
维修没有按计划进行?查看我们的Answers社区以获取故障排除帮助。
将新的更换配件与原始配件进行比较 —— 在安装之前,你可能需要转移剩余配件或从新配件上移除粘合剂背衬。
确保新屏幕安全的最佳方法是使用一张定制的双面胶带。将胶带贴在屏幕背面,然后小心地将显示屏电缆穿过框架。对齐屏幕并将其按入到位。
要重新组装你的设备,请按相反顺序执行上述步骤。
如果可能,请在安装新胶粘剂并重新密封手机之前打开手机并测试维修。
将你的电子垃圾带到R2或e-Stewards认证的回收商。
维修没有按计划进行?查看我们的Answers社区以获取故障排除帮助。
44等其他人完成本指南。


10条评论
bonsoir
où puis-je trouver la coque arrière du s9 plus? puisque le mien est endomagé.
boubajinior@gmail.com
Bonjour,
voici le lien sur l’article en question : ++Galaxy S9+ Rear Glass Panel/Cover
et voici le lien sur le tutoriel pour l’échange : ++https://www.ifixit.com/Guide/Samsung+Gal...
how to change sansung galaxy S9 plus (screen) LCD flex belt?
Black 1213 - 回复
where i do get s9+board
Why aren't there any visuals for the installation? This is more of a screen removal guide than a screen replacement guide…
Just finished installing front screen and battery. Everything is working correctly. phone is currently charging. One thing that I did on mine was use a heat gun at 212 F at the bottom of the glass while also using the suction cup to pry up slightly. it created a large enough gap to get a pick started. Also used a lot of 99% isopropyl alcohol in the teardown and glue clean up. 10/10 guide. Thank you!!
I need help please. While on steps 7/8 removing the rear glass and disconnecting the fingerprint sensor. I removed the glass successfully however the rear camera lens and fingerprint sensor stayed intact with the phone. Is it safe to carry or have I goofed up?
Hi, if you don't break the flat cable i think will be OK if the sensors and cameras stays with phone. Check it before you glue the scren and the rear cover
I don't know how much longer should I use for the min heat gun.
Hui Chen - 回复
Only heat it up so you can still handle the phone. That depends on your heat gun. Wearing (ESD-)gloves might give you some extra degrees.
Tobias Isakeit -
It is very very hard to remove the back glass due to the adesive… I don't know if it is possibile (at least for everyone) to remove it wothout broking the glass
Luigi - 回复
This is nearly impossible without breaking the glass or risking overheating. I would say apply heat repetitively for 6-8 minutes. The very most adhesive is across the bottom so push the pry stick way in. I generally start on the rear side.
Thomas Hayes - 回复
Whoah NO. It will damage the camera and other sensitive electronics.
D Harlo -
Heating the back is essential, challenging, frustrating and, for first-timers such as myself, seemingly impossble, but I will say don't give up...I'll have another comment later.
cbclistener - 回复
I tried with the iopener but I gave in after three attempts. I then used a hairdryer and a pizza oven infrared thermometer, heating in increments. 60C did the trick and I was able to get the first pick in. Further heating was necessary to ease the rest of the back off, all to 60C.
Chris Harrison - 回复