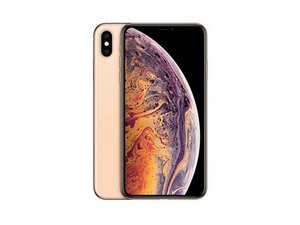
Hi Marco,
Yeah, they changed the connections from the X to the XS, so the soldering instructions are going to be significantly different.
Here's what you're looking at for the separate parts. The points that have to soldered together are marked with red squares.
Here's a picture of those two parts when they come preassembled.
The connections on the XS are much larger than the ones on the original X, so I'm thinking the soldering should be easier. When I was rebuilding a X, it came with the charging coil but no volume button ribbon. I bought one and tried to solder it on myself, but the soldering iron just melted the flex cable along with the solder, ruining both parts. I gave up on that idea and just bought one already preassembled like this one.
Amazon.com: YESUN NFC Chip Wireless Charging Charger Panel Coil Sticker with Volume Button Flex Cable for iPhone Xs Max 6.5 inch : Cell Phones & Accessories
Like I said, if I had the choice I'd just buy it preassembled, but since the solder pads on the XS are completely different (and I already had the parts) it would be worth a try soldering them together.
I'd suggest soldering them together first, then set the wireless coil in place and install the motherboard and the volume buttons. Connect the volume flex to both then mark the position of the charging coil. Take the motherboard back out and stick the charging coil down; that way everything should fit together properly. If you try putting the coil down first, there's a chance the connectors won't reach where they need to go.
No matter which way you decide to go, let us know what happens. Good luck!


 1
1 

 44
44  90
90 


1条评论
Thanks Dude I Also Replaced My Mute Switch And Soldered The Coil. It Works As It Should. Is The NFC Chip Located In The Charging Coil Or Somewhere Else??
由 ウサギ 完成的