跳转到主内容

你所需要的

这个拆解是不是维修指南。 要维修你的的Linksys WRT54G,请使用我们的维修手册

  1. Linksys WRT54G Teardown, Get your Linksys: 步骤 1 中的图像 1,2 Linksys WRT54G Teardown, Get your Linksys: 步骤 1 中的图像 2,2
    • The Linksys WRT54G series is a series of Wi-Fi gateways manufactured by Linksys, a subsidiary of Cisco Systems.

  2. Linksys WRT54G Teardown, Antenna Removal: 步骤 2 中的图像 1,2 Linksys WRT54G Teardown, Antenna Removal: 步骤 2 中的图像 2,2
    • Let's begin with the teardown! First, unscrew the antennas from the back of the router and set them aside.

  3. Linksys WRT54G Teardown, Front Panel Removal: 步骤 3 中的图像 1,3 Linksys WRT54G Teardown, Front Panel Removal: 步骤 3 中的图像 2,3 Linksys WRT54G Teardown, Front Panel Removal: 步骤 3 中的图像 3,3
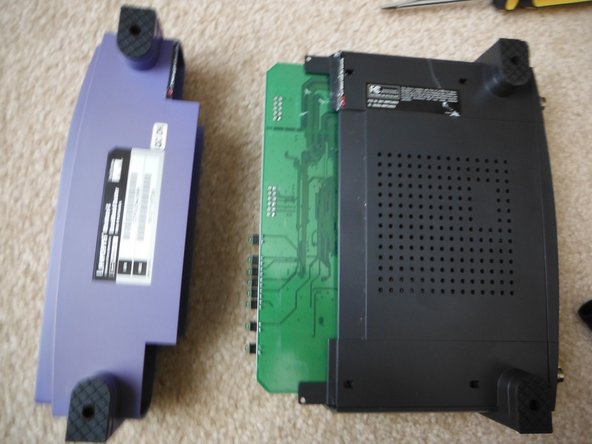
    • Lets get into the internals! First, flip the unit over and insert a small flat-head screwdriver in between the warranty sticker and the front panel and gently pry it open.

    • Beware! It may take some effort to pry the panel off. Also, be careful not to damage the motherboard, like I did.

    • This will certainly void your warranty from 2002, in case you wanted to know.

  4. Linksys WRT54G Teardown, Remove Top Panel: 步骤 4 中的图像 1,3 Linksys WRT54G Teardown, Remove Top Panel: 步骤 4 中的图像 2,3 Linksys WRT54G Teardown, Remove Top Panel: 步骤 4 中的图像 3,3
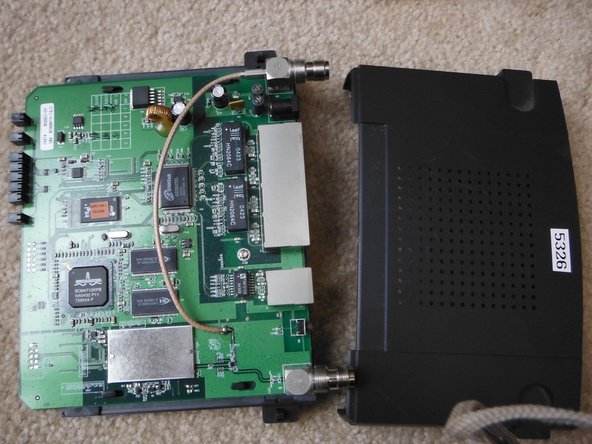
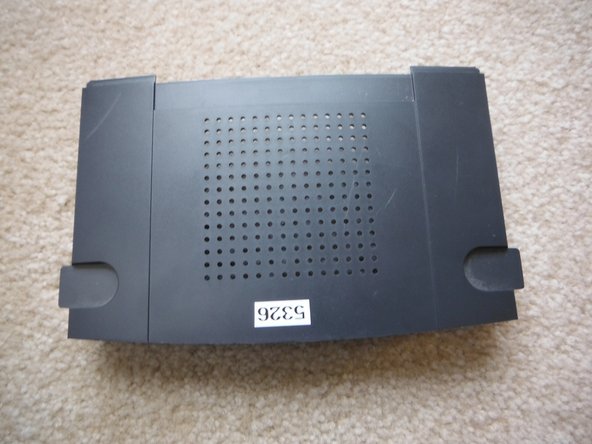
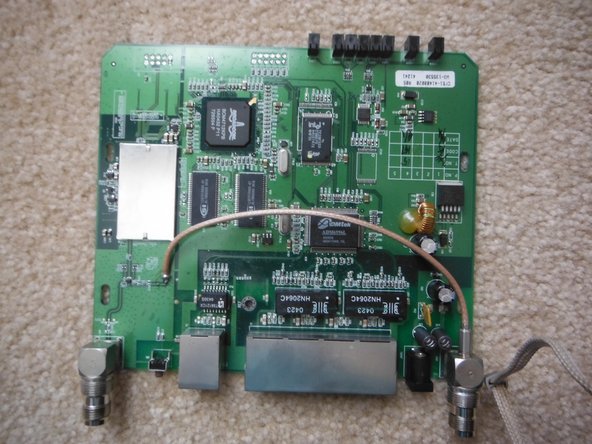
    • Now, slide the top plastic panel off and put it aside you now have a clear view of the motherboard.

    • Intel TE28F320 Flash Memory

    • Broadcom BCM4712KPB (I think it’s a modem chip)

    • Admtek ADM6996L Ethernet Controller

    • Activity LEDs

    • Issi 42S16400-6T Random Access Memory (unsure how much)

    • An assortment of other chips I couldn't find.

  5. Linksys WRT54G Teardown, Remove Motherboard: 步骤 5 中的图像 1,3 Linksys WRT54G Teardown, Remove Motherboard: 步骤 5 中的图像 2,3 Linksys WRT54G Teardown, Remove Motherboard: 步骤 5 中的图像 3,3
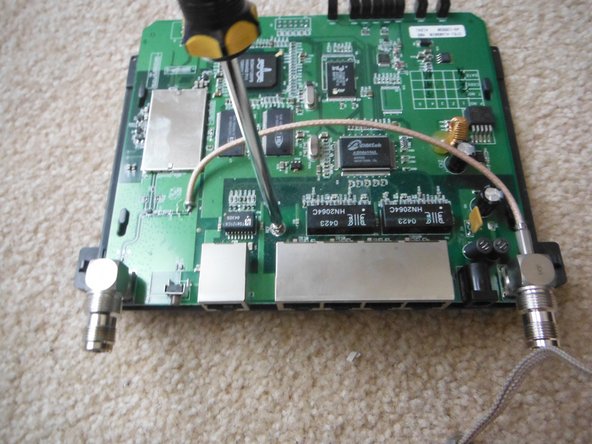
    • Time to remove the motherboard! Unscrew the single Phillips screw, slide the motherboard and then lift it out.

    • Single Phillips screw

    • Plastic slips holding the motherboard in place.

  6. Linksys WRT54G Teardown, Done!: 步骤 6 中的图像 1,1
    • You're done! Thanks for sticking with me for my first teardown!

    • If you want to reassemble this, just do this guide in reverse order! (assuming you didn't break it like I did)

Reed Crosby

于12/07/16注册

4,368 声望

撰写一个指南

团队

Kid fixers Kid fixers 的会员

Community

156 名成员

创作了292篇指南

2条评论

Happened to get one of these from goodwill recently and wanted to take it apart to take a look. This was really helpful for doing that, deeply appreciate these teardown posts.

Chris Caldwell - 回复

添加评论

浏览统计数据:

过去 24 小时: 1

过去 7 天: 8

过去 30 天: 43

总计 7,458