正翻译步骤 5
步骤 5

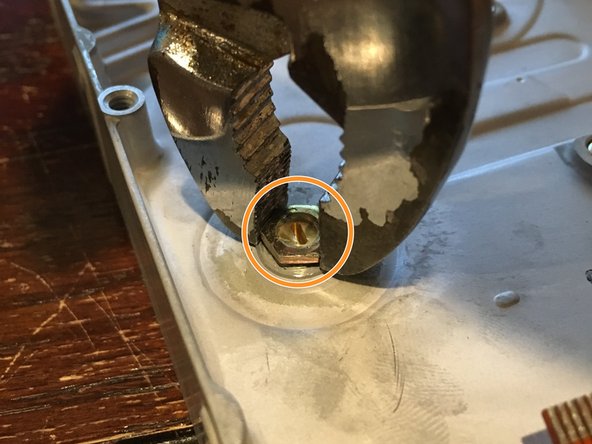


Remove the Nut Holding on the Read/Write Head
-
Next, remove the two clear protective plastic stickers (circled in red) from the newly-exposed bottom of the drive.
-
Remove the nut that was previously enclosed under one of the stickers mentioned above (circled in orange) (I used pliers to remove it, as I was too lazy to grab another socket). It is a bit hard to turn, as it is glued on, but apply enough force and it will come off. Also, unscrew the brass set screw in the middle of the aforementioned nut.
您的所有投稿皆享有基于开源创作共享许可协议(CC BY-NC-SA)的著作权利。