正翻译步骤 5
步骤 5


-
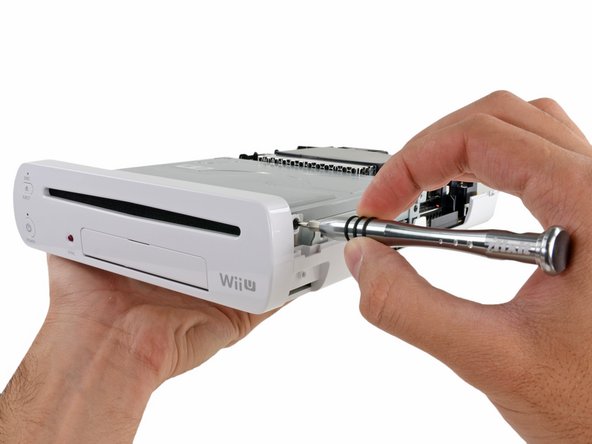
The device is pretty simple so far, but has no shortage of screws. There's no adhesive holding the U together, but were it not for our Magnetic Project Mat, all of these screws could get out of hand. So far we have encountered both Phillips and Tri-point screws, nothing our 64 Bit Driver Kit can't handle.
-
After some unscrewing, the front panel pops right off.
| - | [* black] The device is pretty simple so far, but has no shortage of screws. There's no adhesive holding the U together, but were it not for our [product|IF145-167|Magnetic Project Mat], all of these screws could get out of hand. So far we have encountered both Phillips and Tri- |
|---|---|
| + | [* black] The device is pretty simple so far, but has no shortage of screws. There's no adhesive holding the U together, but were it not for our [product|IF145-167|Magnetic Project Mat], all of these screws could get out of hand. So far we have encountered both Phillips and Tri-point screws, nothing our [http://bit.ly/sV8KKG|64 Bit Driver Kit] can't handle. |
| [* black] After some unscrewing, the front panel pops right off. |
您的所有投稿皆享有基于开源创作共享许可协议(CC BY-NC-SA)的著作权利。