简介
A teardown of the Tesla M3 Keyfob performed in advance of attempting to model a slimmer housing for it. You can check out how I built a replacement housing for the PCB here:
Model files and instructions are here: https://www.printables.com/model/624527-...
你所需要的
视频概述
-
-
Using a small pry tool, gently press into the small indent near the front of the key fob while pressing up to pop off the battery cover.
-
Remove the coin-cell battery type CR2032 by prying upwards in the small recess
-
If all you want to do is replace the battery, stop here.
-
-
-
-
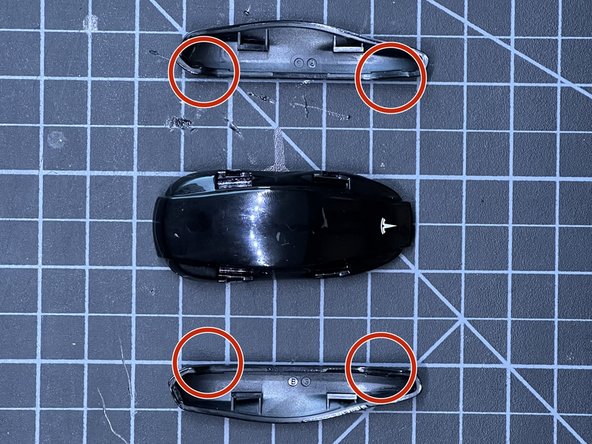
Using a stiff spudger or other prying tool, pry back the plastic tabs on the top and bottom of the plastic sides (circled in red)
-
Take your time here and go slowly so you don't break the clips
-
-
-
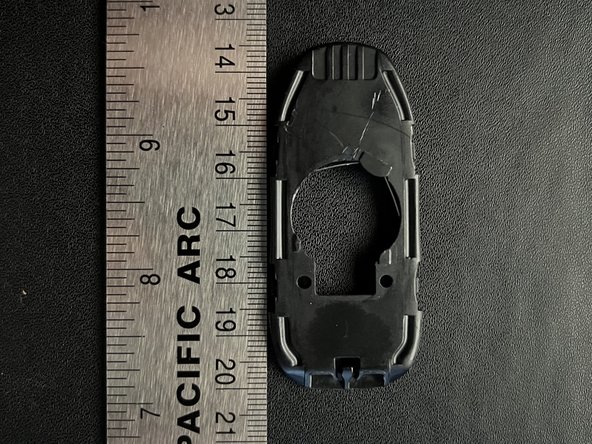
Next, pry up the middle shell section using the four tabs at the sides of the case. (outlined in green on the right side)
-
-
-
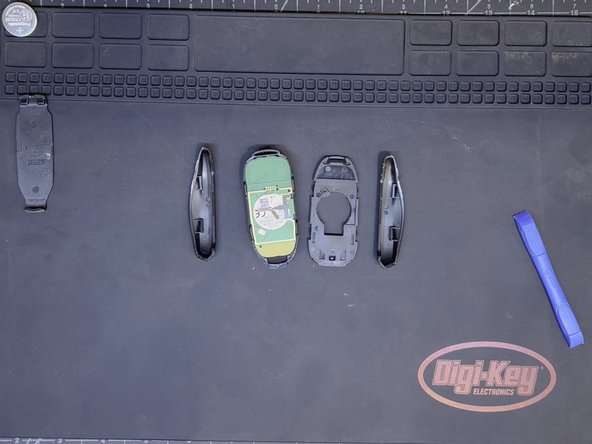
Last but not least, gently pull out the PCB from the top housing
-
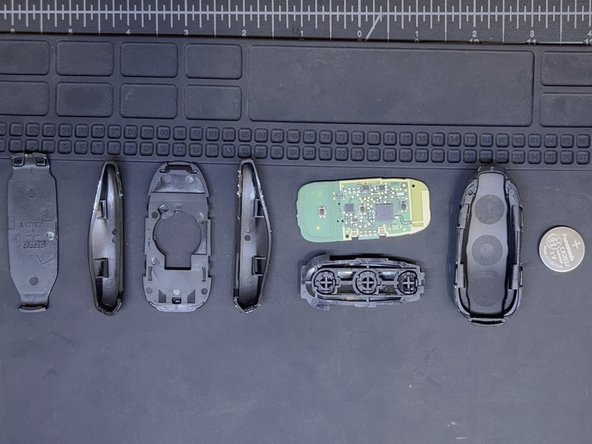
The coin cell battery holding bracket (circled in orange) can be removed by gently grabbing with tweezers and lifting straight up
-
-
-
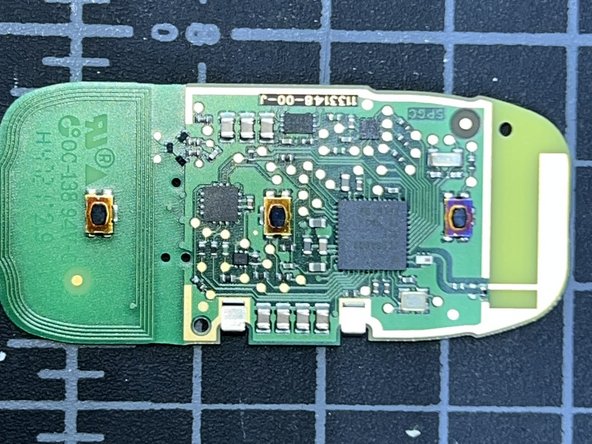
And just like that you're done!
-
A relatively simple teardown. Go forward and put that PCB to good use with a custom fob housing
-