简介
This article tells you how to disassemble Sony Xperia ZR (C5503). It's not hard to disassemble at all, but still need carefulness to avoid tearing some fragile cables or cracking the screen.
Contributed by Fix4U, an iPhone, Samsung Galaxy, and other smartphone Repair Shop in Auckland.
你所需要的
-
-
To teardown, you only need 3 tools:
-
T6 Torx Screwdriver
-
Phillips #00 Screwdriver
-
Plastic Opening Tools
-
-
-
-
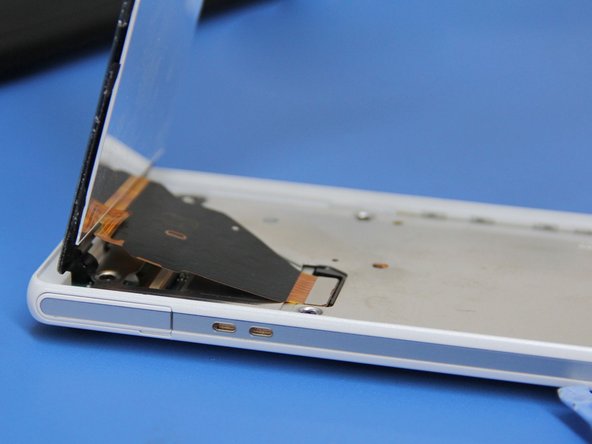
Use plastic opening tool to get the screen off.
-
Insert opening tool to the bottom edge of the screen. Then go along the edge slowly to separate the screen.
-
Try several times to get an easy point to insert opening tool. Don't force, although this screen is not that fragile.
-
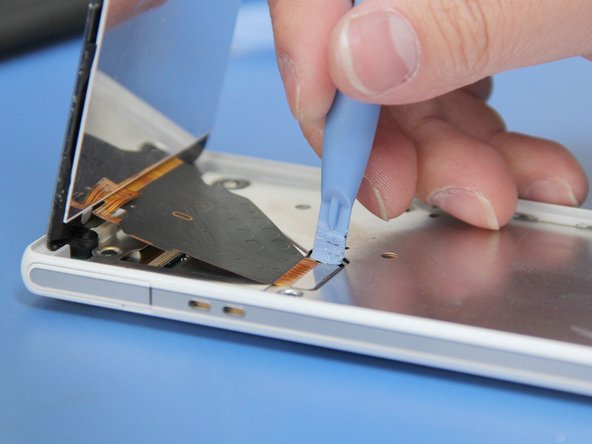
Finally use opening tool to detach the screen panel connector.
-
-
-
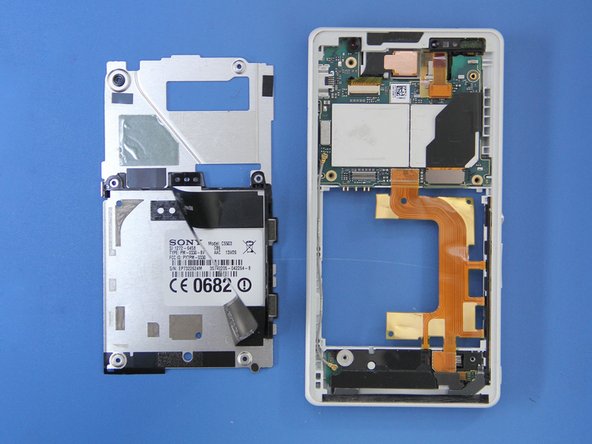
Gently pry the partition out a little, you can see there's volume button flex cable sticking on the partition panel. So if you pry too hard, these flex cable may be torn.
-
Flip the phone.
-
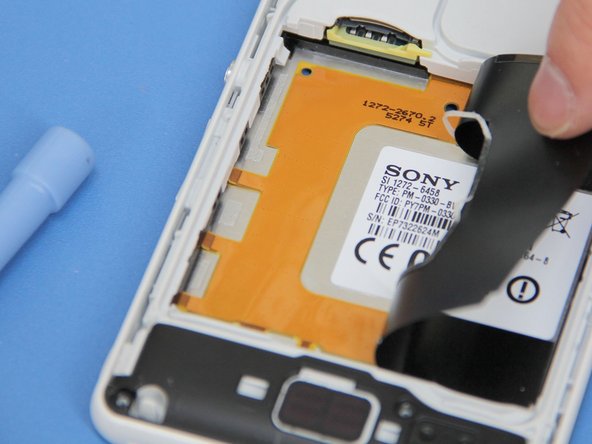
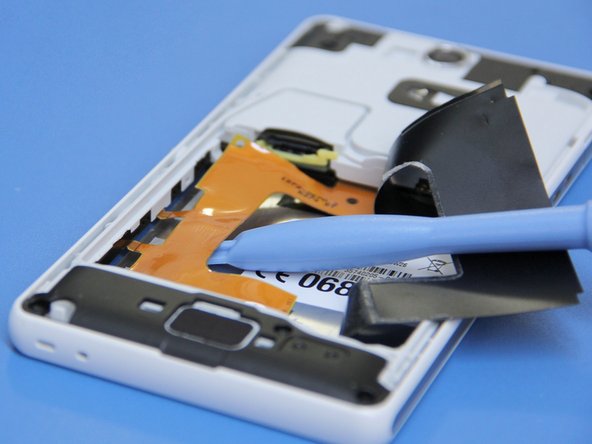
Lift the black sticky plastic paper slowly and then you'll see the flex cable sticky on the partition.
-
Use plastic opening tool to separate the flex cable.
-


10条评论
Will my phone still be waterproof after this?
stormsaber - 回复
I;m afraid it's not...
You'll have to replace all adhesive stickers, it's still won't guarantee it to be completely waterproof afterwards, but chances will be much higher.
Sony Xperia ZR M36h LCD Screen With Digitizer Module Black available on best price
Display Type TFT capacitive touchscreen, 16M colors
Size 4.55 inches (~64.6% screen-to-body ratio)
Resolution 720 x 1280 pixels (~323 ppi pixel density)
Multitouch Yes, up to 10 fingers
Protection Shatter proof glass- Sony Mobile BRAVIA Engine 2
my wifi is not working properly, its works when the phone is placed very close to the router. it may be the cause of some blockage due to dust accumulation inside. so if i open the screen how would i glue it again? as my screen is fine but dust has started to enter into both the cameras. please help