跳转到主内容

本拆机指南正在进行中 – 定期刷新以看到更新!

你所需要的

  1. Sony Xperia U Teardown, Sony Xperia U Teardown: 步骤 1 中的图像 1,1
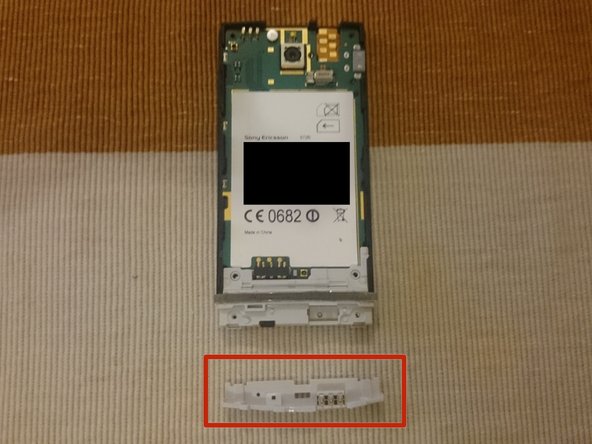
    • Remove the back cover and the bottom clip. And also remove the sim card and battery.

  2. Sony Xperia U Teardown: 步骤 2 中的图像 1,1
    • Remove the 6 T5 screws

  3. Sony Xperia U Teardown: 步骤 3 中的图像 1,1
    • Remove the back piece, reveiling the headphone jack, speaker and the Liquid contact indicator.

    • Camera and flash

    • Vibrating motor

    • Headphone jack

    • Speaker

    • Liquid contact indicator

  4. Sony Xperia U Teardown: 步骤 4 中的图像 1,2 Sony Xperia U Teardown: 步骤 4 中的图像 2,2
    • Remove the 2 T5 screws.

    • Remove the lower antenna.

  5. Sony Xperia U Teardown: 步骤 5 中的图像 1,2 Sony Xperia U Teardown: 步骤 5 中的图像 2,2
    • Carefully remove the motherboard being aware on the lower left edge, there is the display connector.

    • Be aware of the display connector on the lower left.

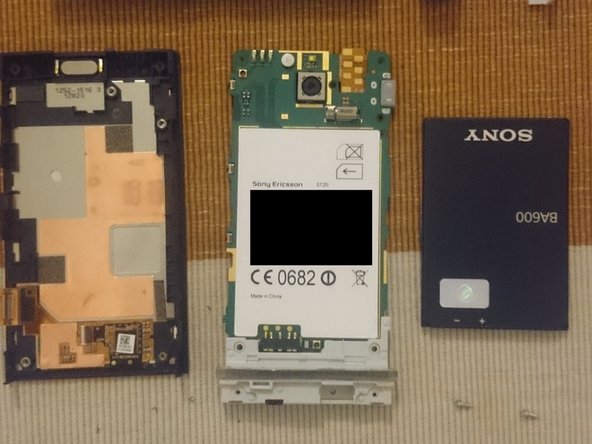
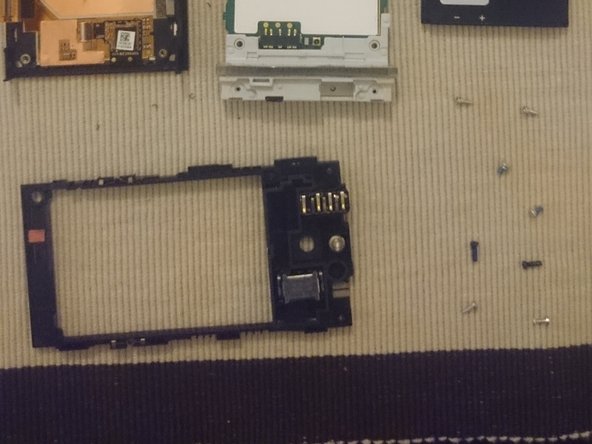
  6. Sony Xperia U Teardown: 步骤 6 中的图像 1,3 Sony Xperia U Teardown: 步骤 6 中的图像 2,3 Sony Xperia U Teardown: 步骤 6 中的图像 3,3
    • Removal back and bottom cap

    • Screen + main case, motherboard + antenna, battery

    • Back casing holding the headphone jack, speaker and liquid contact indicator.

Anthony

于07/29/14注册

201 声望

撰写一个指南

0条评论

添加评论

浏览统计数据:

过去 24 小时: 0

过去 7 天: 0

过去 30 天: 4

总计 3,086