跳转到主内容

你所需要的

这个拆解是不是维修指南。 要维修你的的RedOctane X-Plorer,请使用我们的维修手册

  1. RedOctane X-Plorer Teardown, Case: 步骤 1 中的图像 1,1
    • Remove all 16 #10-torx screws from the back side of the case.

    • Gently separate the case pieces.

    • A strong magnet helps greatly when taking out the screws.

    • Keep in mind when resembling, the case is plastic so, don't tighten the screws too tight.

  2. RedOctane X-Plorer Teardown, Neck: 步骤 2 中的图像 1,1
    • Unscrew the 4 #10-torx screws.

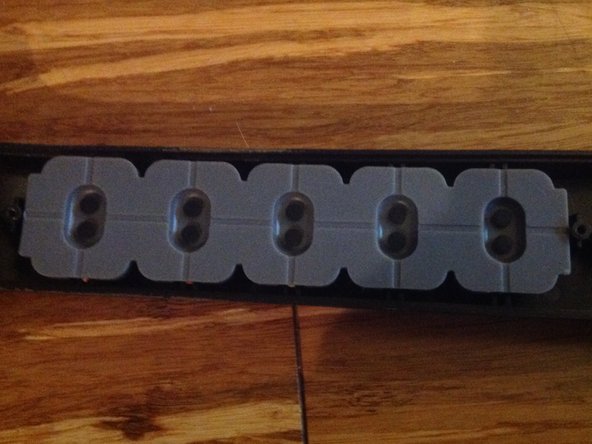
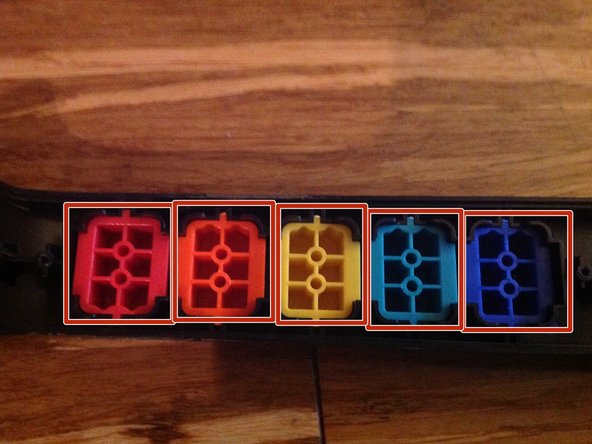
  3. RedOctane X-Plorer Teardown, Colored Keys: 步骤 3 中的图像 1,3 RedOctane X-Plorer Teardown, Colored Keys: 步骤 3 中的图像 2,3 RedOctane X-Plorer Teardown, Colored Keys: 步骤 3 中的图像 3,3
    • Unscrew the 2 Philips head screws

    • Peel off the pads.

    • Push the colored keys out from the other side.

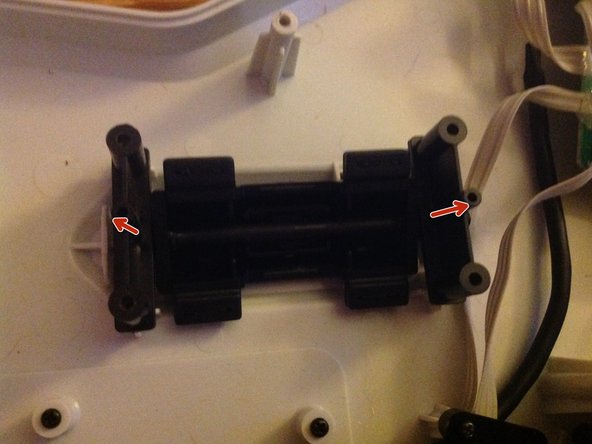
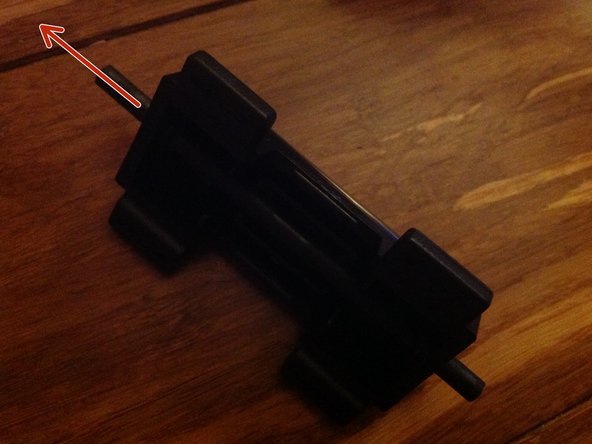
  4. RedOctane X-Plorer Teardown, Strum Bar: 步骤 4 中的图像 1,3 RedOctane X-Plorer Teardown, Strum Bar: 步骤 4 中的图像 2,3 RedOctane X-Plorer Teardown, Strum Bar: 步骤 4 中的图像 3,3
    • Unscrew the red screws and pull the board out.

    • Then, unscrew the blue screws

    • Pull the bracket things off.

    • Pull out the pin.

  5. RedOctane X-Plorer Teardown, Unused port: 步骤 5 中的图像 1,1
    • Unscrew the 4 Philips head screws.

  6. RedOctane X-Plorer Teardown, Aux Port: 步骤 6 中的图像 1,1
    • Unscrew these 2 Philips head screws.

  7. RedOctane X-Plorer Teardown, Whammy Bar: 步骤 7 中的图像 1,2 RedOctane X-Plorer Teardown, Whammy Bar: 步骤 7 中的图像 2,2
    • Push from the other side until it comes out.

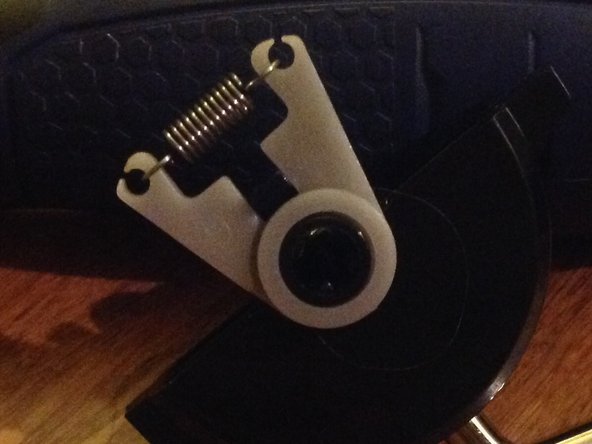
    • Take the spring off with the connector

  8. RedOctane X-Plorer Teardown, Motherboard: 步骤 8 中的图像 1,2 RedOctane X-Plorer Teardown, Motherboard: 步骤 8 中的图像 2,2
    • Unscrew the 4 Philips head screws.

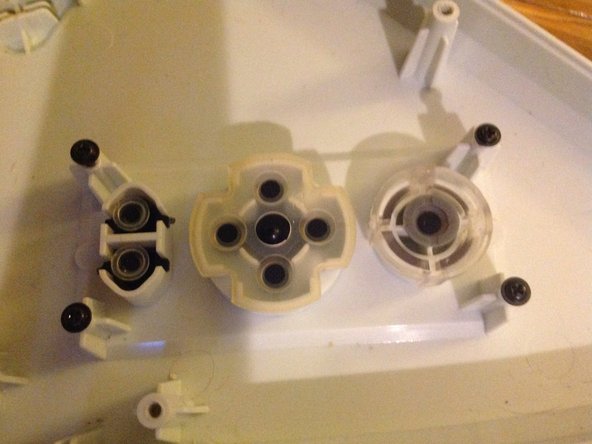
    • Peel off the contact pads.

Jackson Poer

于04/08/17注册

671 声望

创作了2篇指南

一条评论

"unused port" is for a footpedal switch,not positive but believe all GH style guitars have one

Valden Tharbosen - 回复

添加评论

浏览统计数据:

过去 24 小时: 2

过去 7 天: 14

过去 30 天: 64

总计 3,333