本指南有最近更改,您可查看未经巡查的最新版本。
简介
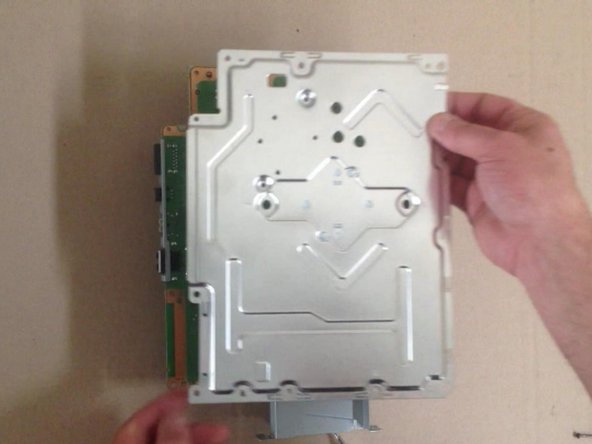
PlayStation 3 super slim - how to fully disassemble.
You can see also: PlayStation 3 Super Slim Teardown
你所需要的
视频概述
-
-
Remove the three rubber feet, warranty sticker and four screws.
-
Gently pull up on the bottom cover to remove it.
-
-


To reassemble your device, follow these instructions in reverse order.
To reassemble your device, follow these instructions in reverse order.
41等其他人完成本指南。

团队

13条评论
What's the name of the screwdriver that undo's the star shaped screws?
It is a T8 Torx screwdriver! I'll add the tools to this guide =)
i took apart my ps3 super slim and put it back together but there is no power what so ever no red light at all
Same here did you fix it?
Kriss -