简介
First, I would like to apologize for my poor English, I am from Brazil, but I love this site, especially because I have loved to disassemble electronic things since I was a kid. My mother always freaks out, but I always assemble everything back. Sometimes I even fix some things.
I'm writing this teardown to try to win the PSP GO or the PS3 slim, so please look with care, it was made with care. (editor’s note: WOOOOW This article is outdated. I hope you won your PSP GO or PS3 Slim.
In this teardown, I will show how to disassemble a Sony Playstation 2. I was already planning to disassemble it to clean it and fix a small issue.
Later in the repair guide, I will show how to fix a small problem I had. I sent it to a technician because the rumble effect was no longer working. He says that there was a problem in the motherboard and he needs to change it entirely, but the model is a SCPH 39001. It’s an old model. In fact, it was one of the first in the market. He says that the price to fix it was expensive and that it’s better to buy a PS2 Slim to replace mine. I remember when a bought my PS2. It cost more than R$800, almost US$400. I decided to stay with it anyway, and despite the problem, I even bought an ethernet adapter to continue playing it.
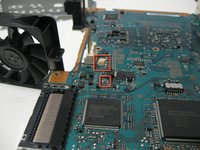
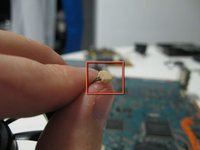
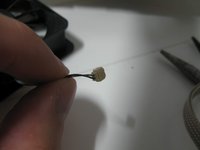
Later, talking with some friends, I found out that there is a fuse that controls the rumble effect and all that I needed to do was change it. I found out that the fuses in the mainboard are very small and fixed in the main board. It’s almost impossible to change them. The same friend gave me a tip that I can use a glass fuse and take the internal wire to use in the main board. I decided to try it and it works perfectly.
So, let’s start the teardown. Enjoy!
你所需要的
视频概述
-
-
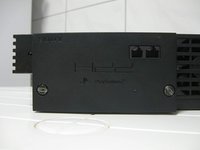
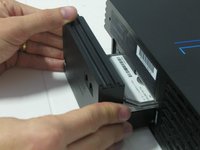
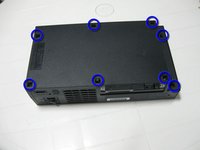
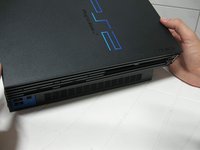
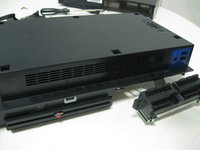
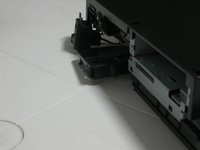
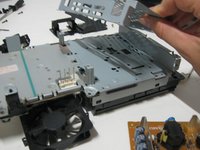
Here we have the system console fully assembled.
-
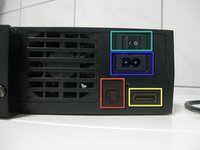
The USB Ports.
-
The S400 ports
-
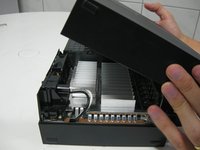
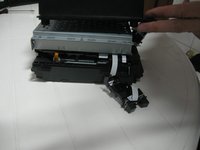
The Optical Drive
-
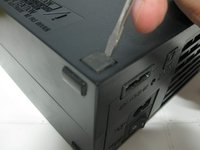
The reset button
-
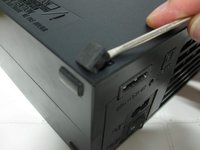
The eject button
-
-
-
-
This is the end of the teardown.
-
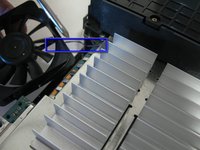
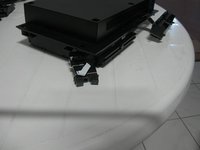
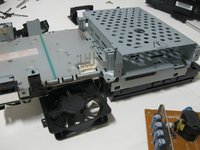
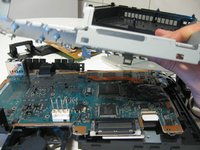
From top, from the left: Ethernet adapter, Ps2 case, Hdd, Cooler, Cooler grid, bottom metal cover protection, screws protectors, screws, Controller board, Power swtich, Power source board, Plastic cover to isolate the power source board, top metal cover, DVD Drive, Expansion Bay cover, main board, reset/eject structure.
-


14条评论
reverse procedures..step by step..
Yep in reverse, take your time or you'll be like me breaking things and having to rig it haha. Put the shielding back together, drive, power board, the other shield for hard drive. Everything, plug all connections. Even power-reset buttons. Then put it on the bottom casing, connect controller ports and close it up with top casing.
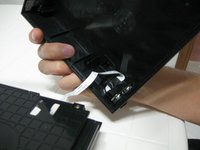
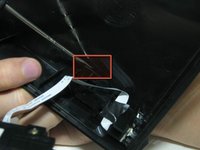
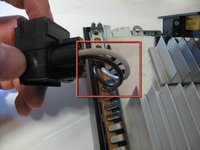
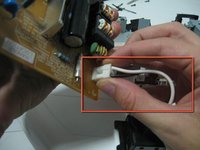
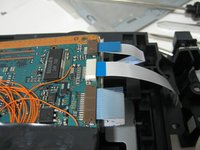
If a cable is ripped or broken, unfortunately there is no way to fix it. You will have to replace the cable.
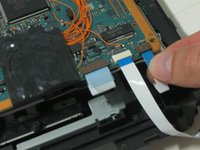
I put a lot of layers of tape on mine, the last owner of my system was very naughty and disassembled the system when it was still under warranty, so the cable was brokem
John Doe -