你所需要的
-
-
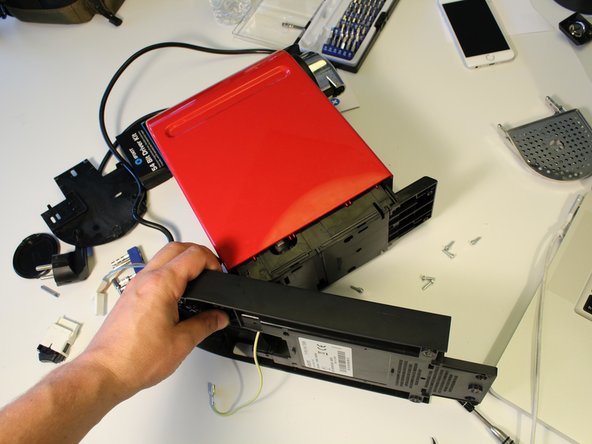
The CitiZ is a compact coffee-making gizmo. Opening it requires a proprietary tool that Nespresso doesn't sell. But iFixit has the answer: just use our oval head bit! They want to keep us out of our own machines!
-
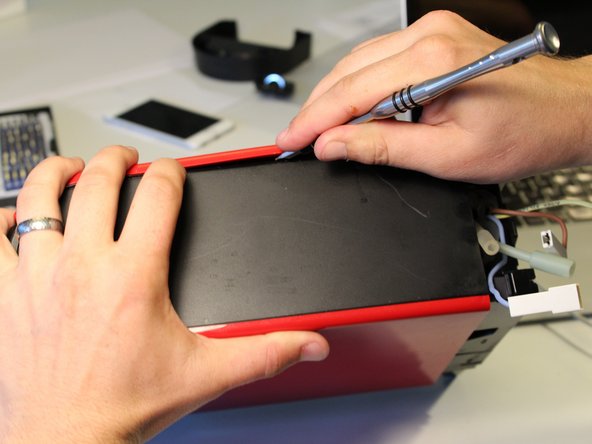
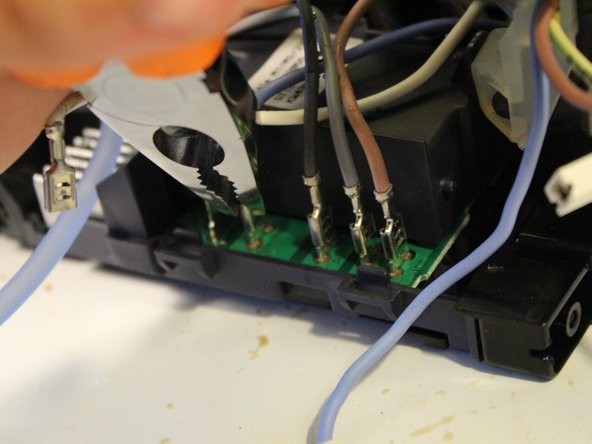
You can get into it with a pair of needle-nose pliers. The pliers I used aren't ideal — you want something that can get into the recessed slots.
-
-
-
There are six ovoid screws on the bottom case. The screws look like rivets, but they are actually oval.
-
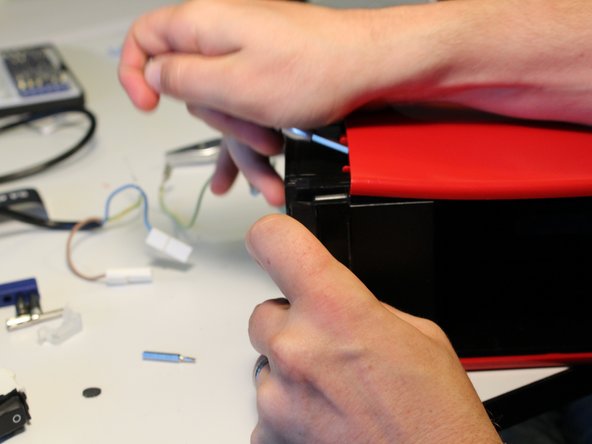
You can painstakingly remove them with pliers. Take your time.
-
If you can't get pliers to work, other people have had success using superglue, melting a BIC pen into the shape of the screw, or machining a custom bit.
-
-


33条评论
or you can make your own tool! See http://www.maultech.com/chrislott/blog/2...
Where is the heating element then?
Hi Junaho.
Did you have a look to Step 26 ?
I see, my bad.