跳转到主内容

你所需要的

这个拆解是不是维修指南。 要维修你的的Lenovo IdeaPad 720S-13IKB,请使用我们的维修手册

  1. Lenovo IdeaPad 720S-13IKB Teardown, Remove back cover: 步骤 1 中的图像 1,1
    • Power off Device

    • Remove charger

    • Remove 6 T5 Screws

    • Remove 4 T5 Screws (These Screws are at an angle)

    • Remove the back cover using opening Pics. Start at the back(where the screen is)

  2. Lenovo IdeaPad 720S-13IKB Teardown: 步骤 2 中的图像 1,1
    • SSD/DisplayConnector Cover

    • Battery

    • M.2 Wifi&Bluetooth

    • Speakers

    • RAM Cover

    • CPU

  3. Lenovo IdeaPad 720S-13IKB Teardown, Remove Battery: 步骤 3 中的图像 1,1
    • Unplug battery

    • Remove all 3 Screws using PH1

    • Take out the battery

  4. Lenovo IdeaPad 720S-13IKB Teardown: 步骤 4 中的图像 1,1
    • Fingerprint reader

    • Touchpad

  5. Lenovo IdeaPad 720S-13IKB Teardown, Remove Covers: 步骤 5 中的图像 1,2 Lenovo IdeaPad 720S-13IKB Teardown, Remove Covers: 步骤 5 中的图像 2,2
    • Remove Screws with PH1

    • Remove Screws with PH0

    • Remove RAM cover

    • All covers are also secured using contact clips (Picture 2). Just pull them out

  6. Lenovo IdeaPad 720S-13IKB Teardown: 步骤 6 中的图像 1,1
    • DRAM (K4aag165wb MCRC)

    • Connector To Display

    • M.2 SSD

  7. Lenovo IdeaPad 720S-13IKB Teardown, Remove Speaker: 步骤 7 中的图像 1,1
    • Unplug Fans

    • Disconnect Fingerprint and Touchpad

    • Take out Speakers

  8. Lenovo IdeaPad 720S-13IKB Teardown, Remove Motherboard: 步骤 8 中的图像 1,2 Lenovo IdeaPad 720S-13IKB Teardown, Remove Motherboard: 步骤 8 中的图像 2,2
    • Remove screws using PH0

    • Remove screws using PH1 and take m.2 parts out

    • Dissconnect cables

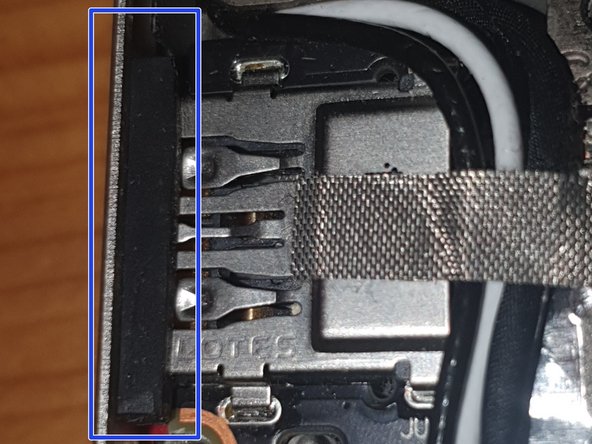
    • Disconnect Display Cable

    • No Idea how to connect Display Cable (Tips welcome)

    • Push Moterboard to the left and take it out.

    • At the USB-A Port is some cushion to keep the Motherboard in place.

Hinomi

于05/08/24注册

325 声望

创作了3篇指南

0条评论

添加评论

浏览统计数据:

过去 24 小时: 1

过去 7 天: 6

过去 30 天: 45

总计 223