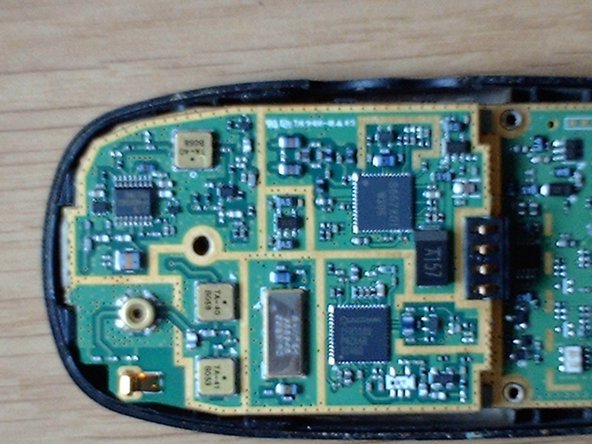
跳转到主内容

你所需要的

这个拆解是不是维修指南。 要维修你的的Hyundai H-150,请使用我们的维修手册

  1. Hyundai H-150 Teardown, Hyundai H-150 Teardown: 步骤 1 中的图像 1,3 Hyundai H-150 Teardown, Hyundai H-150 Teardown: 步骤 1 中的图像 2,3 Hyundai H-150 Teardown, Hyundai H-150 Teardown: 步骤 1 中的图像 3,3
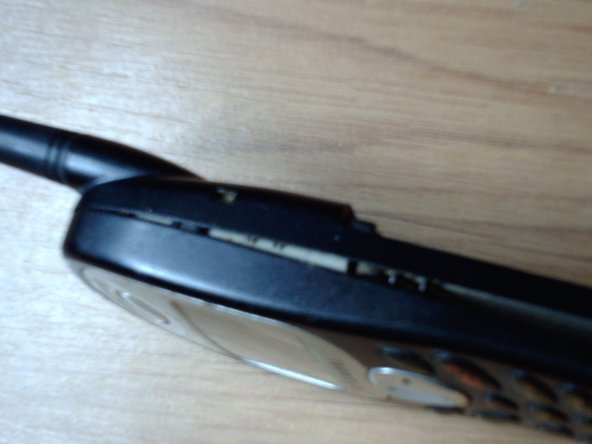
    • We'll start with a preview of the phone. Front, back and side view are shown here.

  2. Hyundai H-150 Teardown: 步骤 2 中的图像 1,3 Hyundai H-150 Teardown: 步骤 2 中的图像 2,3 Hyundai H-150 Teardown: 步骤 2 中的图像 3,3
    • The battery is removed easily. Just pull down the part from the back and the battery goes out.

  3. Hyundai H-150 Teardown: 步骤 3 中的图像 1,3 Hyundai H-150 Teardown: 步骤 3 中的图像 2,3 Hyundai H-150 Teardown: 步骤 3 中的图像 3,3
    • After the battery is out, we're presented with a plastic cover with all the phone's information (Model No., Serial No etc)

    • Notice the 4 Philips screw-heads in each of the four corners. Those need to go off.

    • After unscrewing, you might notice that the cover doesn't easily go off. Four clips are holding the back cover onto the front cover.

    • Use a Spudger and unclip the sides of the cover. It shouldn't put up much resistance

  4. Hyundai H-150 Teardown: 步骤 4 中的图像 1,3 Hyundai H-150 Teardown: 步骤 4 中的图像 2,3 Hyundai H-150 Teardown: 步骤 4 中的图像 3,3
    • Once the back cover is off, one can see the motherboard and a strange metal part on the top of the phone. This serves as an antenna booster, but also to protect the board.

  5. Hyundai H-150 Teardown: 步骤 5 中的图像 1,3 Hyundai H-150 Teardown: 步骤 5 中的图像 2,3 Hyundai H-150 Teardown: 步骤 5 中的图像 3,3
    • See that hole in the shield? That Has a screw in it. And yes, it needs to leave.

    • After removing the screw from the shield, it can be lifted from the board easily, revealing another board beneath it.

  6. Hyundai H-150 Teardown: 步骤 6 中的图像 1,3 Hyundai H-150 Teardown: 步骤 6 中的图像 2,3 Hyundai H-150 Teardown: 步骤 6 中的图像 3,3
    • It seems that this secondary board is held onto the main board by a board connector.

    • Pull the board gently and you'll notice it comes out rather fast.

  7. Hyundai H-150 Teardown: 步骤 7 中的图像 1,3 Hyundai H-150 Teardown: 步骤 7 中的图像 2,3 Hyundai H-150 Teardown: 步骤 7 中的图像 3,3
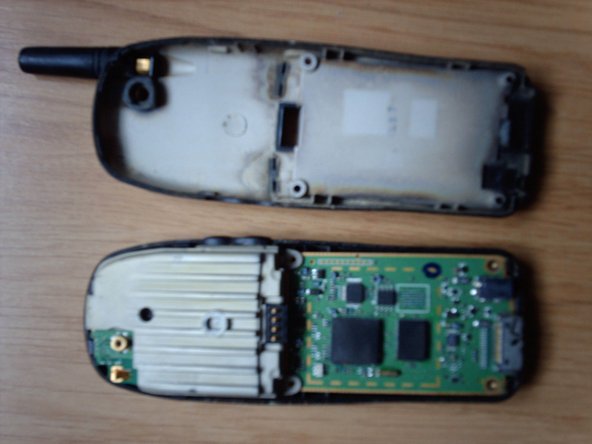
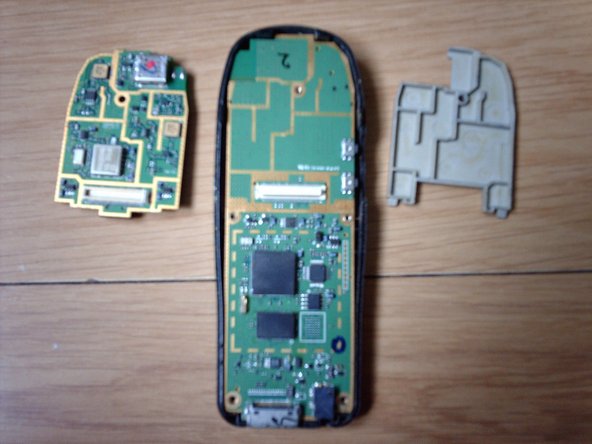
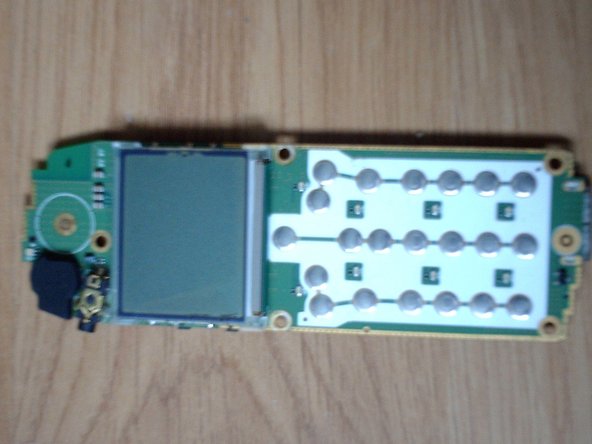
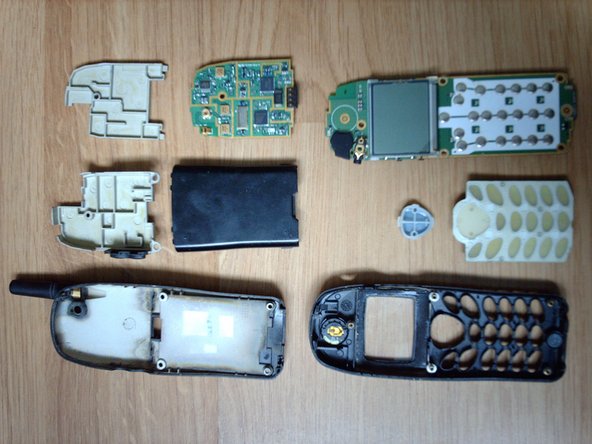
    • By this stage, the board simply comes out of the front body, exposing the keyboard and its associated membrane.

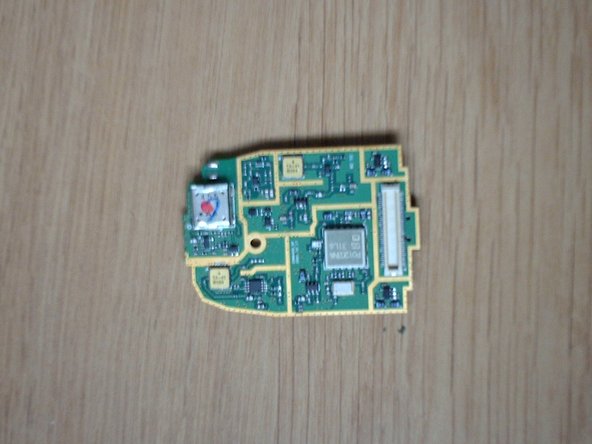
    • On the board we encounter the ringer(upper left), the headphone/handsfree input(under the ringer) and the LCD (which is sadly sticked on the board, as is the keypad membrane)

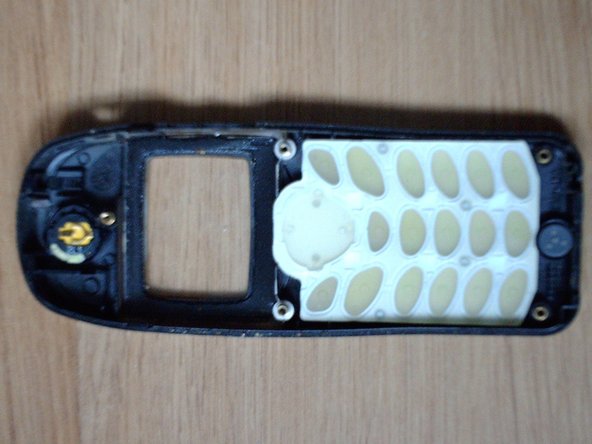
    • On the case we encounter the microphone (lowest part of the phone case), the loudspeaker (the highest part of the phone case)

  8. Hyundai H-150 Teardown: 步骤 8 中的图像 1,2 Hyundai H-150 Teardown: 步骤 8 中的图像 2,2
    • That concludes the teardown for now.

Nicolay

于04/08/13注册

371 声望

创作了3篇指南

0条评论

添加评论

浏览统计数据:

过去 24 小时: 0

过去 7 天: 1

过去 30 天: 5

总计 817