简介
Product Number 1504300014V0
-
-
Remove rubber covers first. Attached with some weak glue, they are relatively easy to pry away. Only the 2 at the back of the device have screws underneath.
-
Use a screwdriver to remove the screws.
-
-
-
Plastic tabs line the case where the upper and lower halves meet.
-
I found it easiest to start prying from the sides of the back.
-
Keep prying until the case is fully separated and the top half lifts up/forwards.
-
-
-
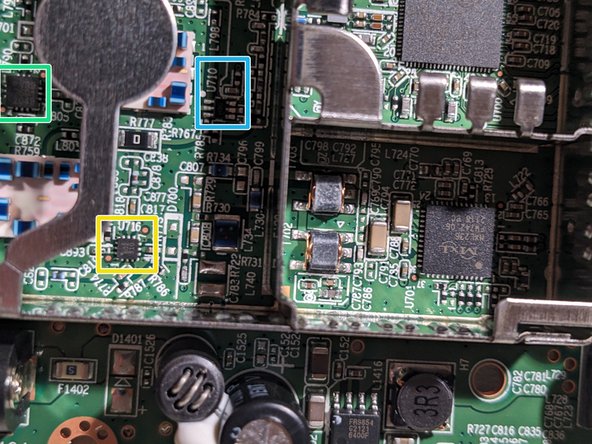
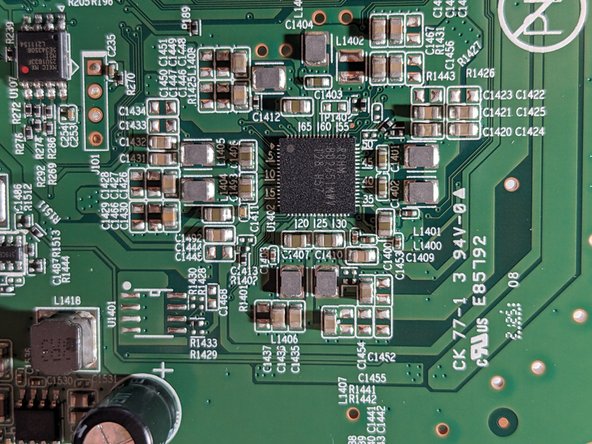
Ethernet switch: Realtek RTL8363SC sibling datasheet 1, sibling datasheet 2, programming guide
-
Ethernet magnetics: Bothhand/Pulse Electronics LG2P109RN datasheet
-
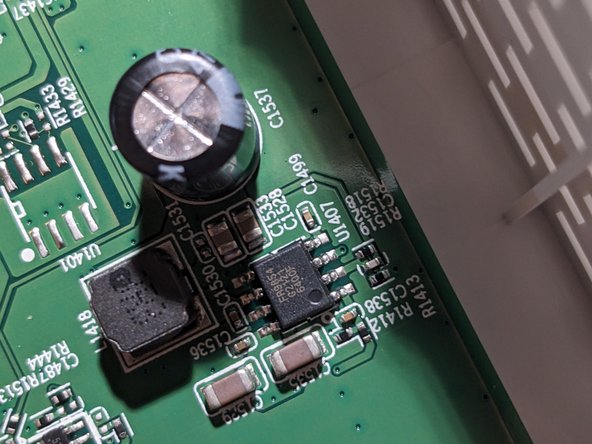
Step-down converters (2x): Fitipower FR9854 datasheet
-
Serial NOR SPI flash (16Mb): Macronix MX25U1633F2I datasheet
-
LED driver: Rohm BD2651MWV sibling datasheet 1
-
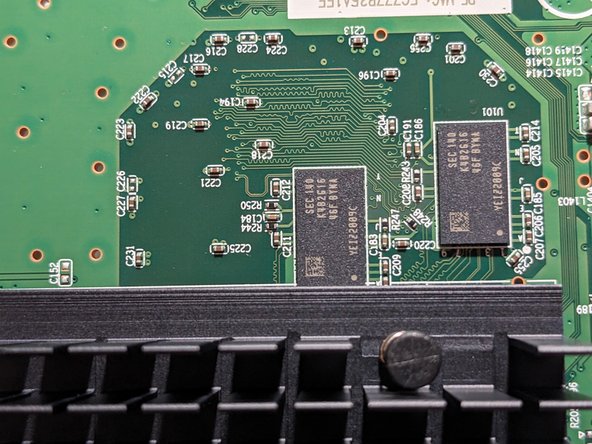
DRAM (2x 2Gb): Samsung K4B2G1646F-BYMA datasheet, product page
-
-
-
Squeeze the tip of the heatsink legs (e.g. with pliers) so you can pull them back through the PCB holes.
-
-
-
-
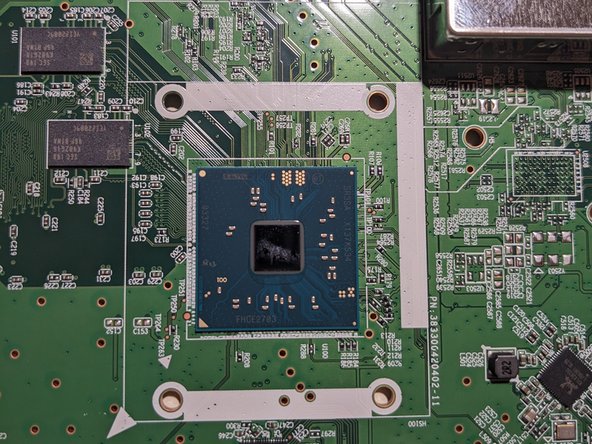
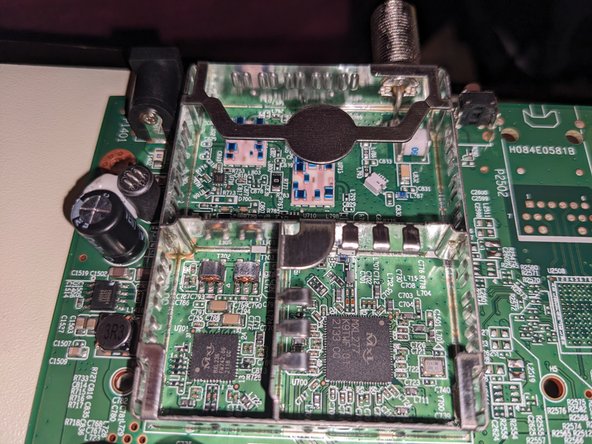
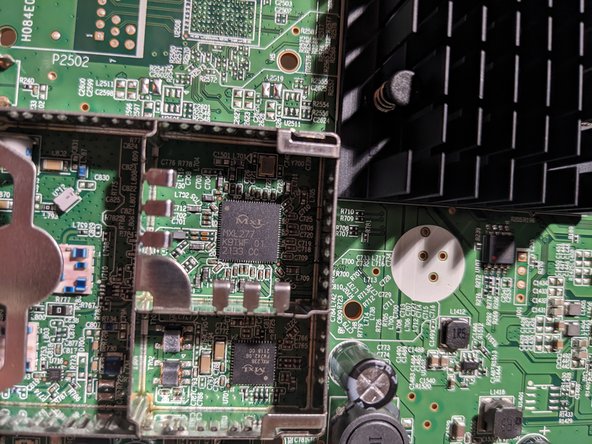
SoC: Intel FHCE2703 SR3SA (Puma 7) related products
-
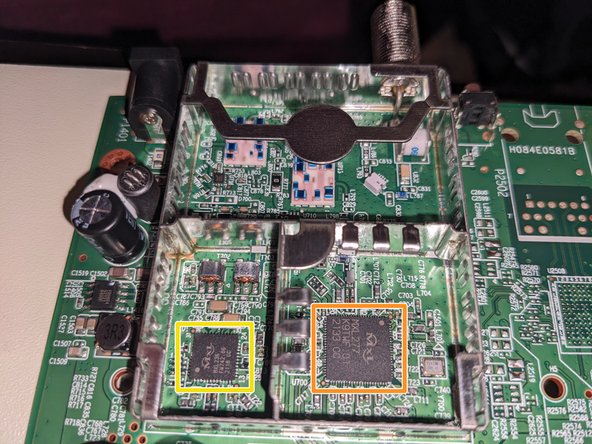
DOCSIS cable tuner: MaxLinear MxL277 product page
-
DOCSIS upstream amplifier: MaxLinear MxL 236 product page
-
-
-
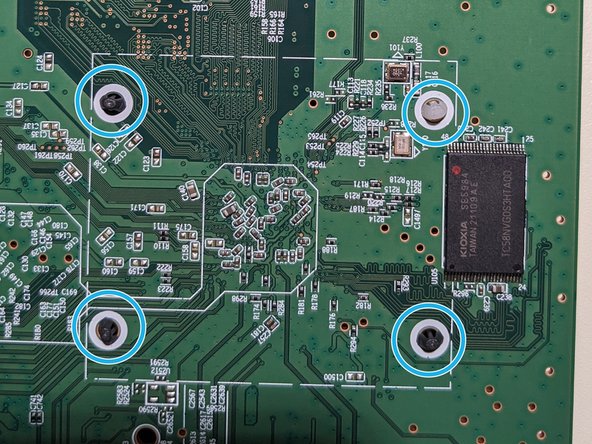
Use a screwdriver to remove the screws.
-
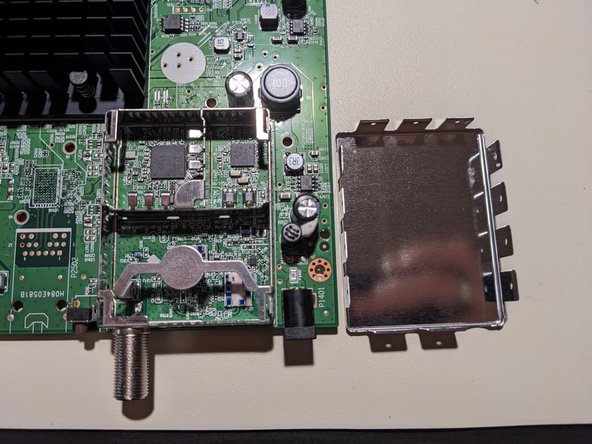
Lift the PCB away from the case.
-
-
-
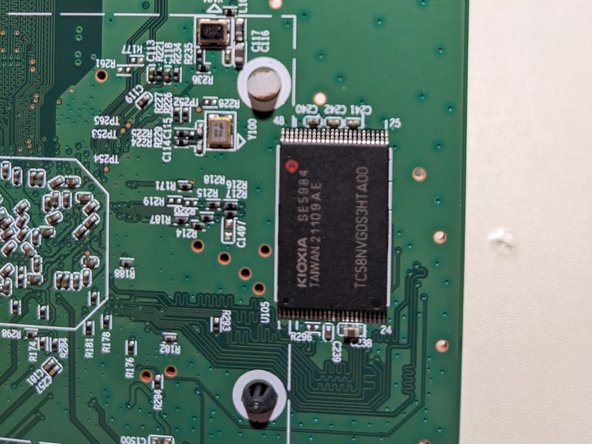
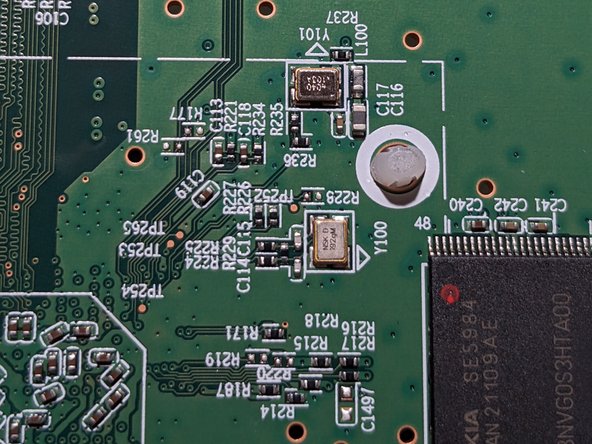
Serial NAND EEPROM (1Gb): Kioxia TC58NVG0S3HTA00 datasheet
-
Debug headers factory firmware bootlog
-
-
-
Product number 383300420402-11
-
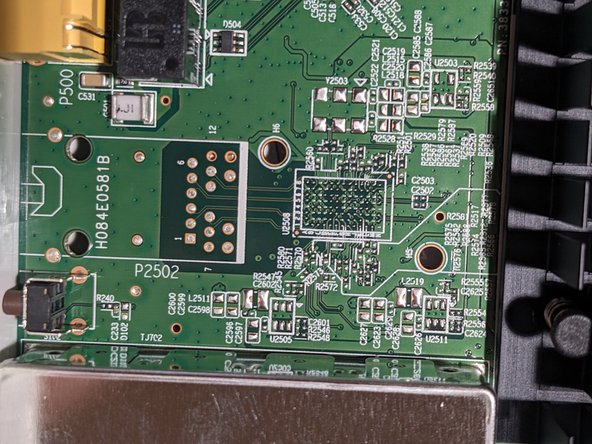
Unpopulated connector H084E0581B
-
Various test points (labeled "TPXXX")
-
602 910
-
V39 3601 2049
-
U710
-